Posted on 1 Comment

Types of Wood – What Works with Pyrography

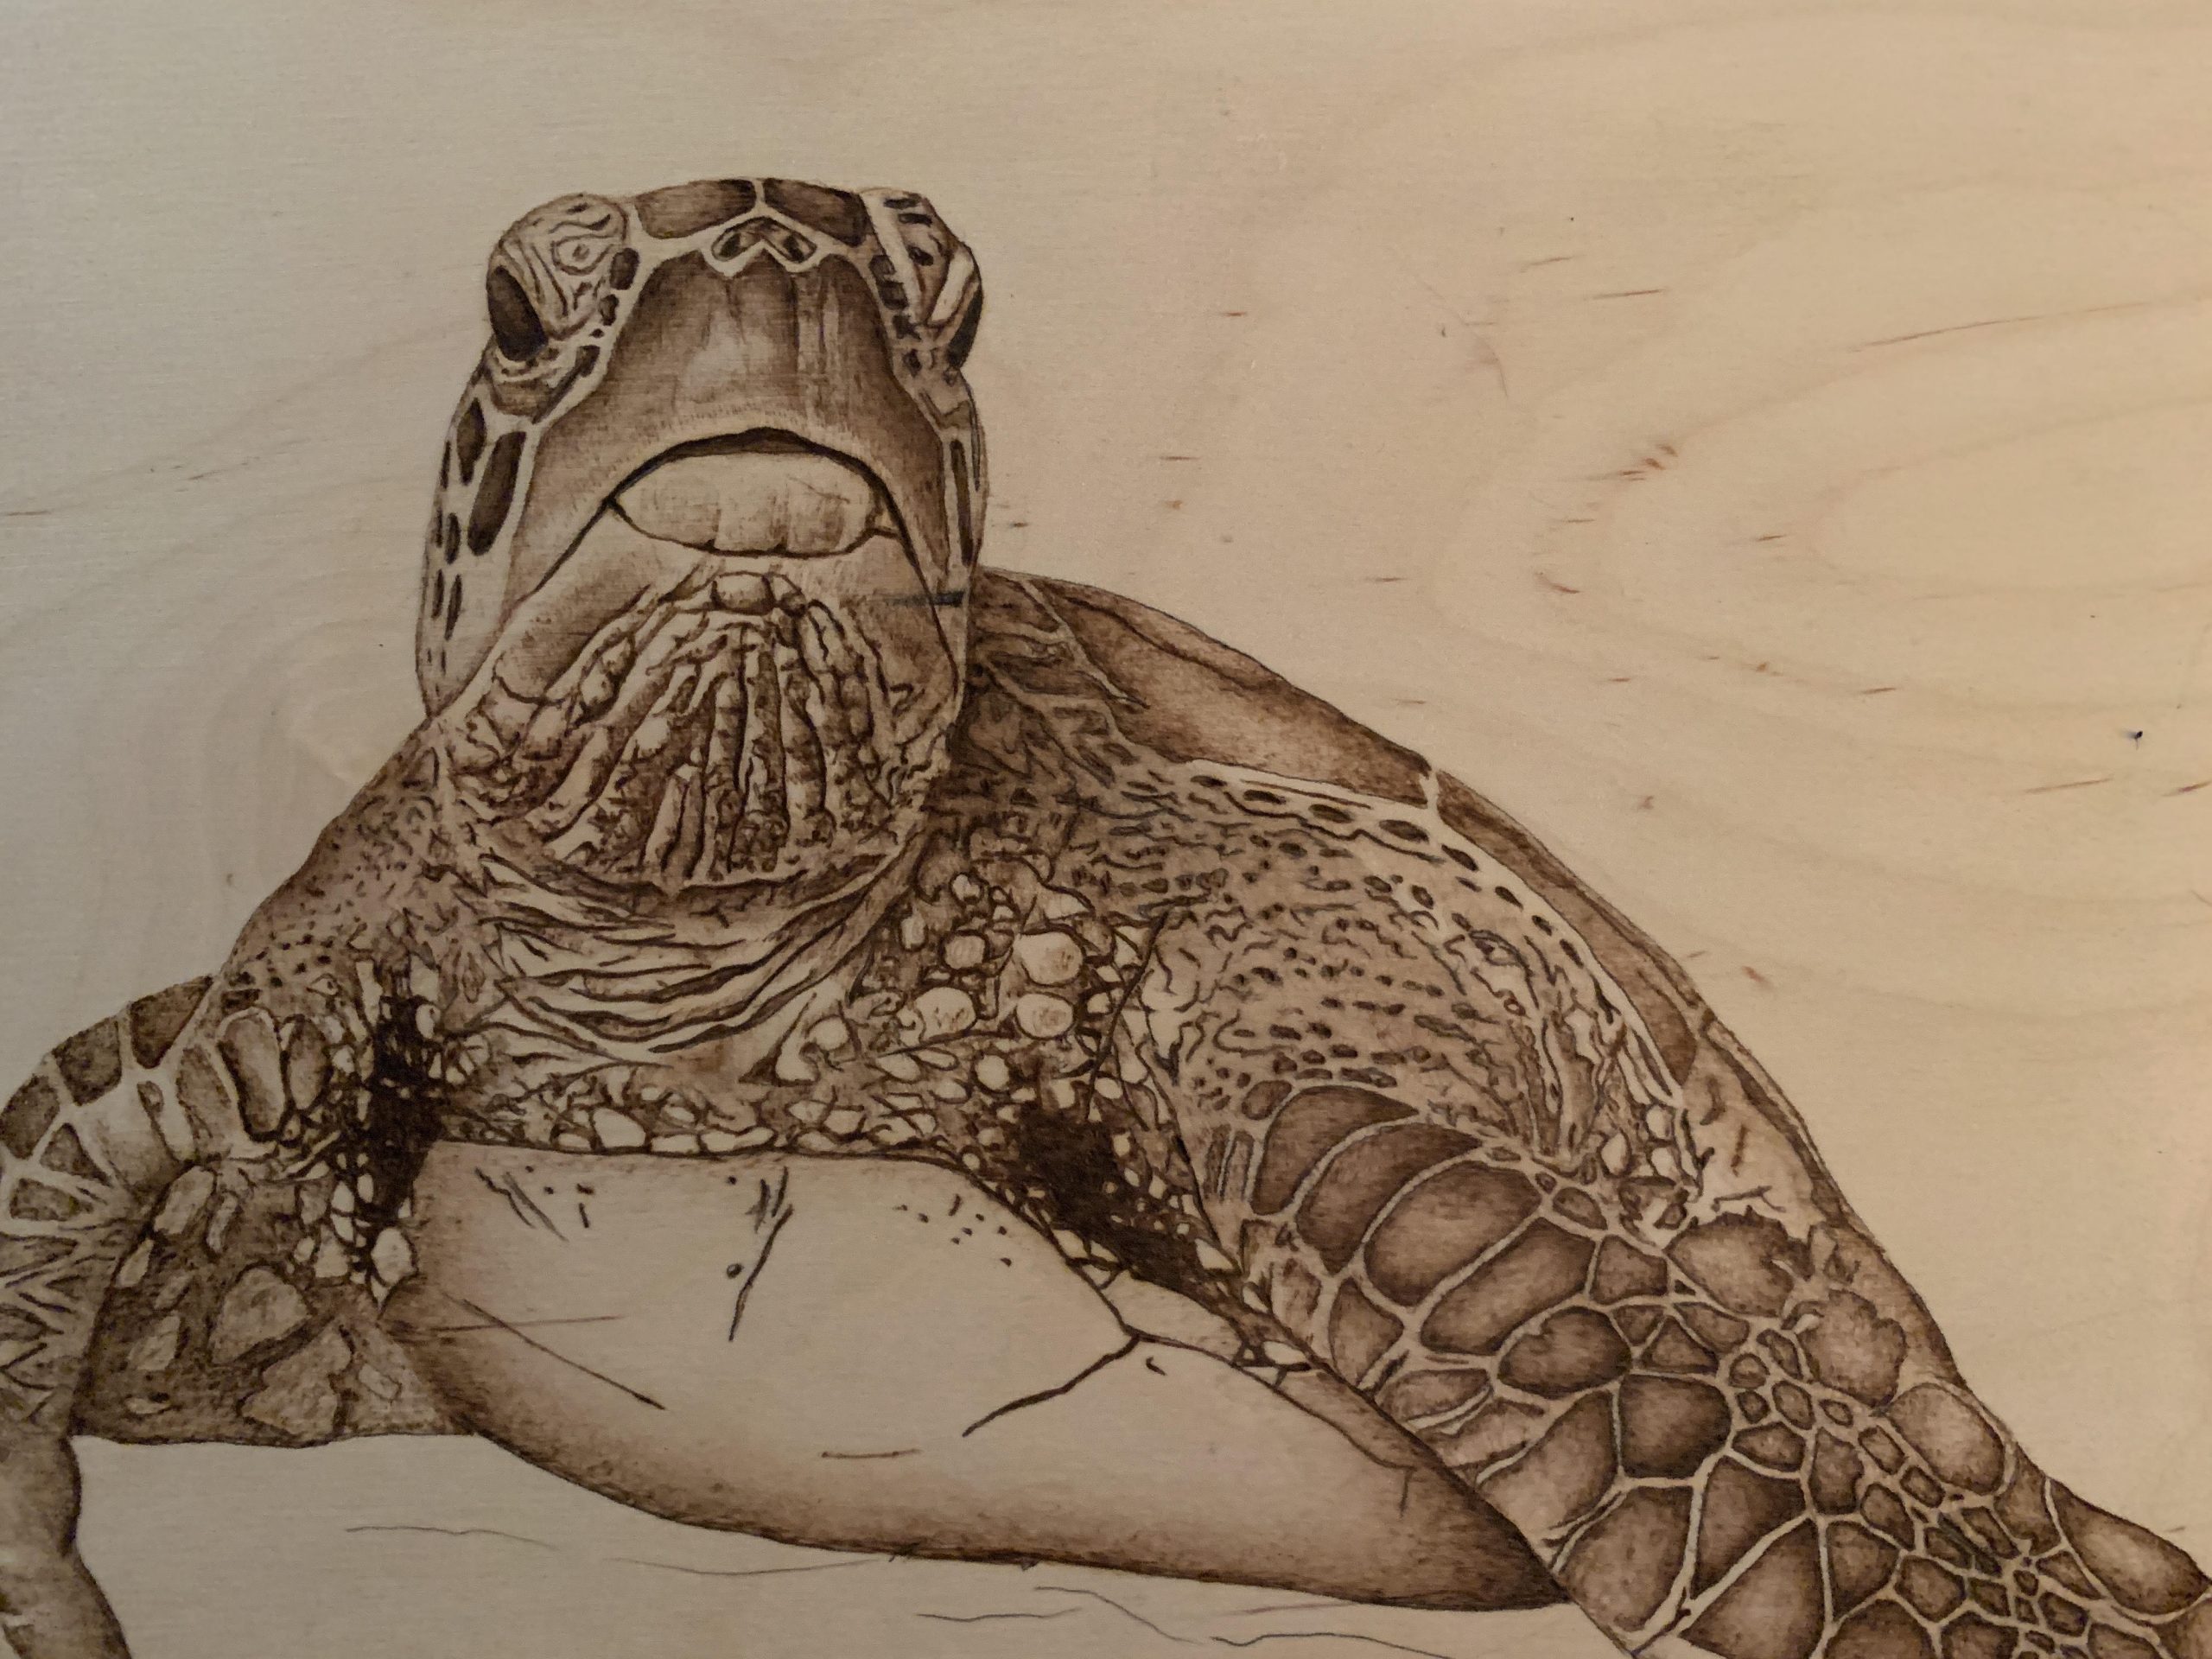
turtle wood burned on plywood

While the art of pyrography can be performed on various surfaces, different types of wood remain to be the most popular medium. This natural “canvas” comes with many characteristics that cannot be found in any other material. Grains of different shapes and sizes, various wood sap consistencies, and the plethora of hues can all pose different challenges for the artist. But when these challenges are overcome, the result is a unique and lasting piece of art.

It is therefore important that artists have at least a little understanding of the characteristics of wood and how to make the most of it be it your wire-nib pyrography pen or solid-point pyrography pen. This also includes knowing whether it is safe to work on certain pieces of wood or not.

Here we will cover the basics in relation to pyrography and these include:

  • Hardwood
  • Softwood
  • Plywood
  • Treated wood
  • Untreated wood
  • Wood tones
Hardwood

Hardwood comes from flowering, seed-producing trees that are from the angiosperm family. They are often from the deciduous species, which typically display annual growth rings.  Oak, maple, walnut, and hickory are just a few examples of the various types of hardwood.  Hardwood is generally difficult to burn images on and is not typically the wood of choice used for this medium. There are certain types of hardwood that are actually softer than some softwood.  Poplar is an example of a type of hardwood that works well for pyrography.

Walnut

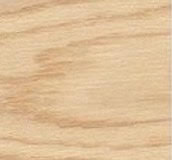
Oak

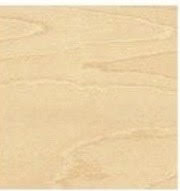
Maple

Softwood

Softwood comes from the gymnosperm family and belongs to the seed-producing category as well. This is the preferred type of wood to use with pyrography. Basswood, birch, and pine are examples of some softwood that are excellent for wood-burning.
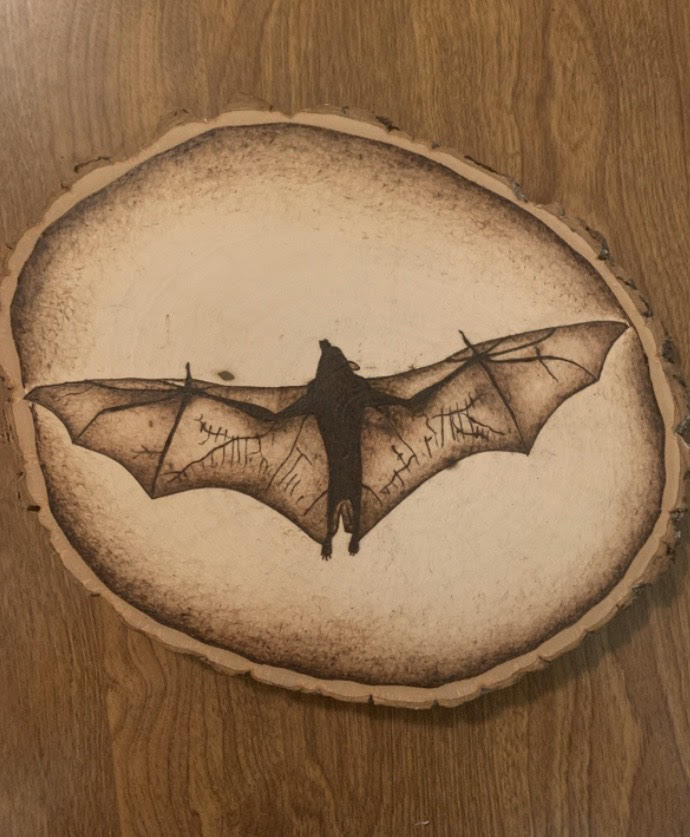
Bat is burned on basswood

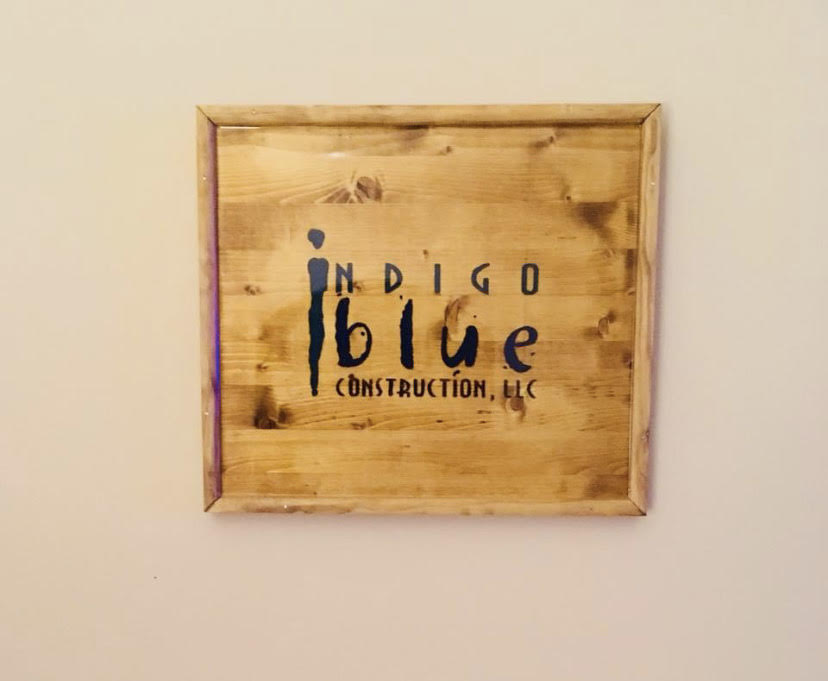
Logo is burned on pine

 
Plywood

Plywood consists of layers of wood veneers that are glued together to create a flat sheet.  Plywood’s best features are its resistance to warpage,  shrinkage, and water. Generally, it comes with both surfaces sanded. Since the Douglas fir is most commonly used throughout the US and Canada, this is another great wood source to burn your images on.
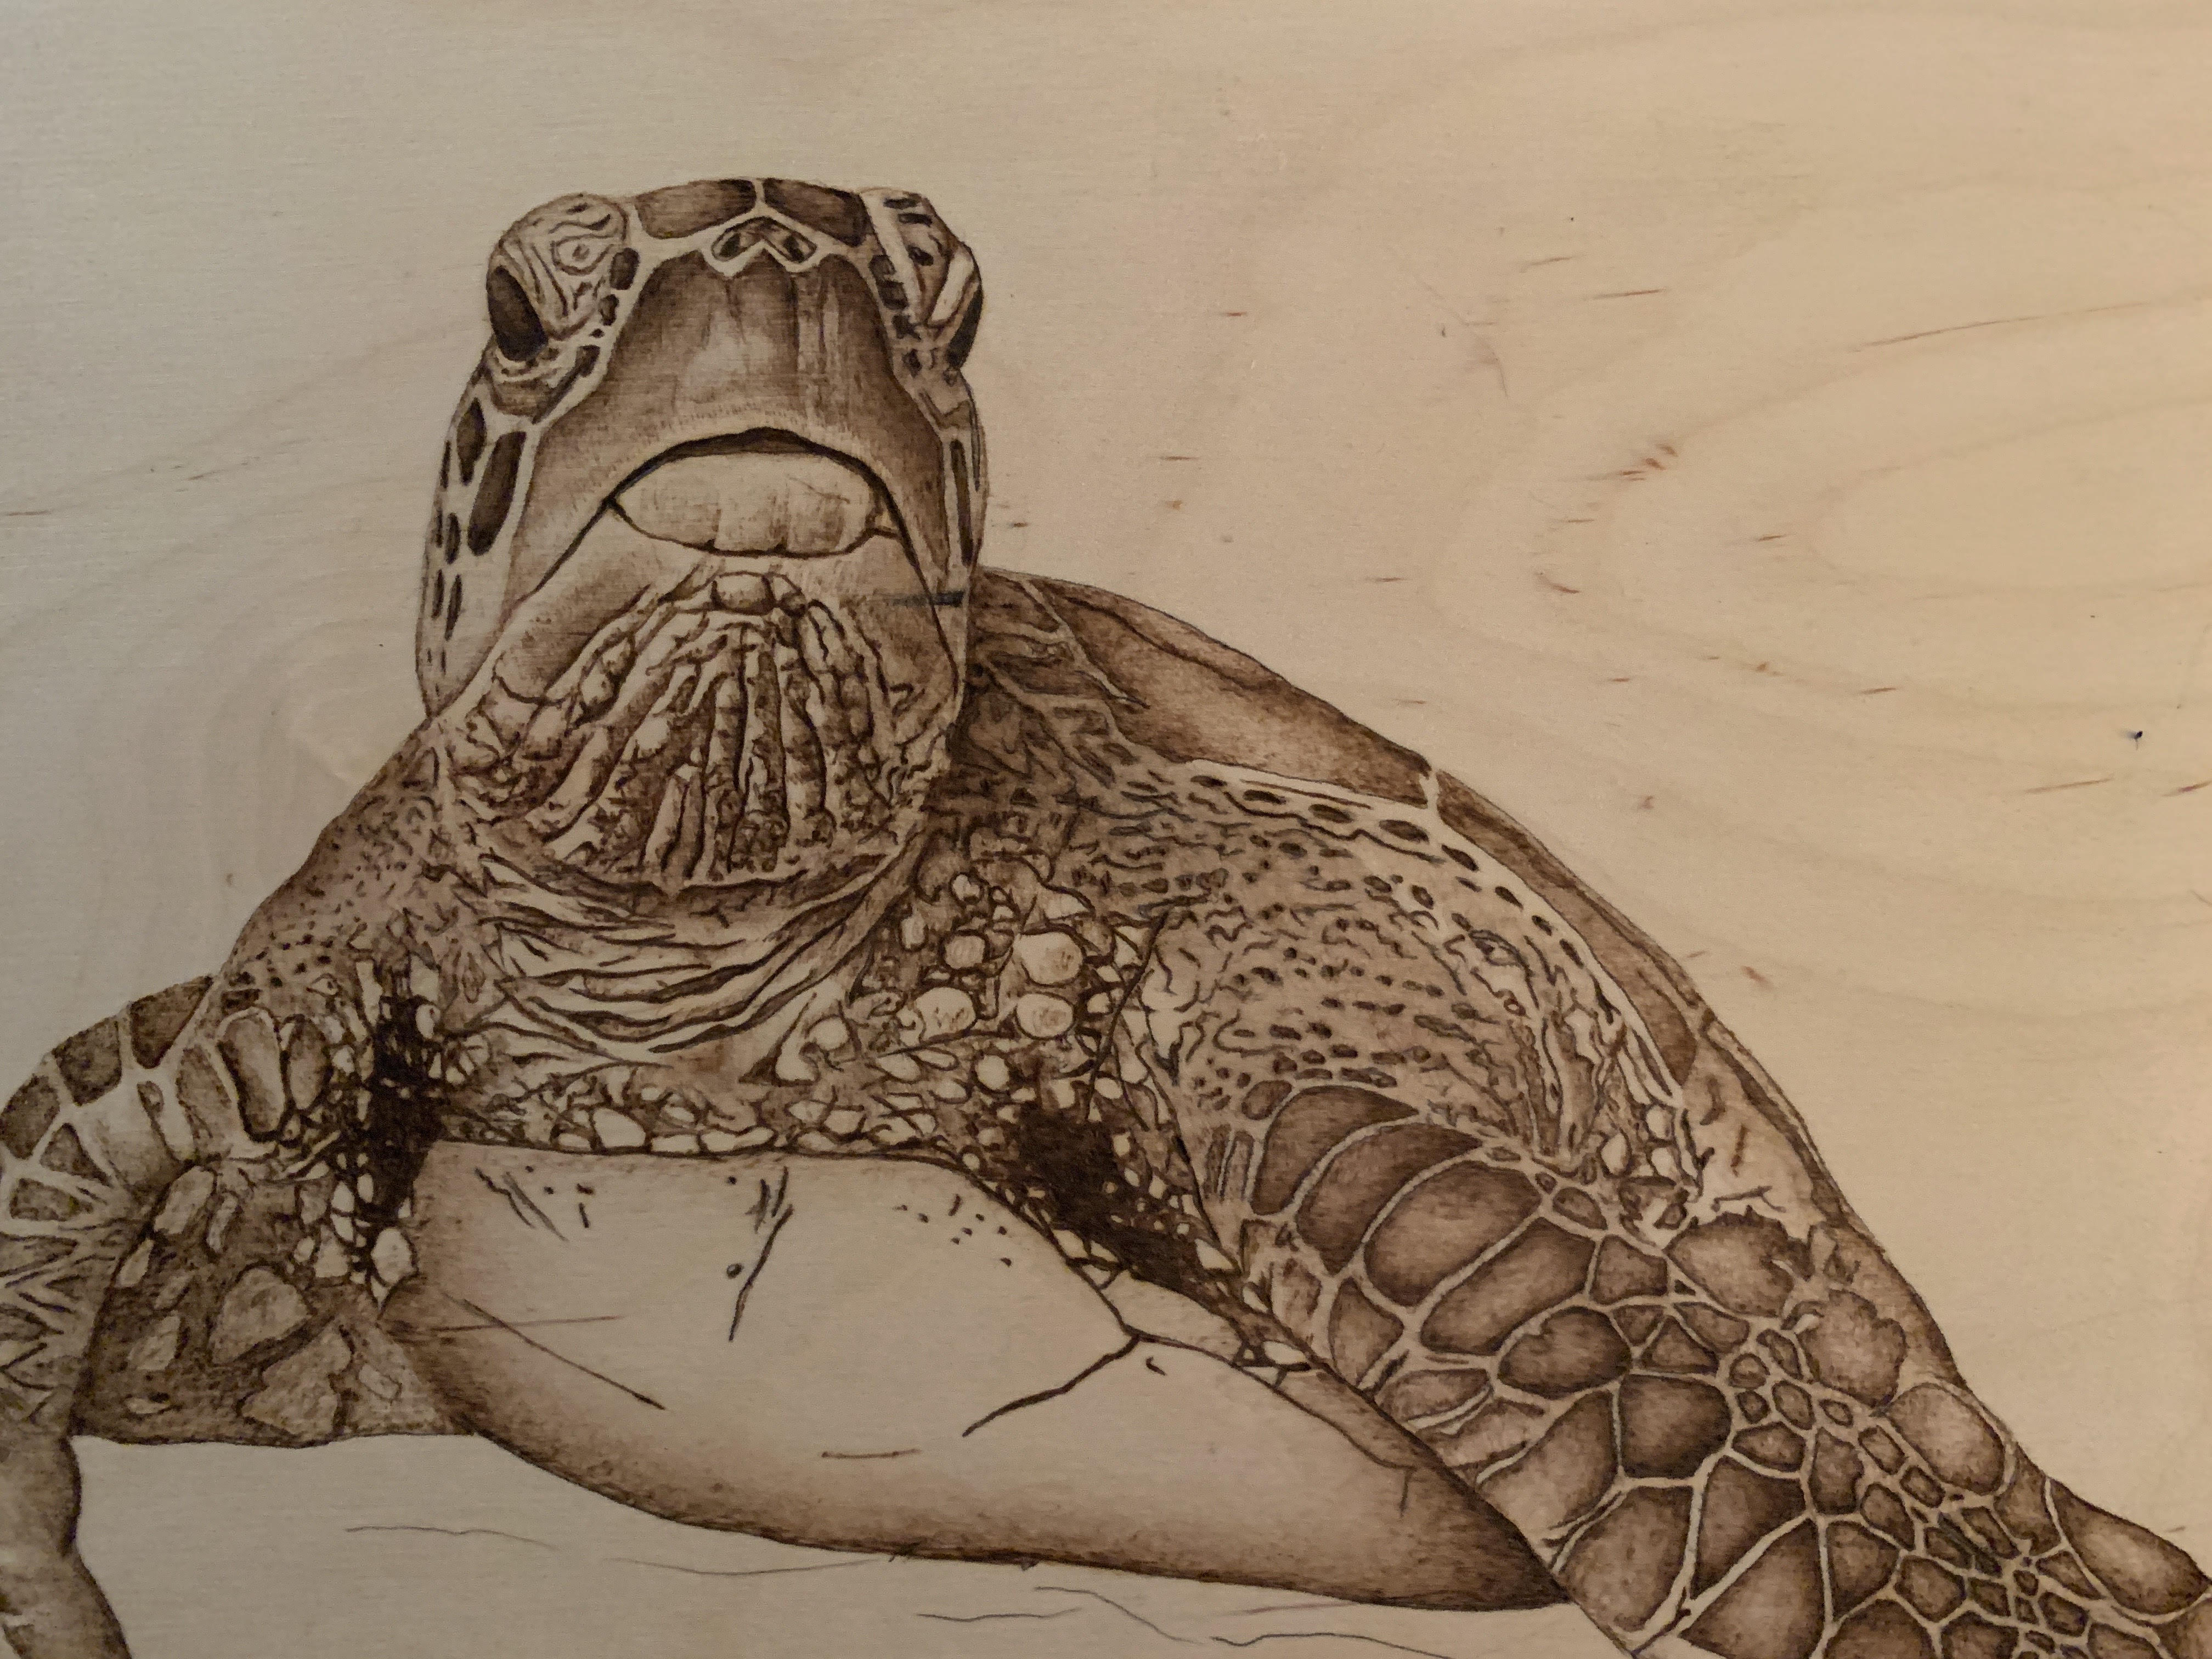
Turtle burned on a piece of plywood 
Treated wood

Before you start your burning you must first identify whether the wood you chose is treated or untreated.  Treated wood consists of wood that has been painted, varnished, stained, and pressure treated. You also want to avoid any type of fibreboard. It is extremely dangerous to burn on treated wood.  Inhaling the fumes that are produced by burning treated wood is toxic and harmful to your health. If at all possible, DO NOT burn on any treated wood.
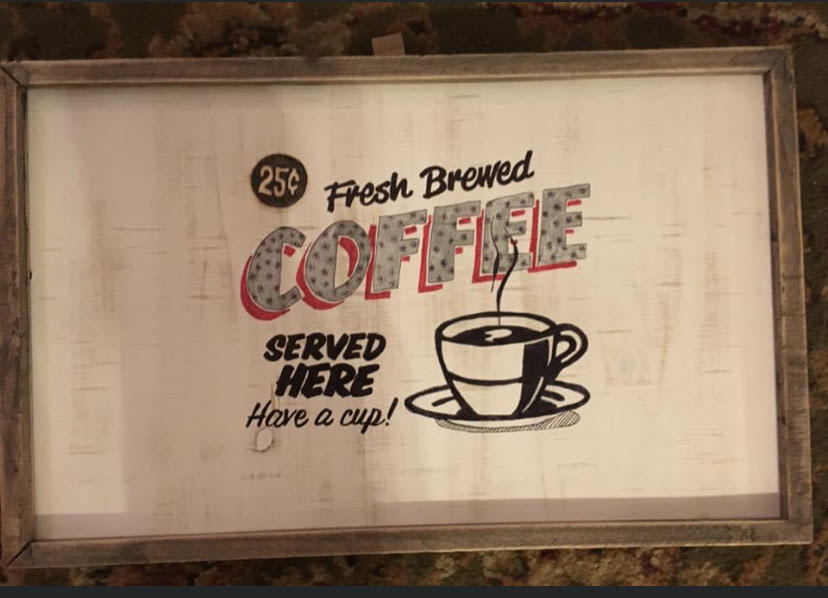
This Coffee sign had to be created with pen and markers because the wood is treated.  Notice the wood is painted which was done prior to burning making this treated wood dangerous to burn on.

Untreated wood

Untreated wood is wood closest to its natural state.  You can find several pieces of untreated wood and your local craft and hardware store.  Many craft stores have pre-cut wood pieces available for purchase to fit your needs.  Lumber yards are also wonderful places to go to find freshly cut, seasoned, and reasonably priced wood pieces.

Wood color tones

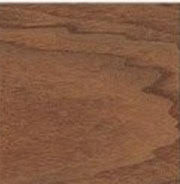
The white soft layer of wood is called sapwood. Sapwood is formed between the heartwood and bark. Heartwood is the innermost part of the tree trunk. Heartwood color varies depending on the species.  This is why we have a wide array of wood tones. Exposing cut, dry wood to light, specifically UV light, will darken the wood. Air, heat, and water exposure can also impact the color of the wood as it ages. Most wood will darken with age while others may change to a rust hue.   Varnishes and oils can also impact the color of the wood.  Working with a lighter shade of wood may prolong the effects of aging, however, there isn’t much we can do to prevent this natural process from happening.

Additional information

Gourds, leather, paper, and bones are alternative materials that you can successfully burn images onto.  Burning plastic or rubber items will not only melt and cause burns but will create toxic fumes.  If you are not certain, don’t do it.  Err on the side of safety first and always do your research.
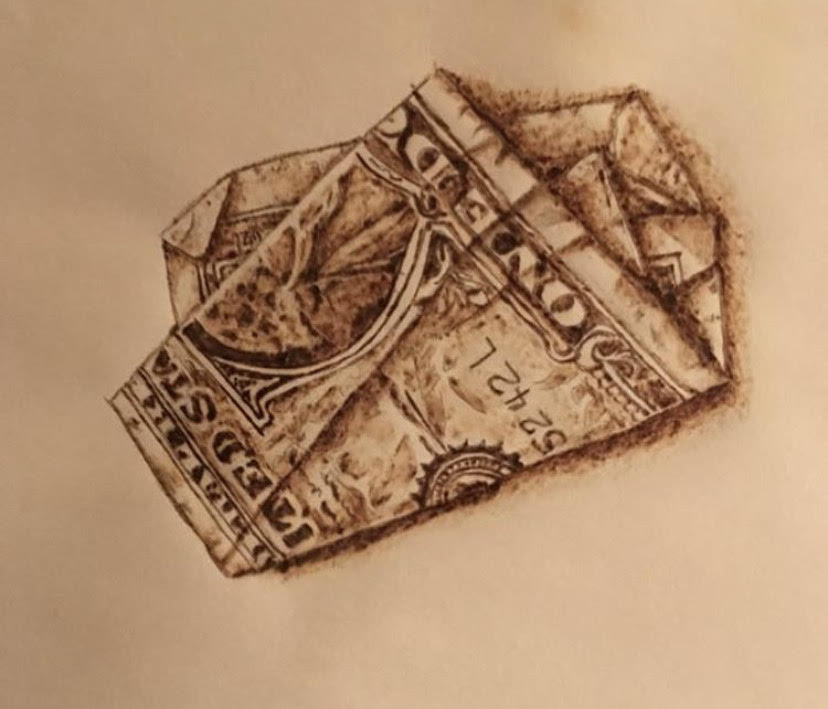
Dollar burned on paper

There is so much more to learn about wood but things like different shakes (a wood defect), rays, rings, and interlocking grains among others. These natural characteristics are very useful. Imagine whorls, swirls, and minute cracks inculcated into your wood-burning as accents or natural details of your burn subject. Your imagination is the only limit!

Andrea Pate
Pate’s Pyrography
Posted on Leave a comment

Valentine Pyrography

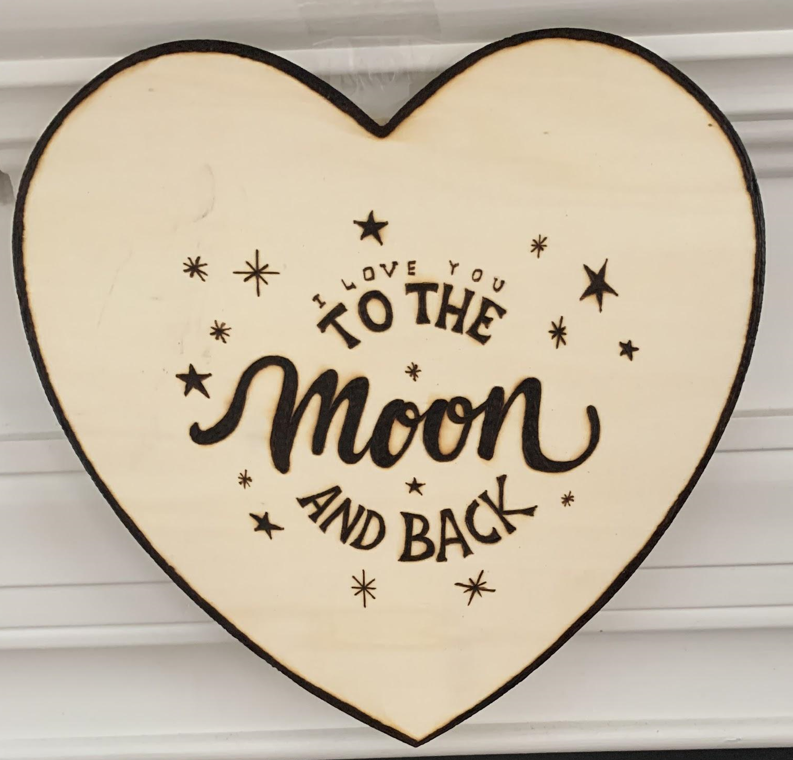
With Valentine’s Day just around the corner, a Valentine pyrography project is called for. Here are some inexpensive and fun ideas to spruce up your home.

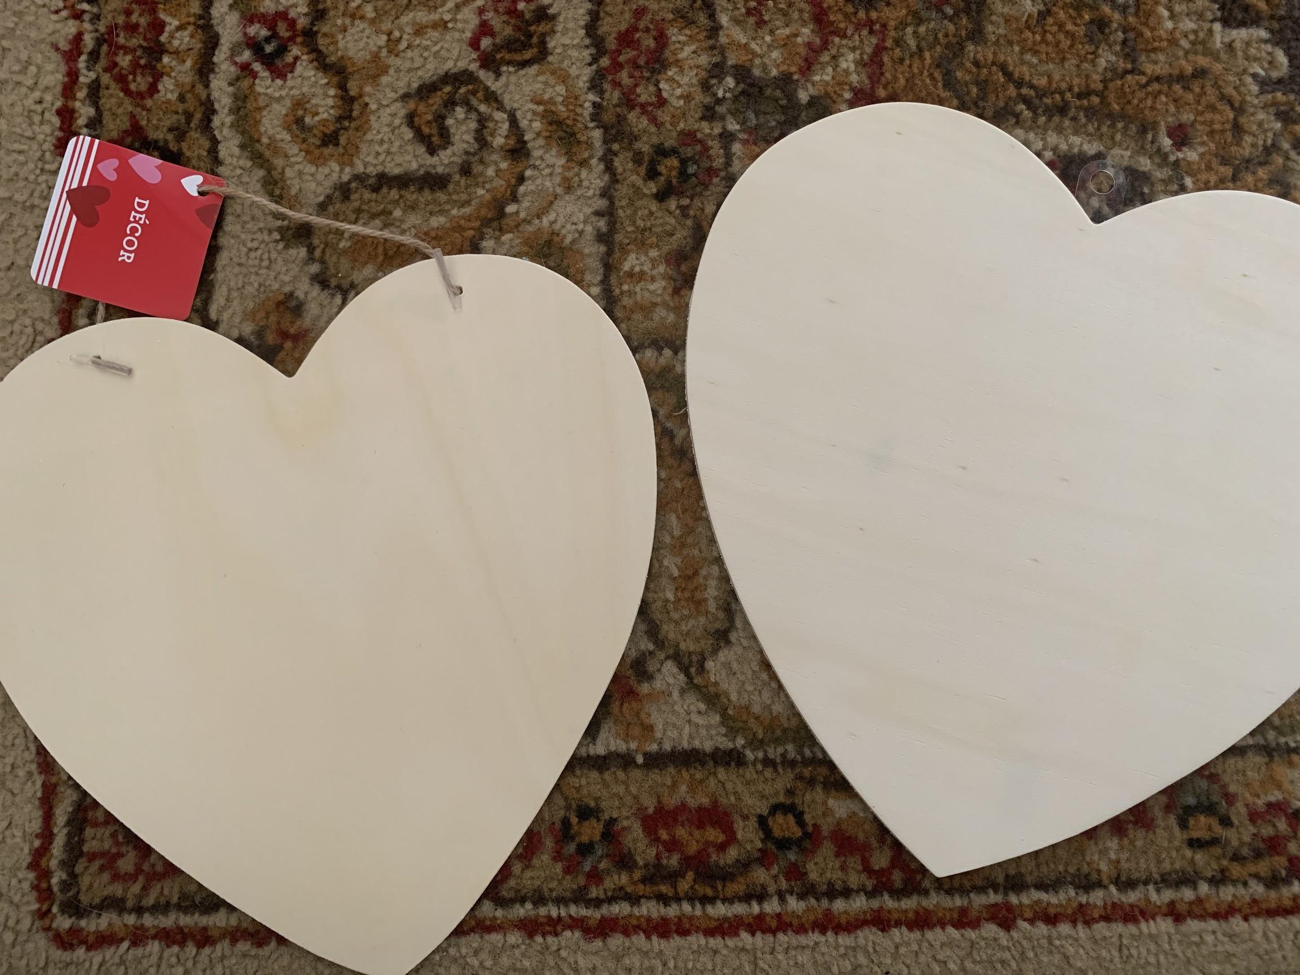
I have found several seasonal wood cutouts available at my local dollar store and for Valentine’s Day, I picked two different types of heart-shaped wood cutouts.

You can also create your own cutouts with varying sizes out of scrap plywood or other pieces of wood lying about. Simply find a template, print it out and transfer it to your wood with transfer paper. For detailed instructions on how to do the transfer, check out a previous post I made.

I recommend going online to find various quotes and fonts to burn onto the wood. Another suggestion is to find a stencil or letter stamps and create your own conversational candy hearts. These would look great displayed over a fireplace or hung outside your door.


Add some color to them or a little bit of stain to make them pop.

The possibilities are endless and you can’t beat the price.  I suggest looking around your local dollar store a month prior to the holiday.  These wood cutouts don’t stay on the shelf long as they will make wonderful gifts for those you love and hold dear just like this Valentine pyrography project. This would be a great project for any age group.

As always, if you have any comments or suggestions for a project, I’ll be very glad to hear about it.


Andrea

Pate’s Pyrography
Posted on 8 Comments

Understanding the Types of Pyrography Pens and Their Differences

Pyrography or woodburning, is an art medium rapidly gaining popularity especially in the United States and United Kingdom. This art medium involves the use of a heating device that resembles a large pen, which, when applied to wood surfaces, leaves distinctive burn marks. There are already many professional pyrography artists around and most of their work is truly astounding – many even life-like especially when a touch of color is added.

#patespyro
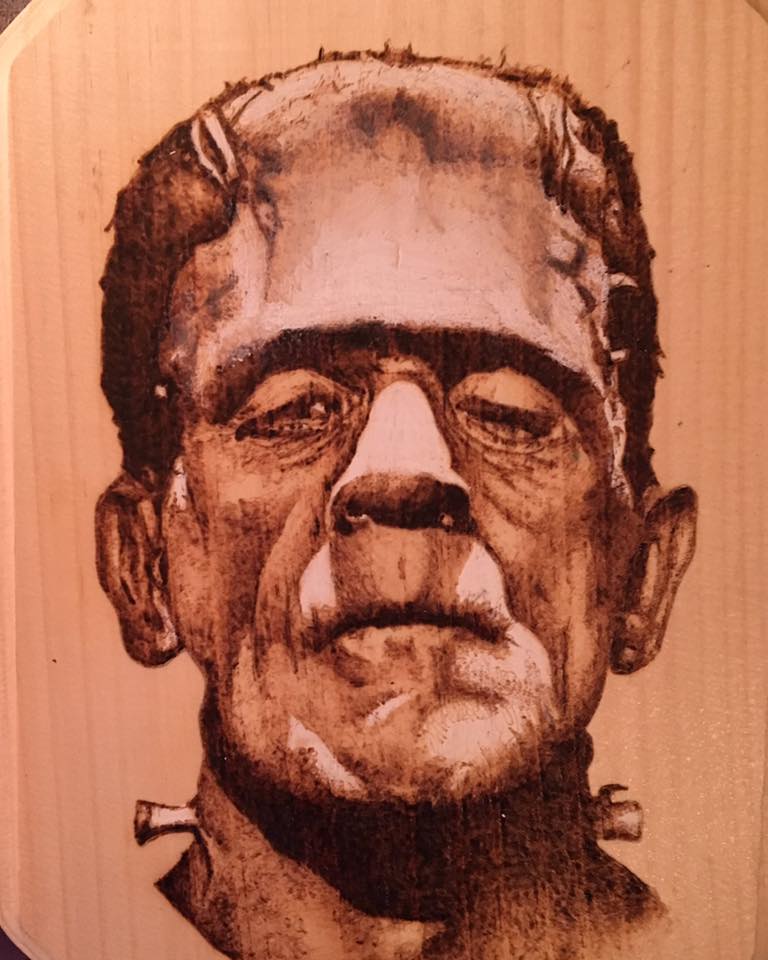
“Frankenstein” from Pate’s Pyrography
As more and more budding artists join the pyrography band wagon, many do not know what to start off with or know about the differences among the many pens sold out there. This then poses a problem for many who nevertheless went ahead, bought a pen (usually convinced by online reviews) and are either stuck on how to use them properly or end up destroying the tool altogether. To address that and a few other key issues, let’s compare the two types of pyrography pens, the solid-point burners and the wire-nib burners.

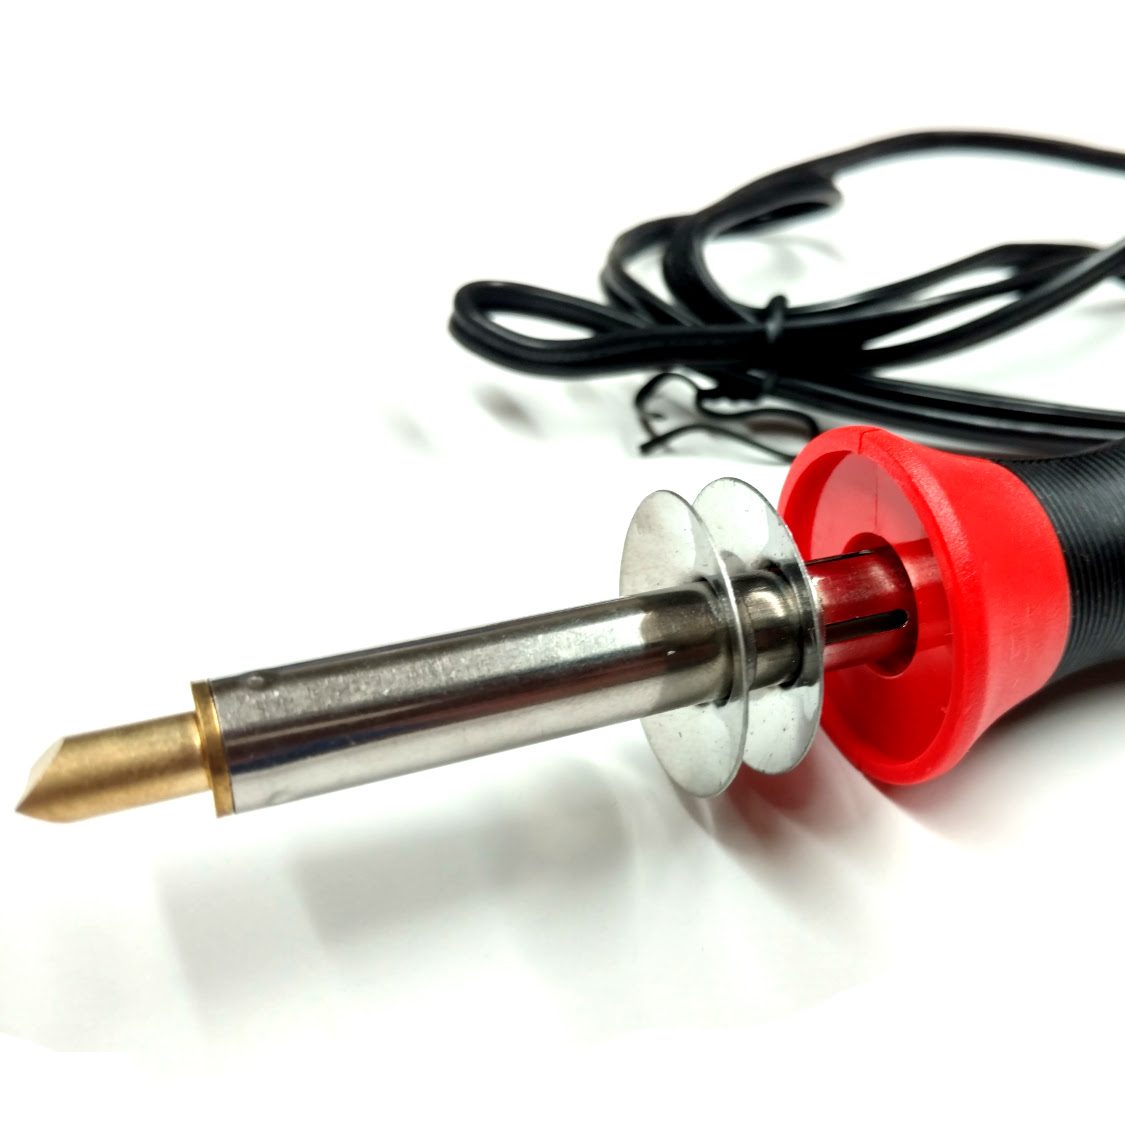
TRUArt 15-30 W Pyrography Pen
Solid-point pyrography pen

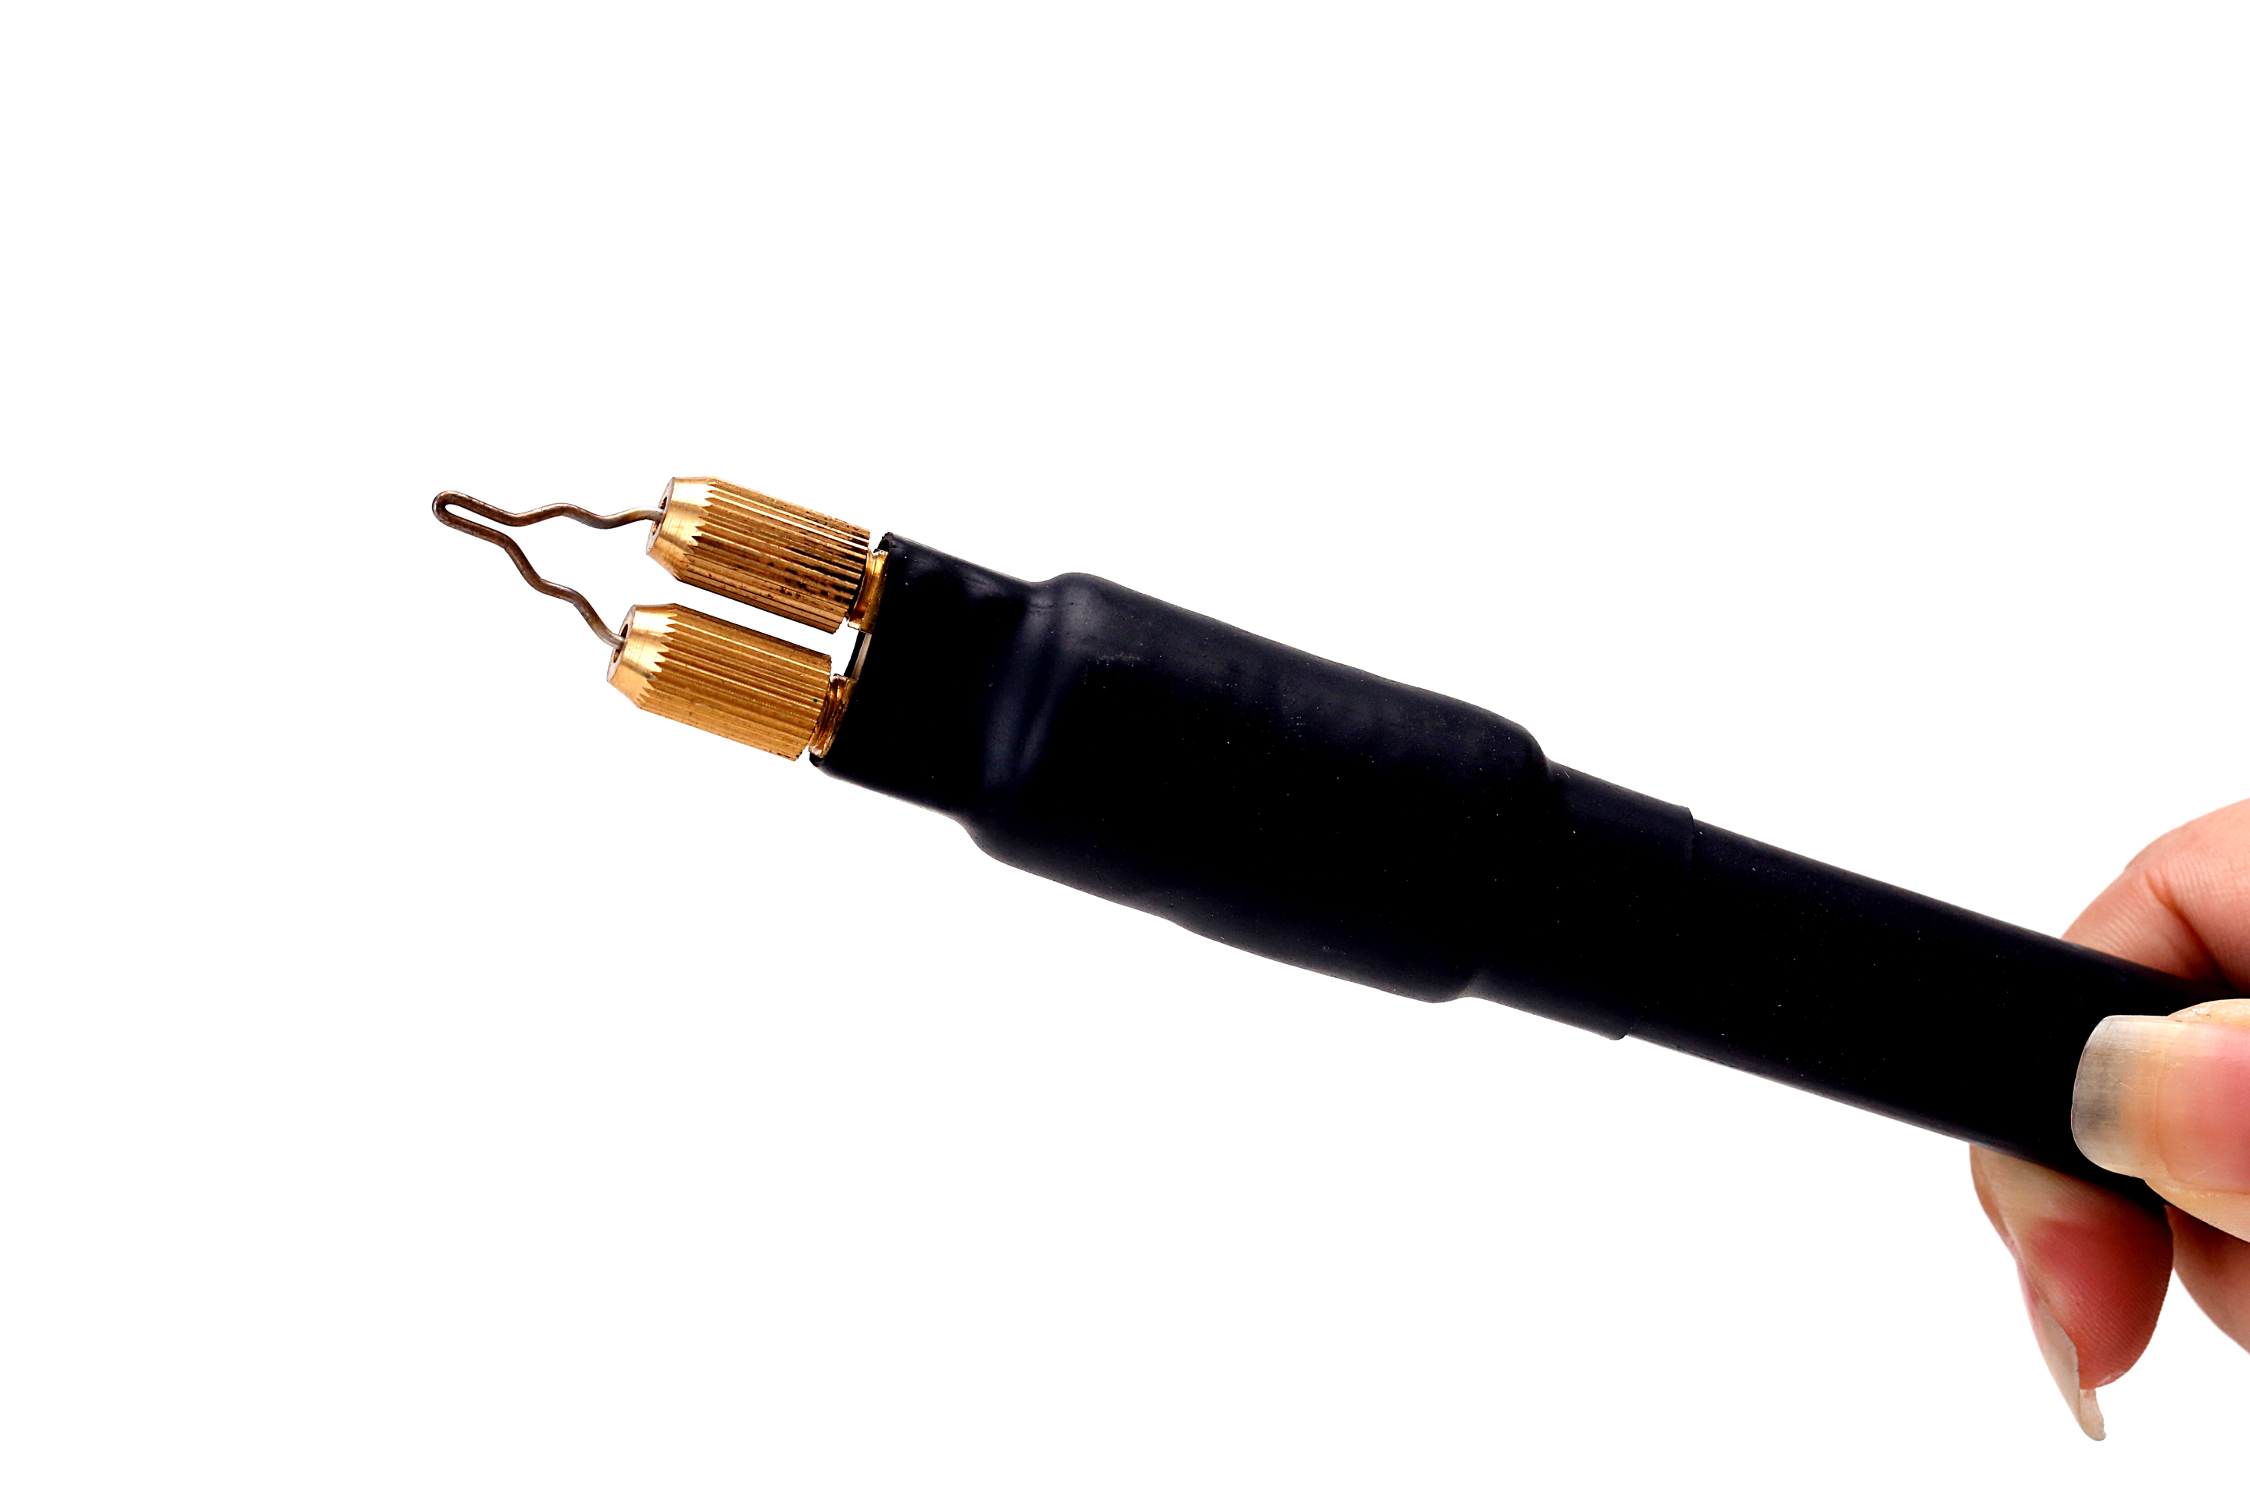
TRUArt 60W Woodburning Detailer
Wire-nib pyrography pen

Tip / Nib

Solid-point burner – This type of pen usually requires a screw-in tip although some very few designs in the market feature non-screw tips held in place by a sleeve and a nut. Care should be taken when purchasing extra tips as they can vary in thread type. TRUArt pyrography pens use M4 X 0.7 tips. This means that the thread is 4 mm in diameter with a 0.7 mm thread pitch. These tips are screwed in tightly by hand and usually finished off with 1/8th to 1/4 of a turn using a pair of pliers.

Wire-nib burner – This type of pen holds wire tips usually made from Ni-chrome wire of varying gauges. The wires are either inserted into collets or held in place by screws tightened unto them. TRUArt’s 60 W Professional Woodburning Detailer can accept 20 to 16 GA wire tips.

Heat transfer

Solid-point burners create heat by means of a heating element within the pen that is then transferred to the tip and operate at a fixed temperature.

Wire-nib burners create heat on the nibs by electric current going through it. The collets or wire nib holders should never be shorted.

Solid-point burner Wire-nib burner
Pros    Cons                          Pros                                  Cons
Cheaper than Wire-nib burners

Wide selection of patterned and stamp tips

Brass tips conducts heat faster and retains it longer than other metals

Easy screw-in and unscrewing of tips (only do this when unit is cold!)

Variable heat output (TRUArt 15 W – 30 W pens)

Ergonomic handle with anti-slip rubber

Ventilation holes and double heat sinks to dissipate heat away from hands

Price is great for beginners in pyrography

No separate power supply

No danger of shorting out the pen

Brass becomes soft when heated. Oftentimes, beginners tend to put too much pressure on it instead of letting the heat do the work. This bends the softened brass tip, which leads to breakage – leaving the screw inside the pen and rendering it useless.

Long waiting period for hot tips to cool down enough for unscrewing/replacement

Long waiting period (3-5 mins) for tips to heat up sufficiently

Only two power settings – 15 Watts and 30 Watts

Cannot create customized tips

Hands are farther away from work surface than Wire-nib burners

Tips may become lose within pen when heated. This will require further tightening with pliers (about 1/8 to 1/4 of a turn)

Nibs heat up much faster (less than 1 minute) than Solid-point tips

Fast cool-down

Easy inserting and removal of nibs

Nibs stay tight inside collets even at the pen’s highest voltage setting

Wide selection of nib shapes and sizes

Easily create customized nibs from a roll of Ni-chrome wire

Very close distance between hand and work surface

Digital power supply allows very fine tuning of heat output on the tips, which allows for superior control over burn

Pen is smaller and lighter than Solid-point burners

Non-slip ribber handles

Can accept 20 GA to 16 GA (0.8 mm to 1.25 mm diameter) nibs

Ni-chrome wire nibs do not break easily when pressure is applied

Preferred by professionals

More expensive than Solid-point burners

Nib selection does not have big patterns or stamps like the Solid-point burner tips

Bulky power supply

Burner can get almost uncomfortably hot if voltage is too high and heat on the nib is not used fast enough

Danger of shortening the burner if the collets are directly connected to each other by any metal object

Skill in using voltage setting to get the required heat has to be developed

Ultimately, when selecting a woodburning or pyrography pen, you will first have to consider what you intend to do. Figure out if you could see yourself doing this occasionally or often. If you’re just starting out in the art of pyrography and do not know what kind of pyrography pen will suit you, you’re safe if you start with the Solid-point burner. Later on, once you’re more confident in the art and start investing long hours into it, you may want to consider upgrading to the more robust and industrial strength of the Wire-nib burner.

If you still want to know more, simply share your thoughts or questions through the comments below and we’ll answer them within the day.

Posted on Leave a comment

Woodburning Workshop – The Giant Leap Towards Learning Pyrography!

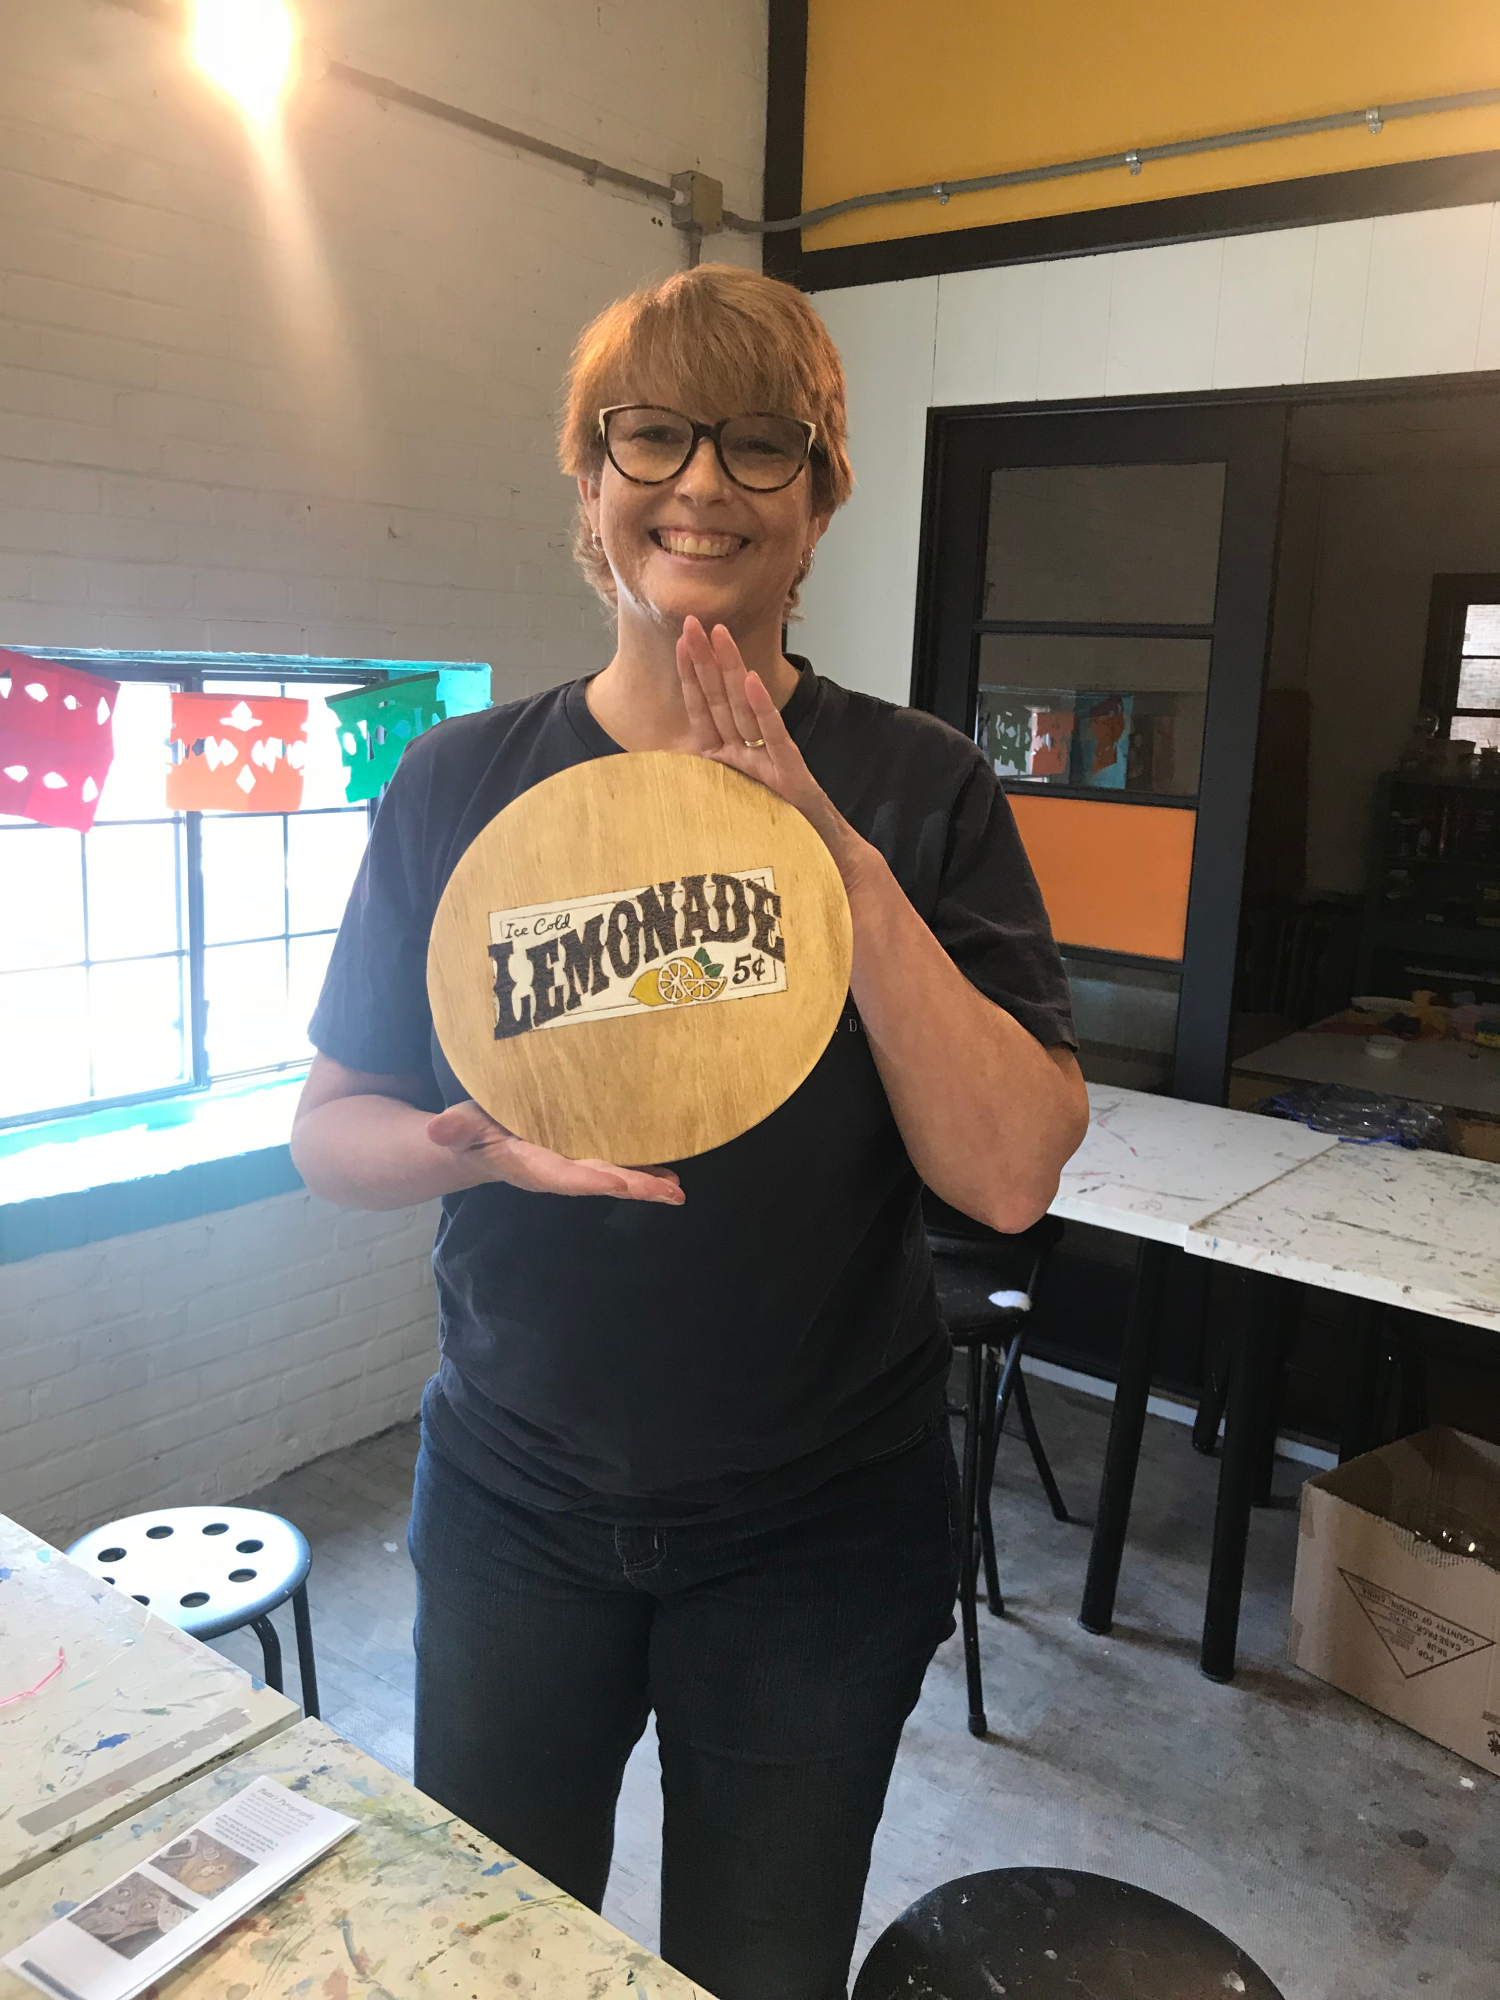
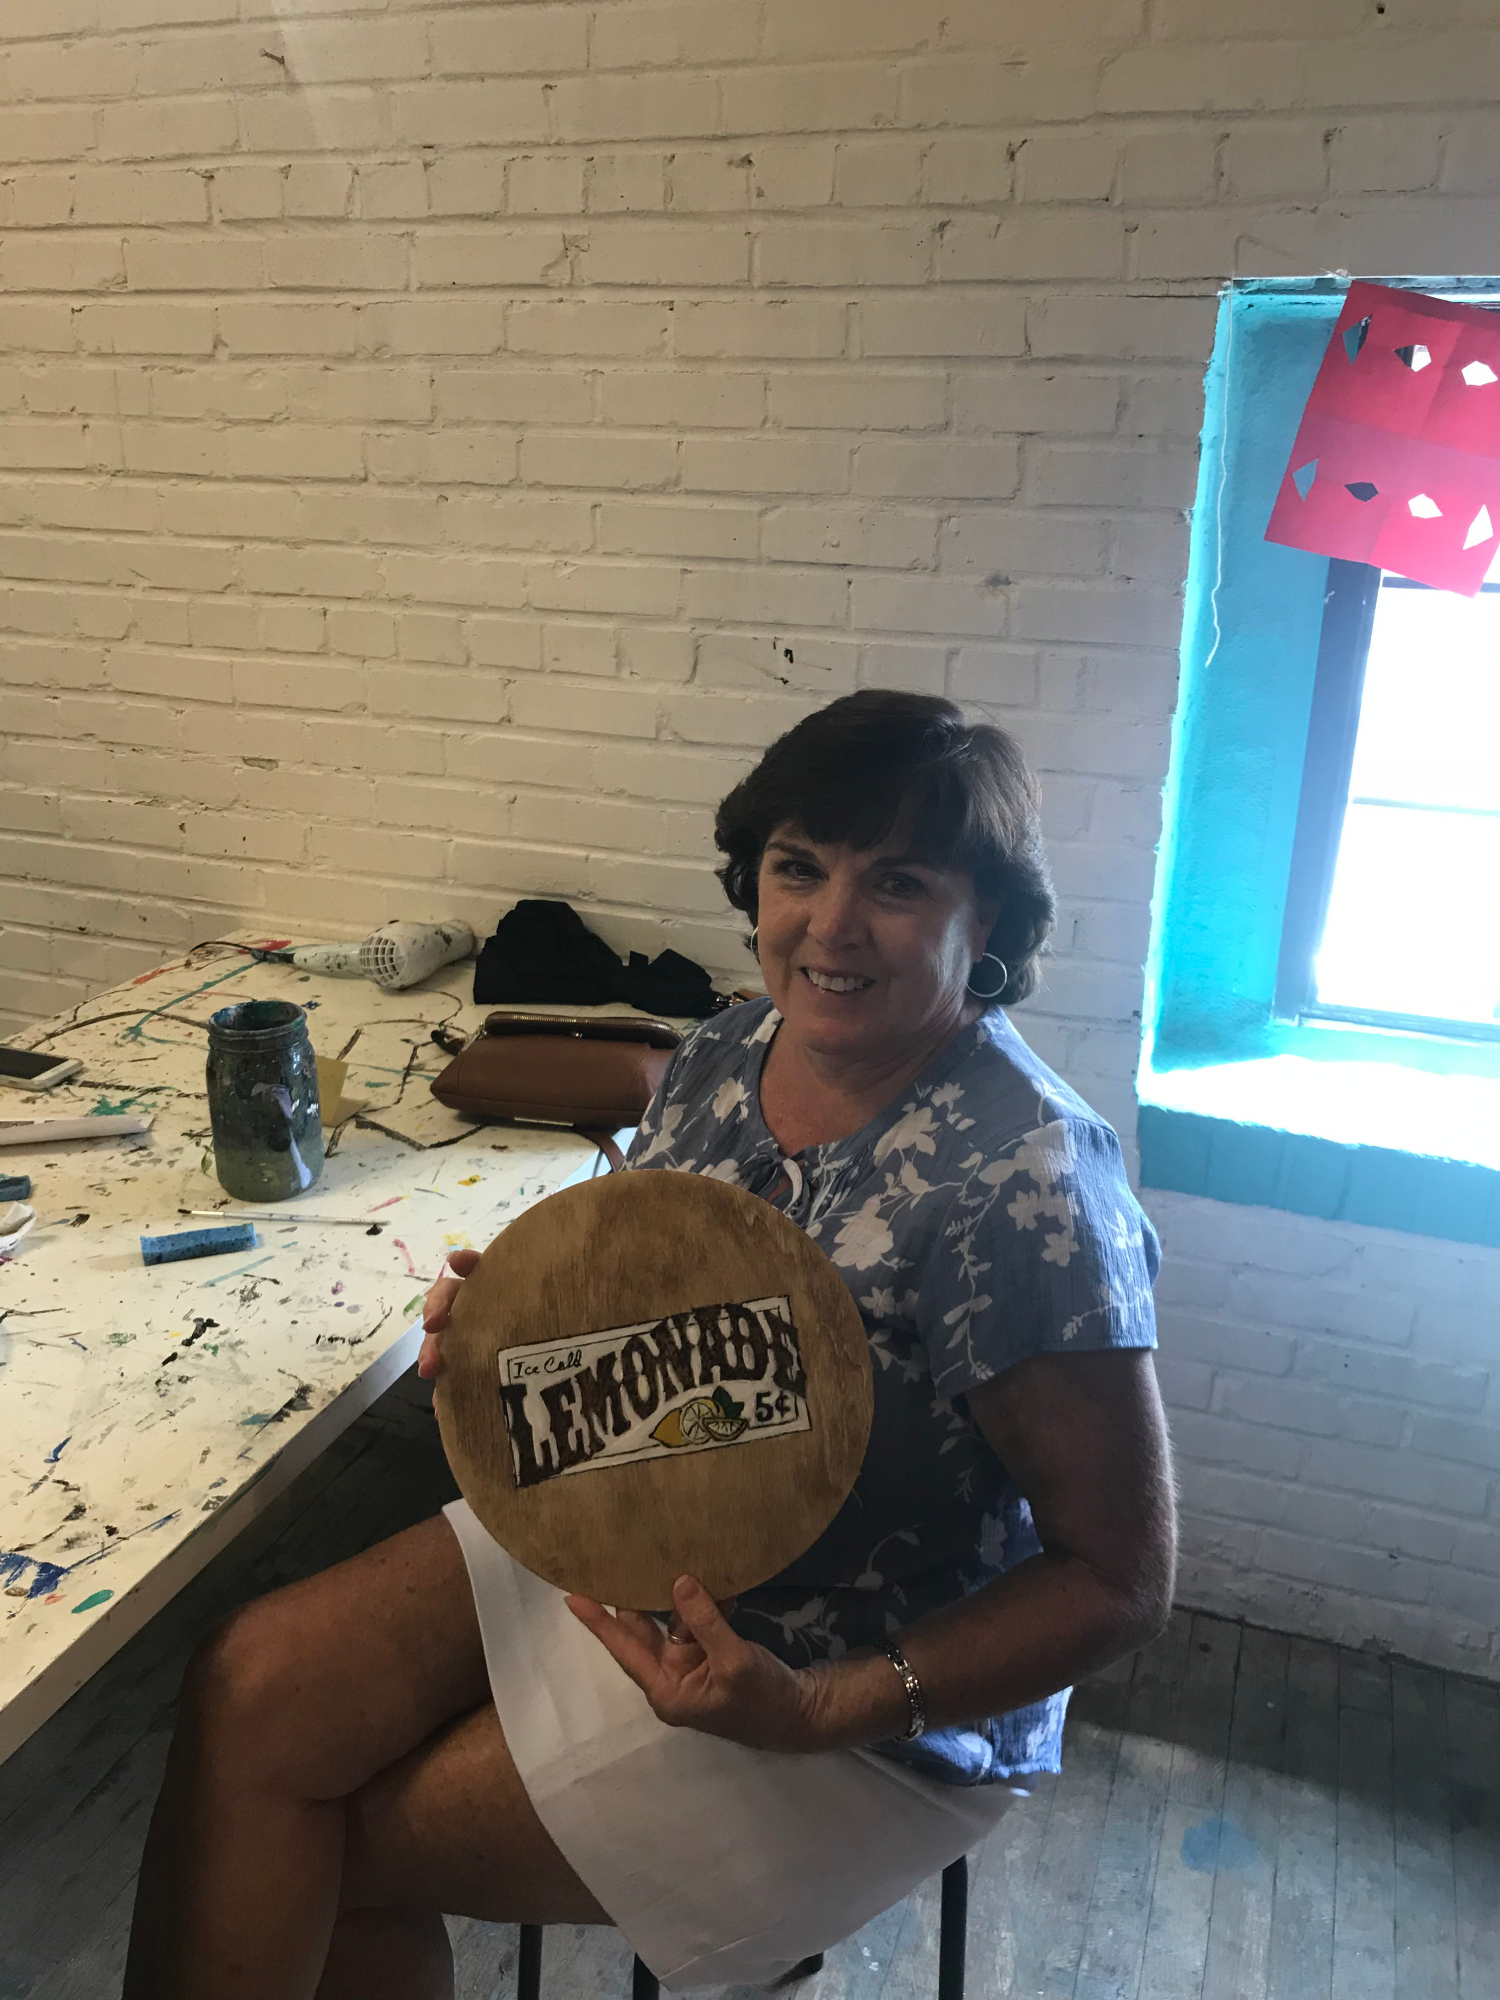
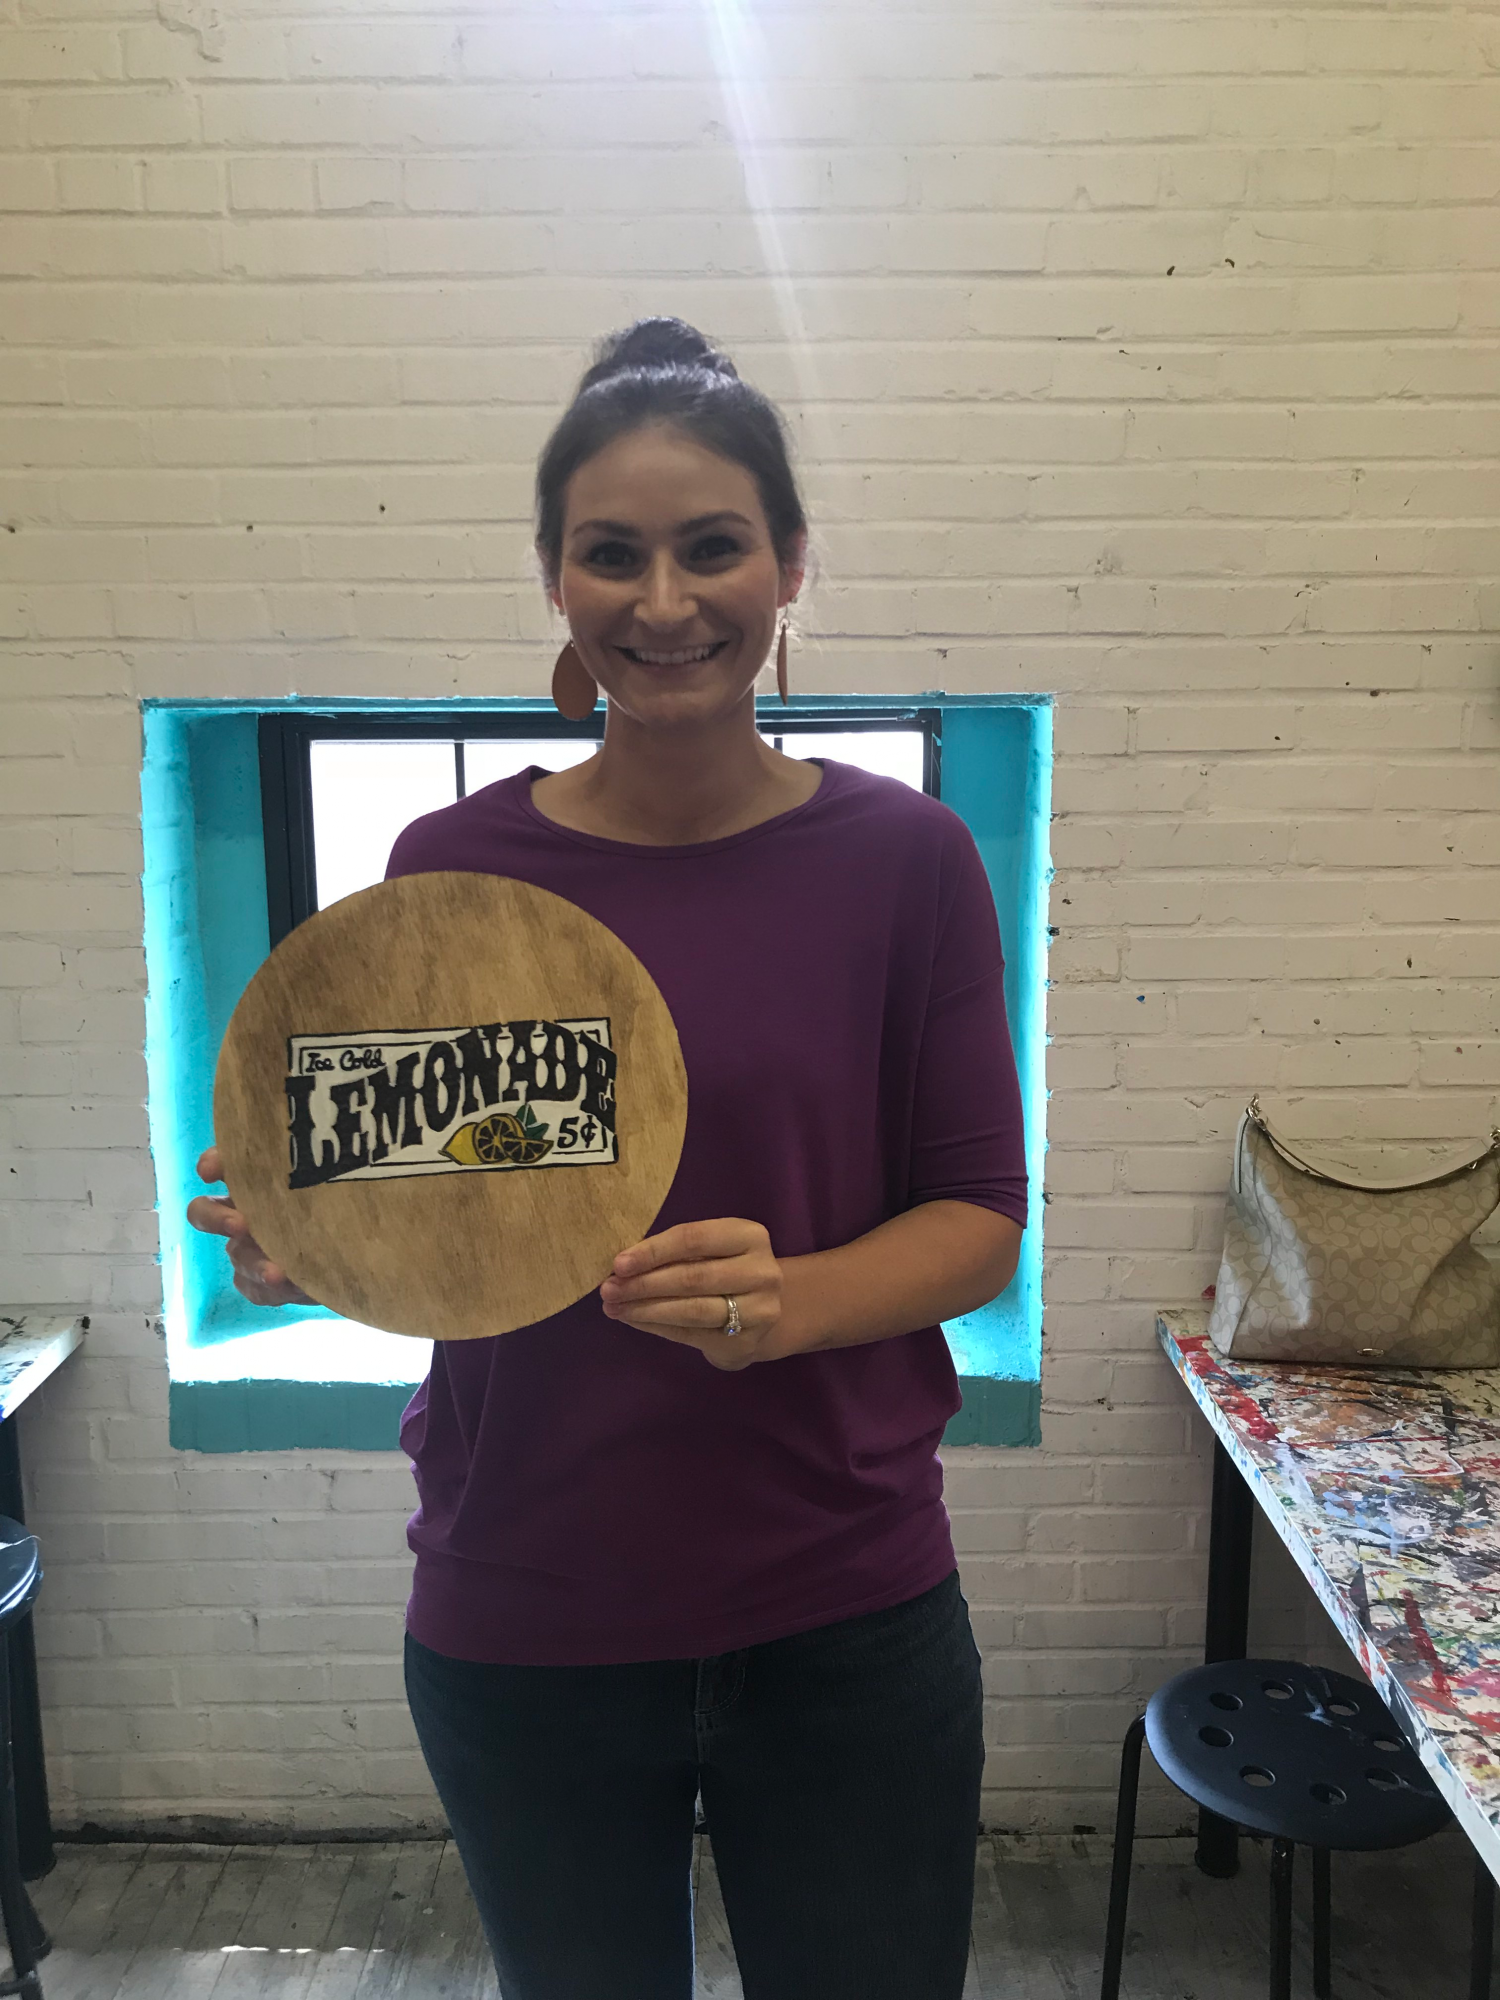
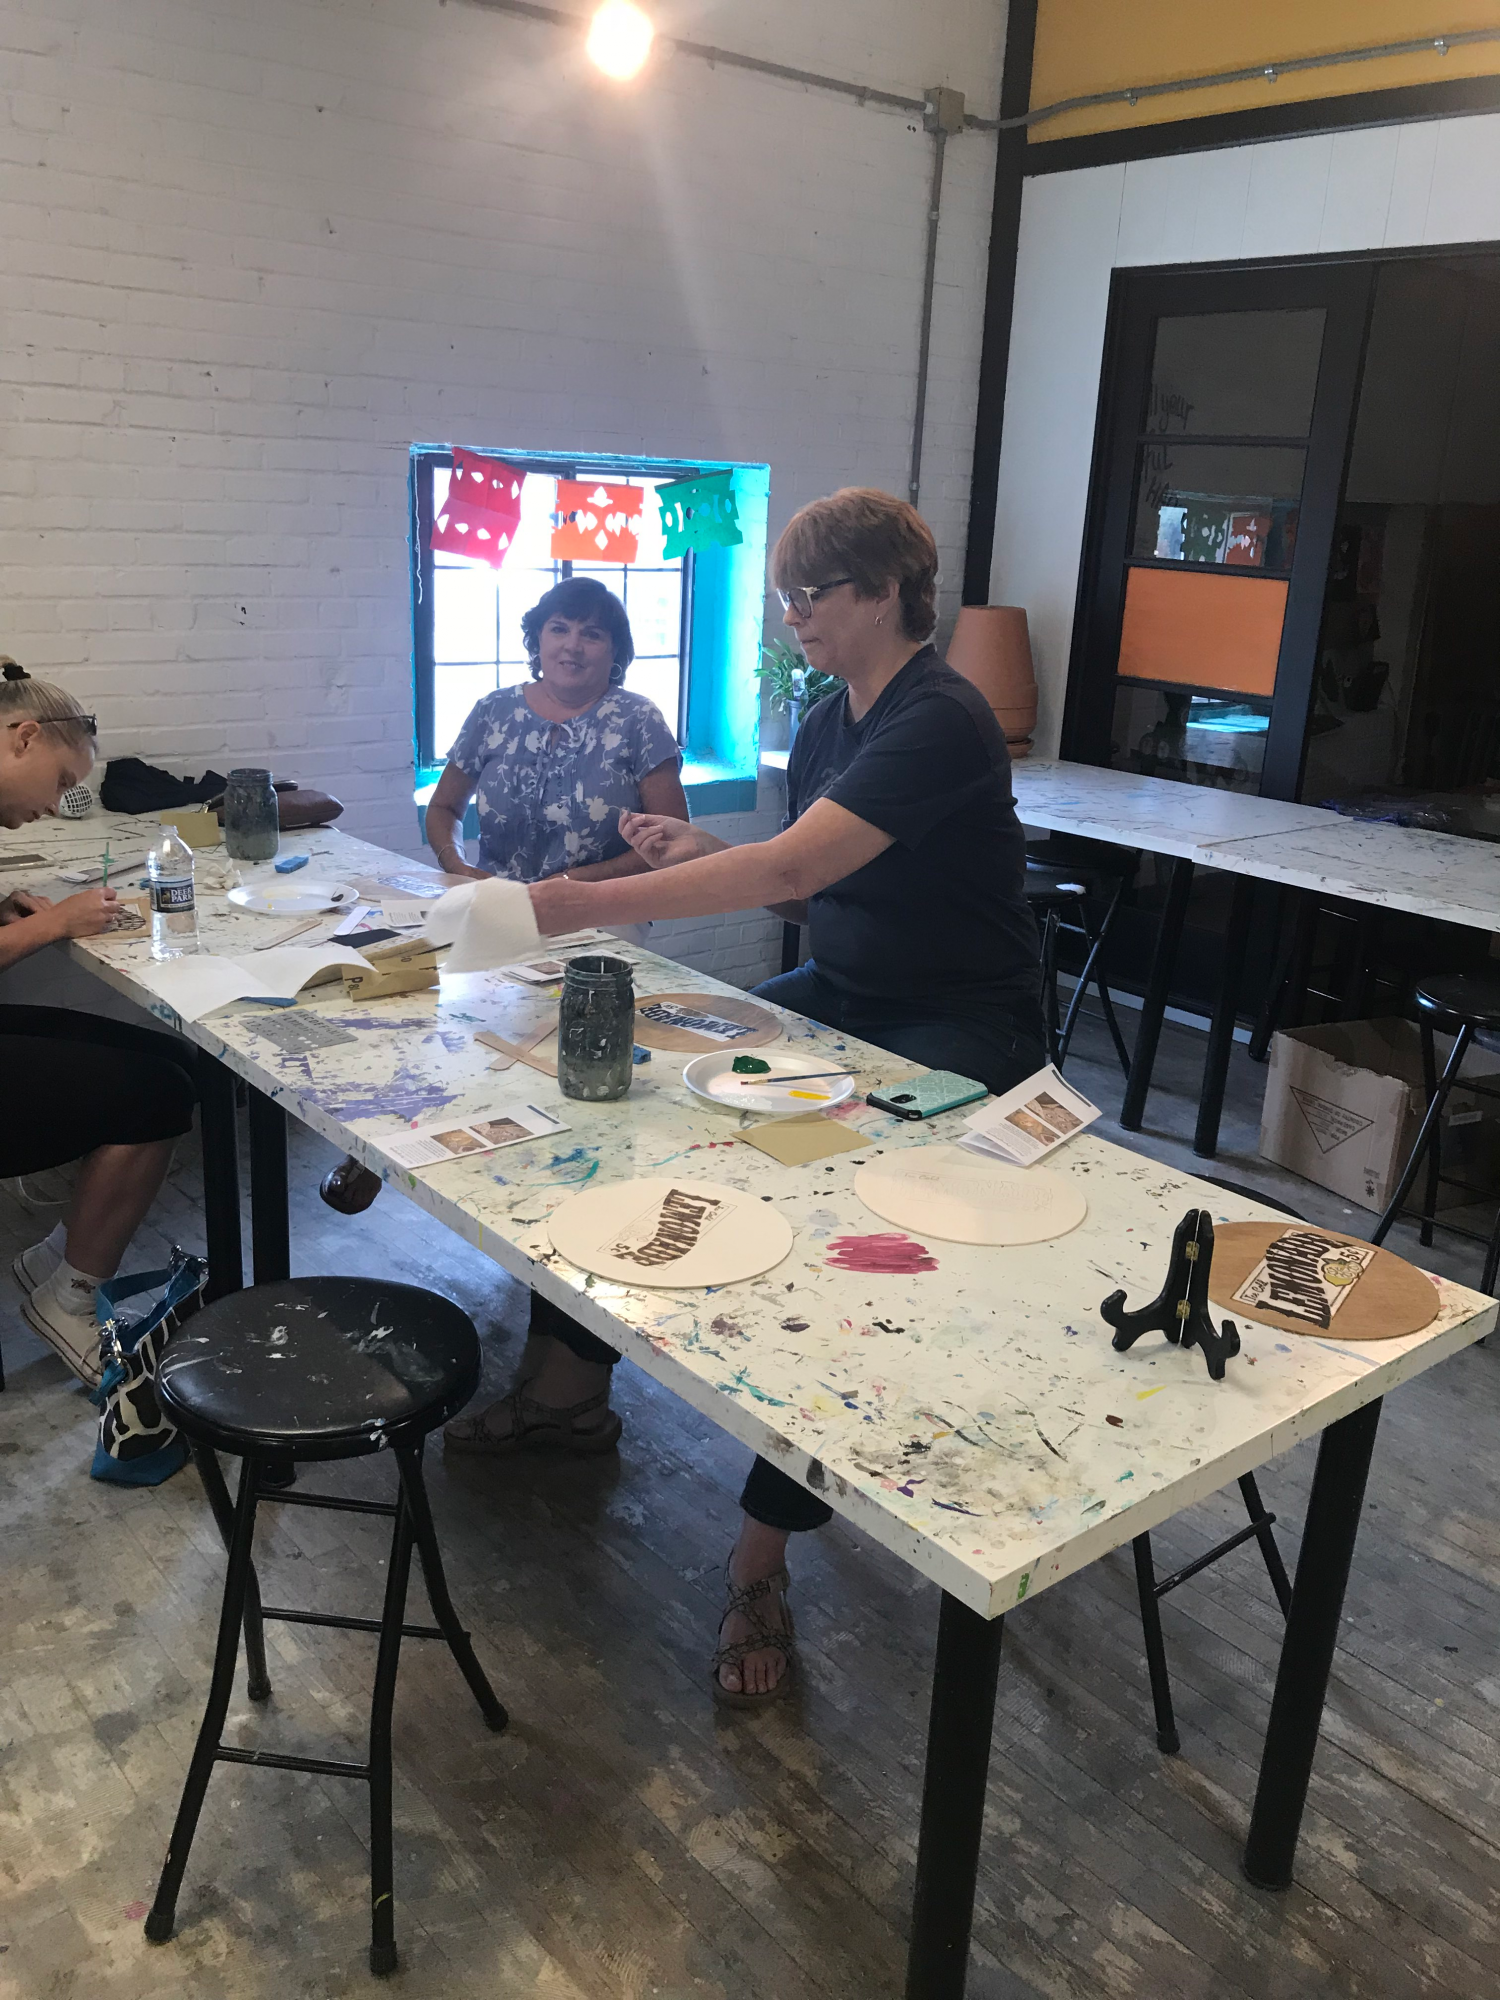
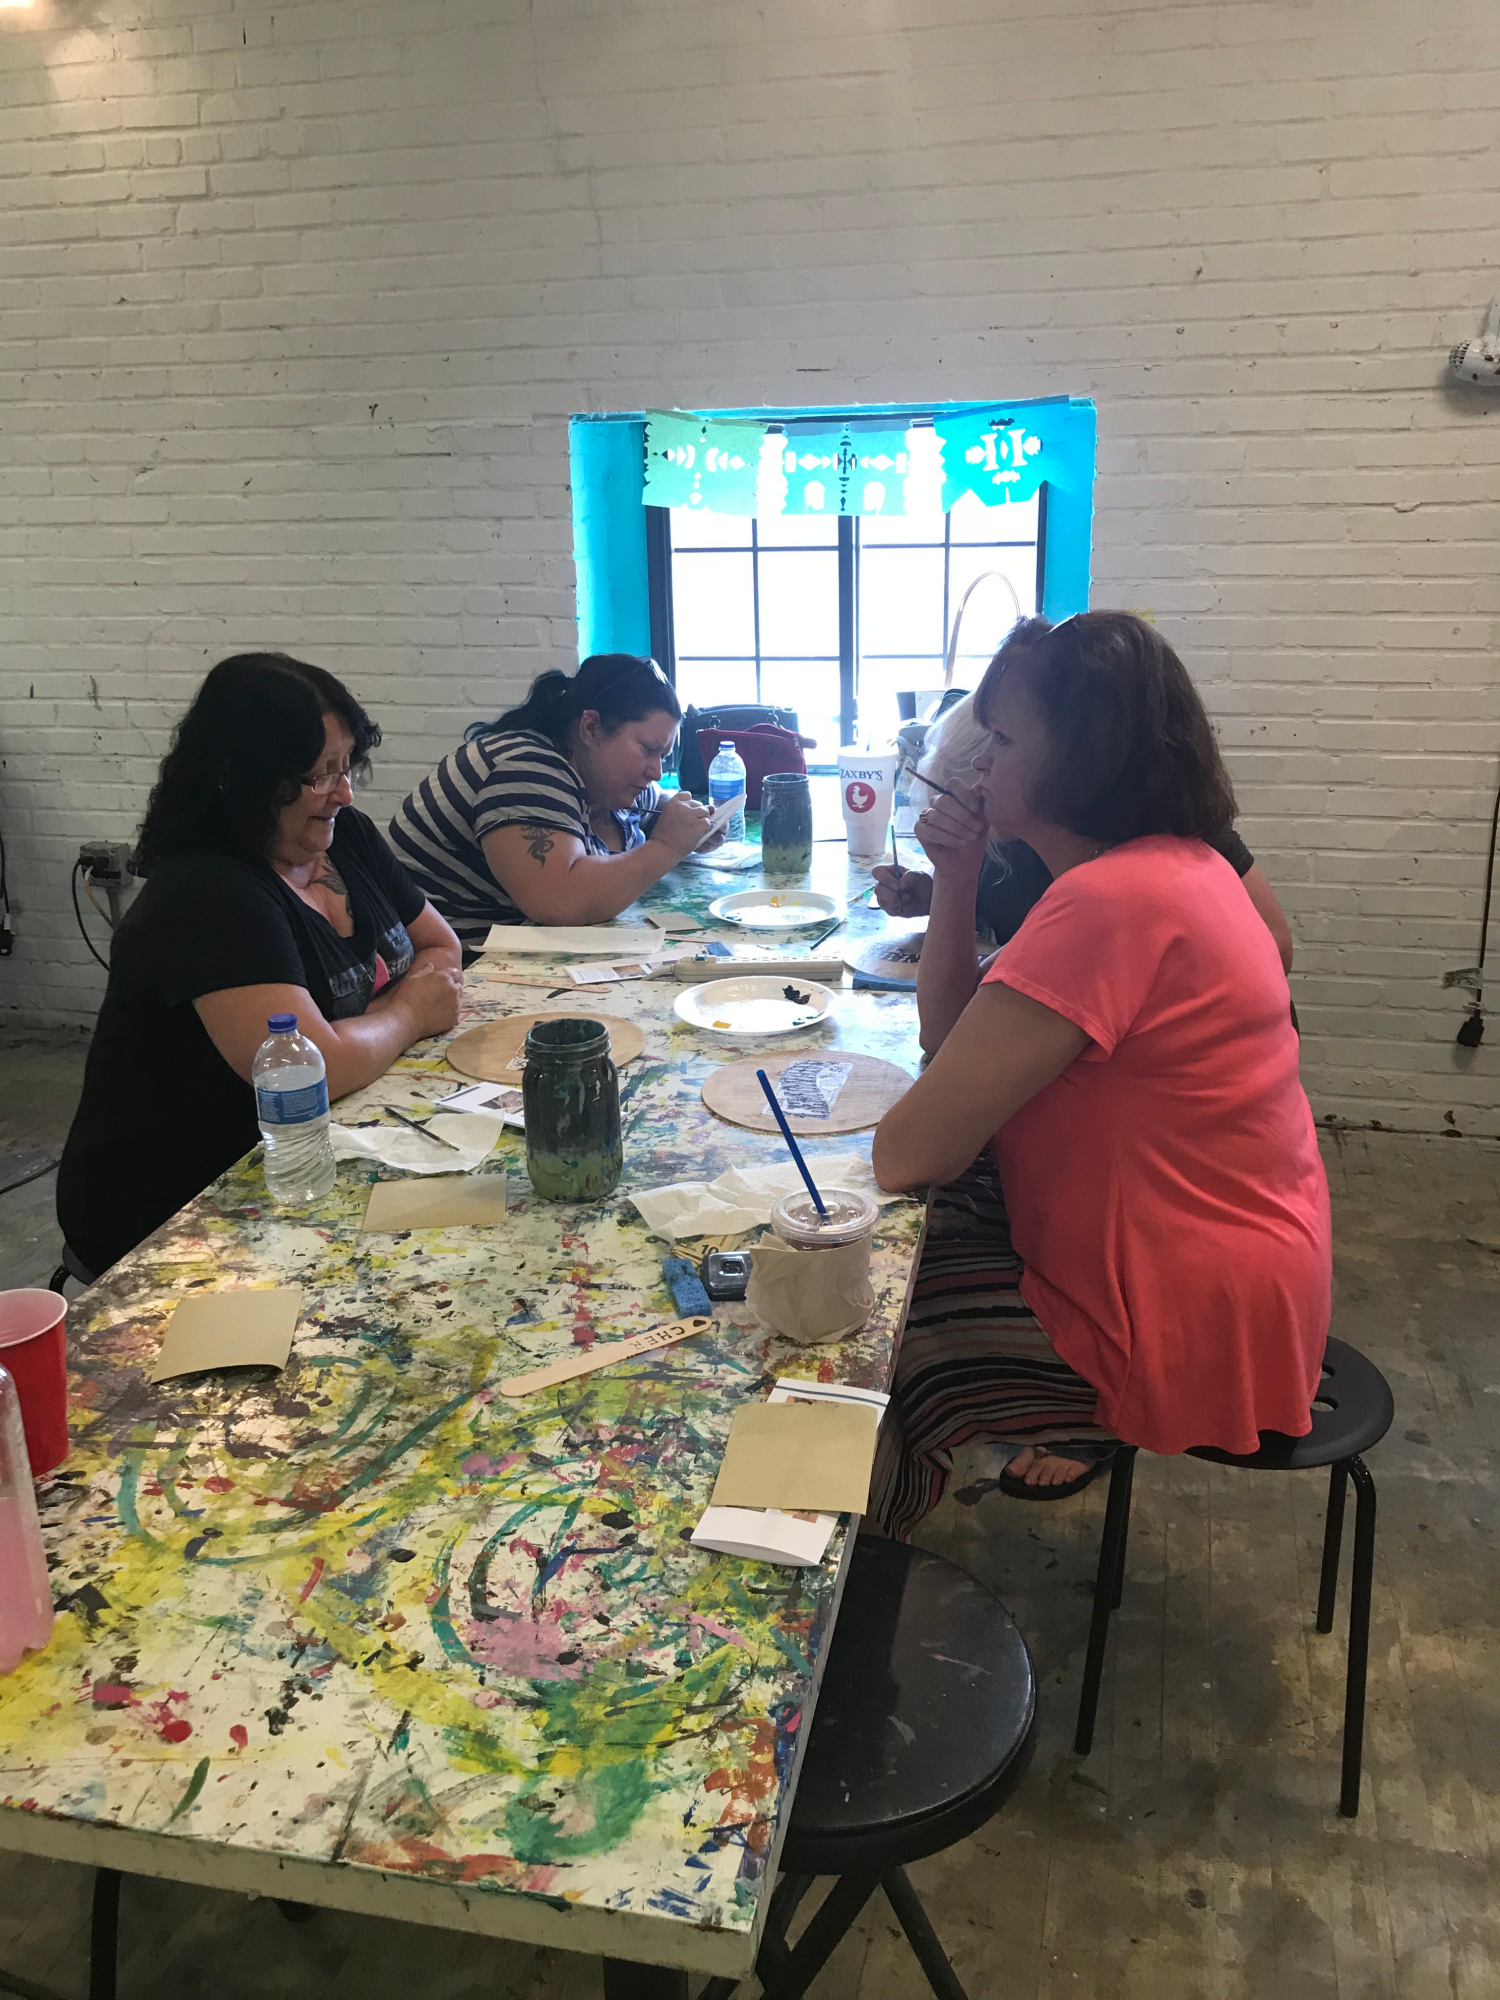
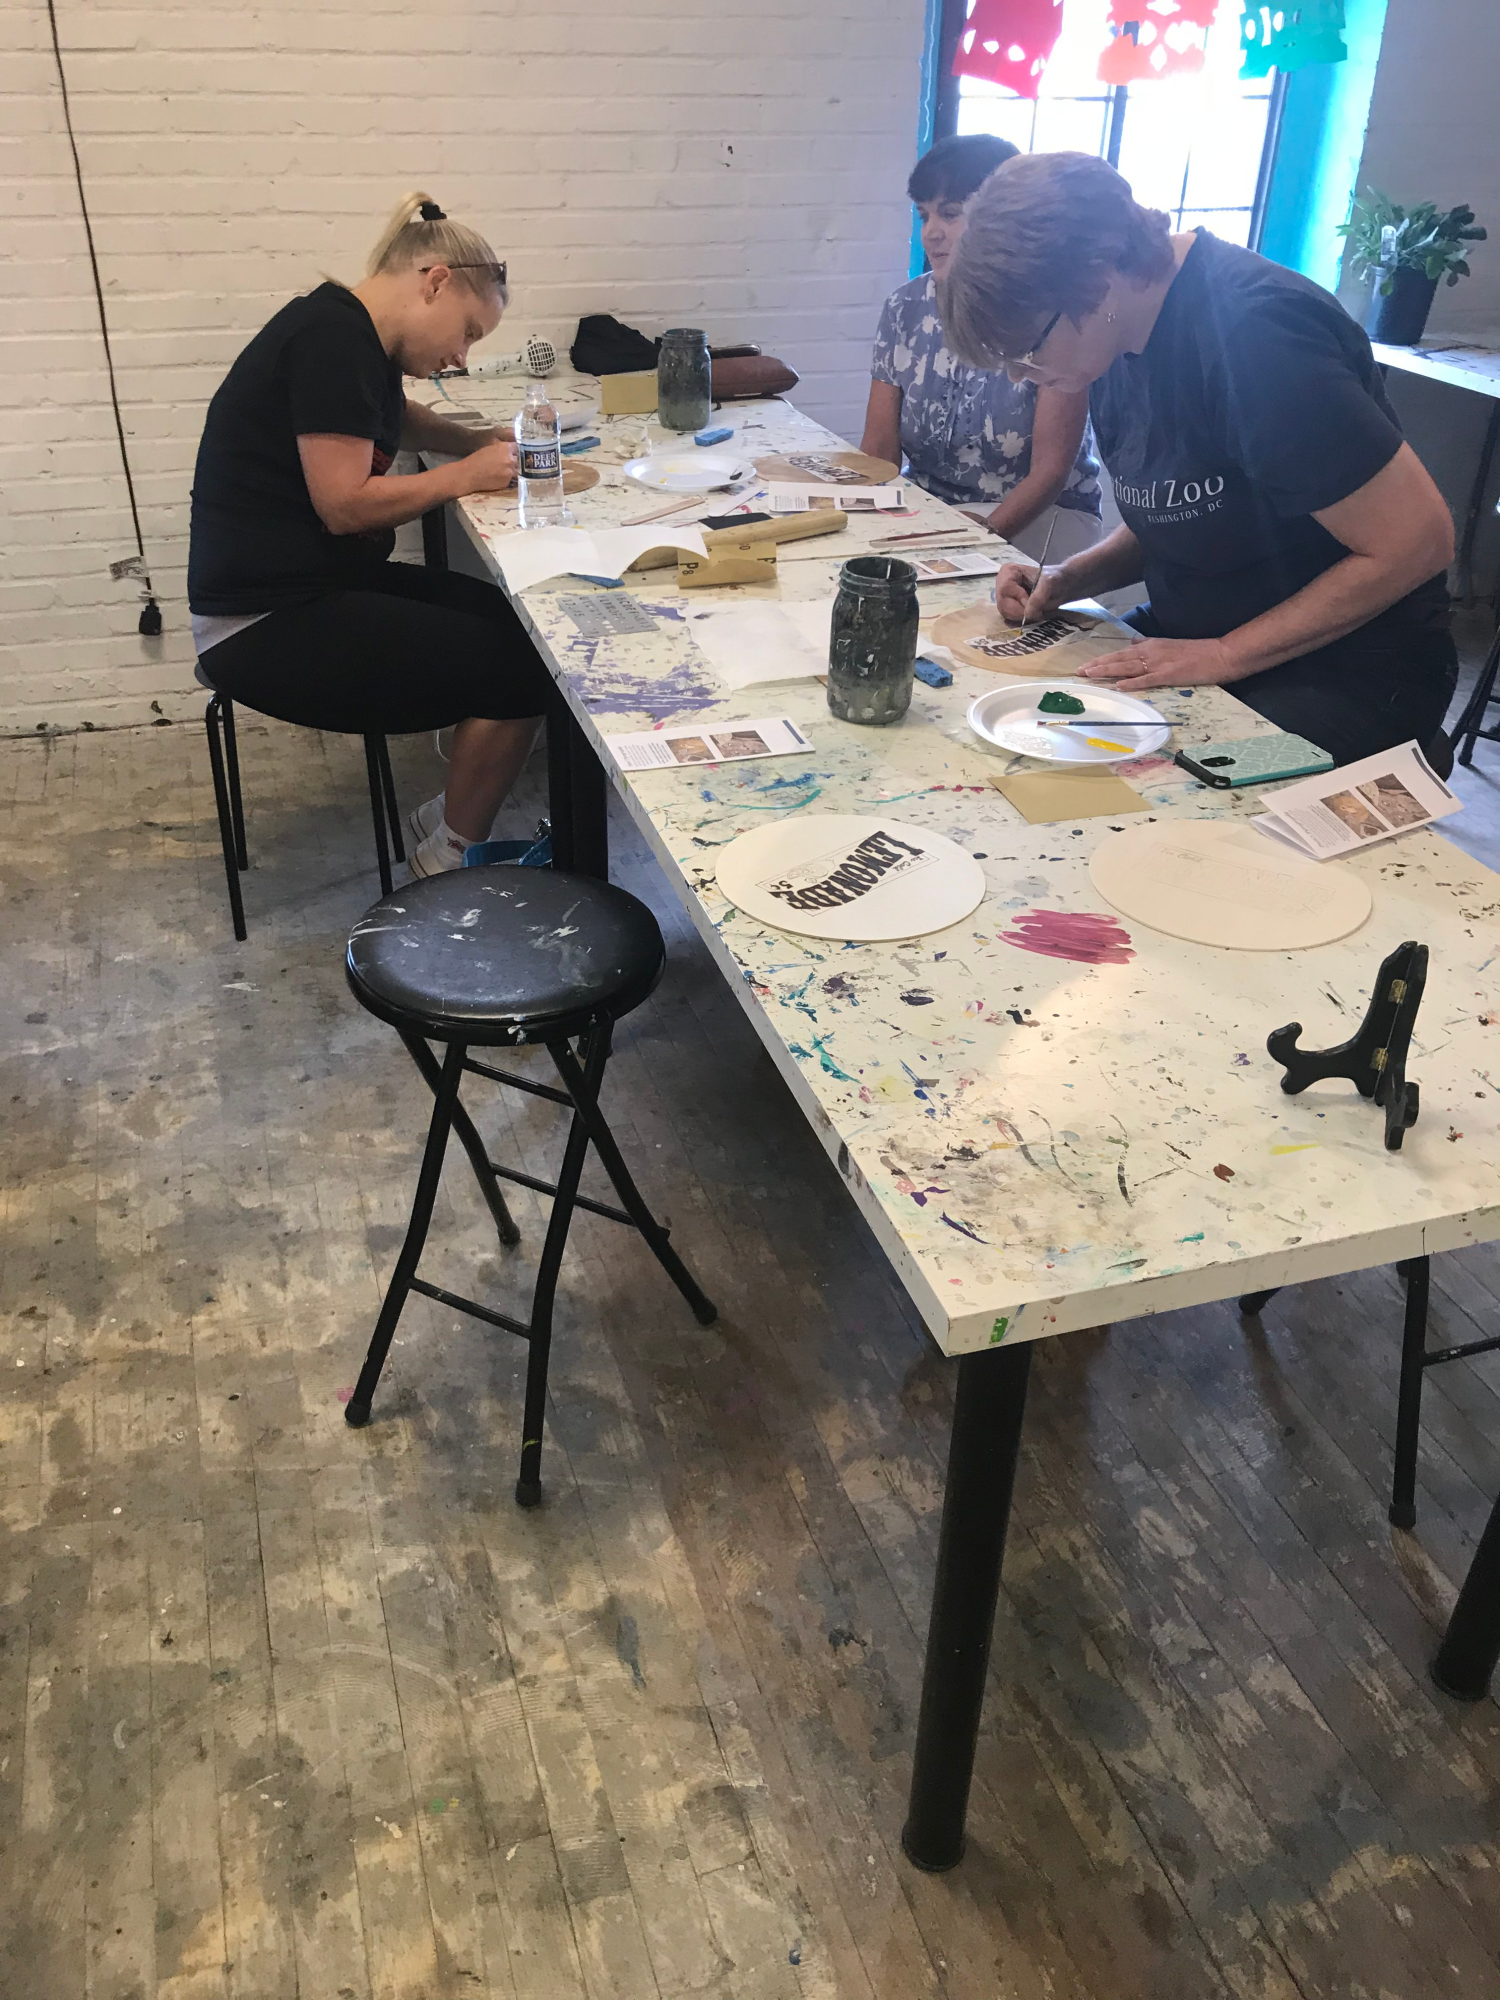
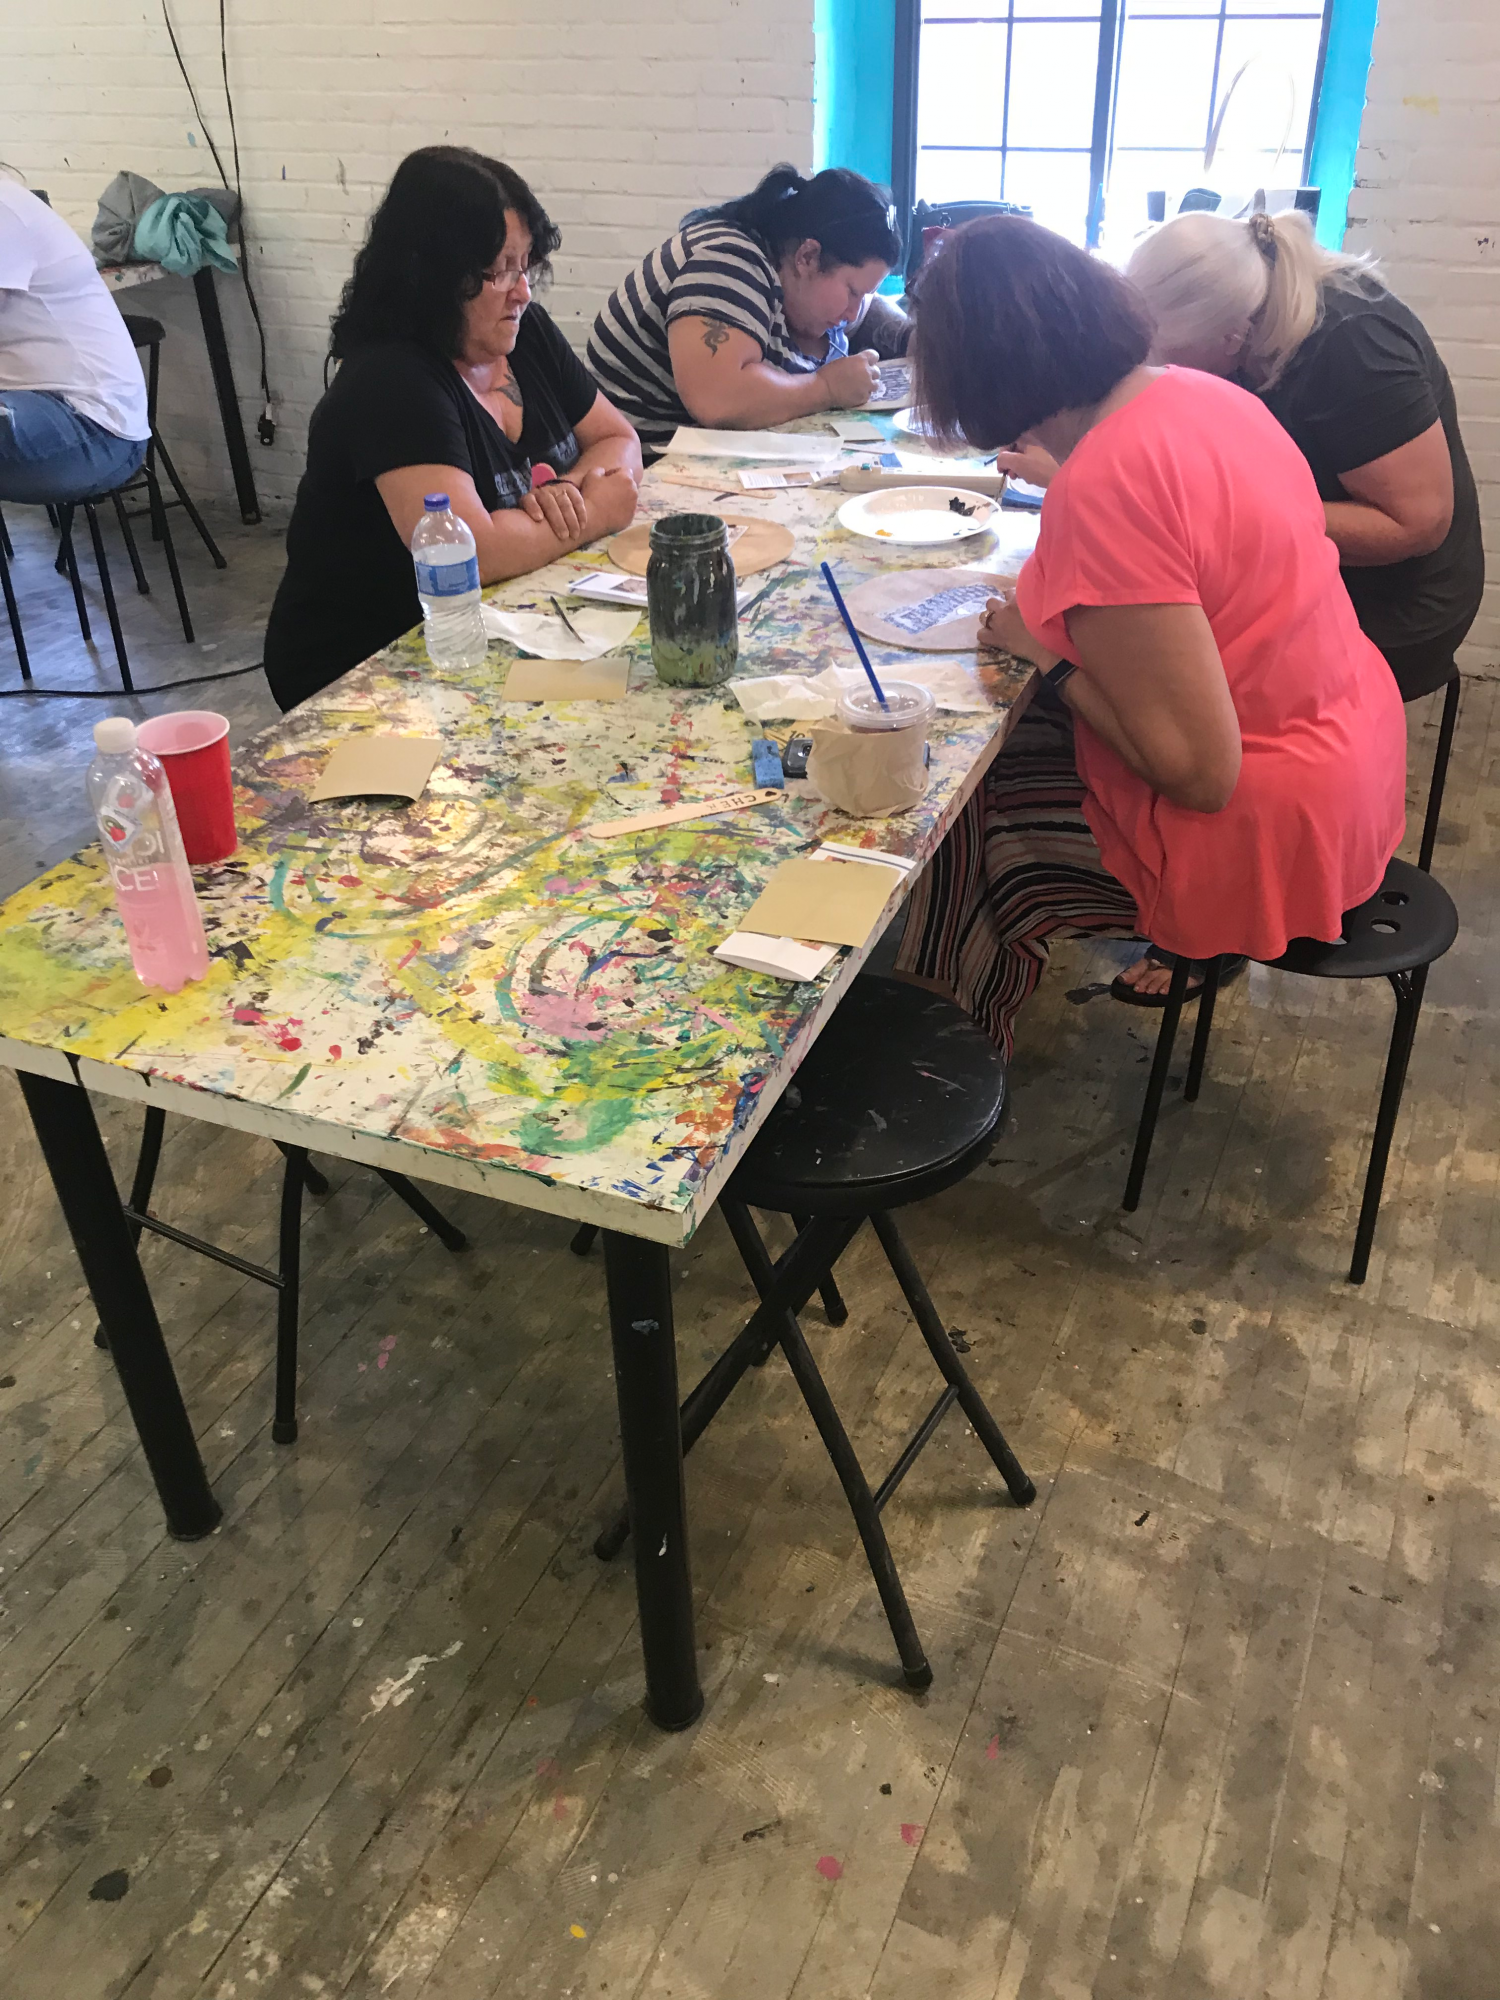
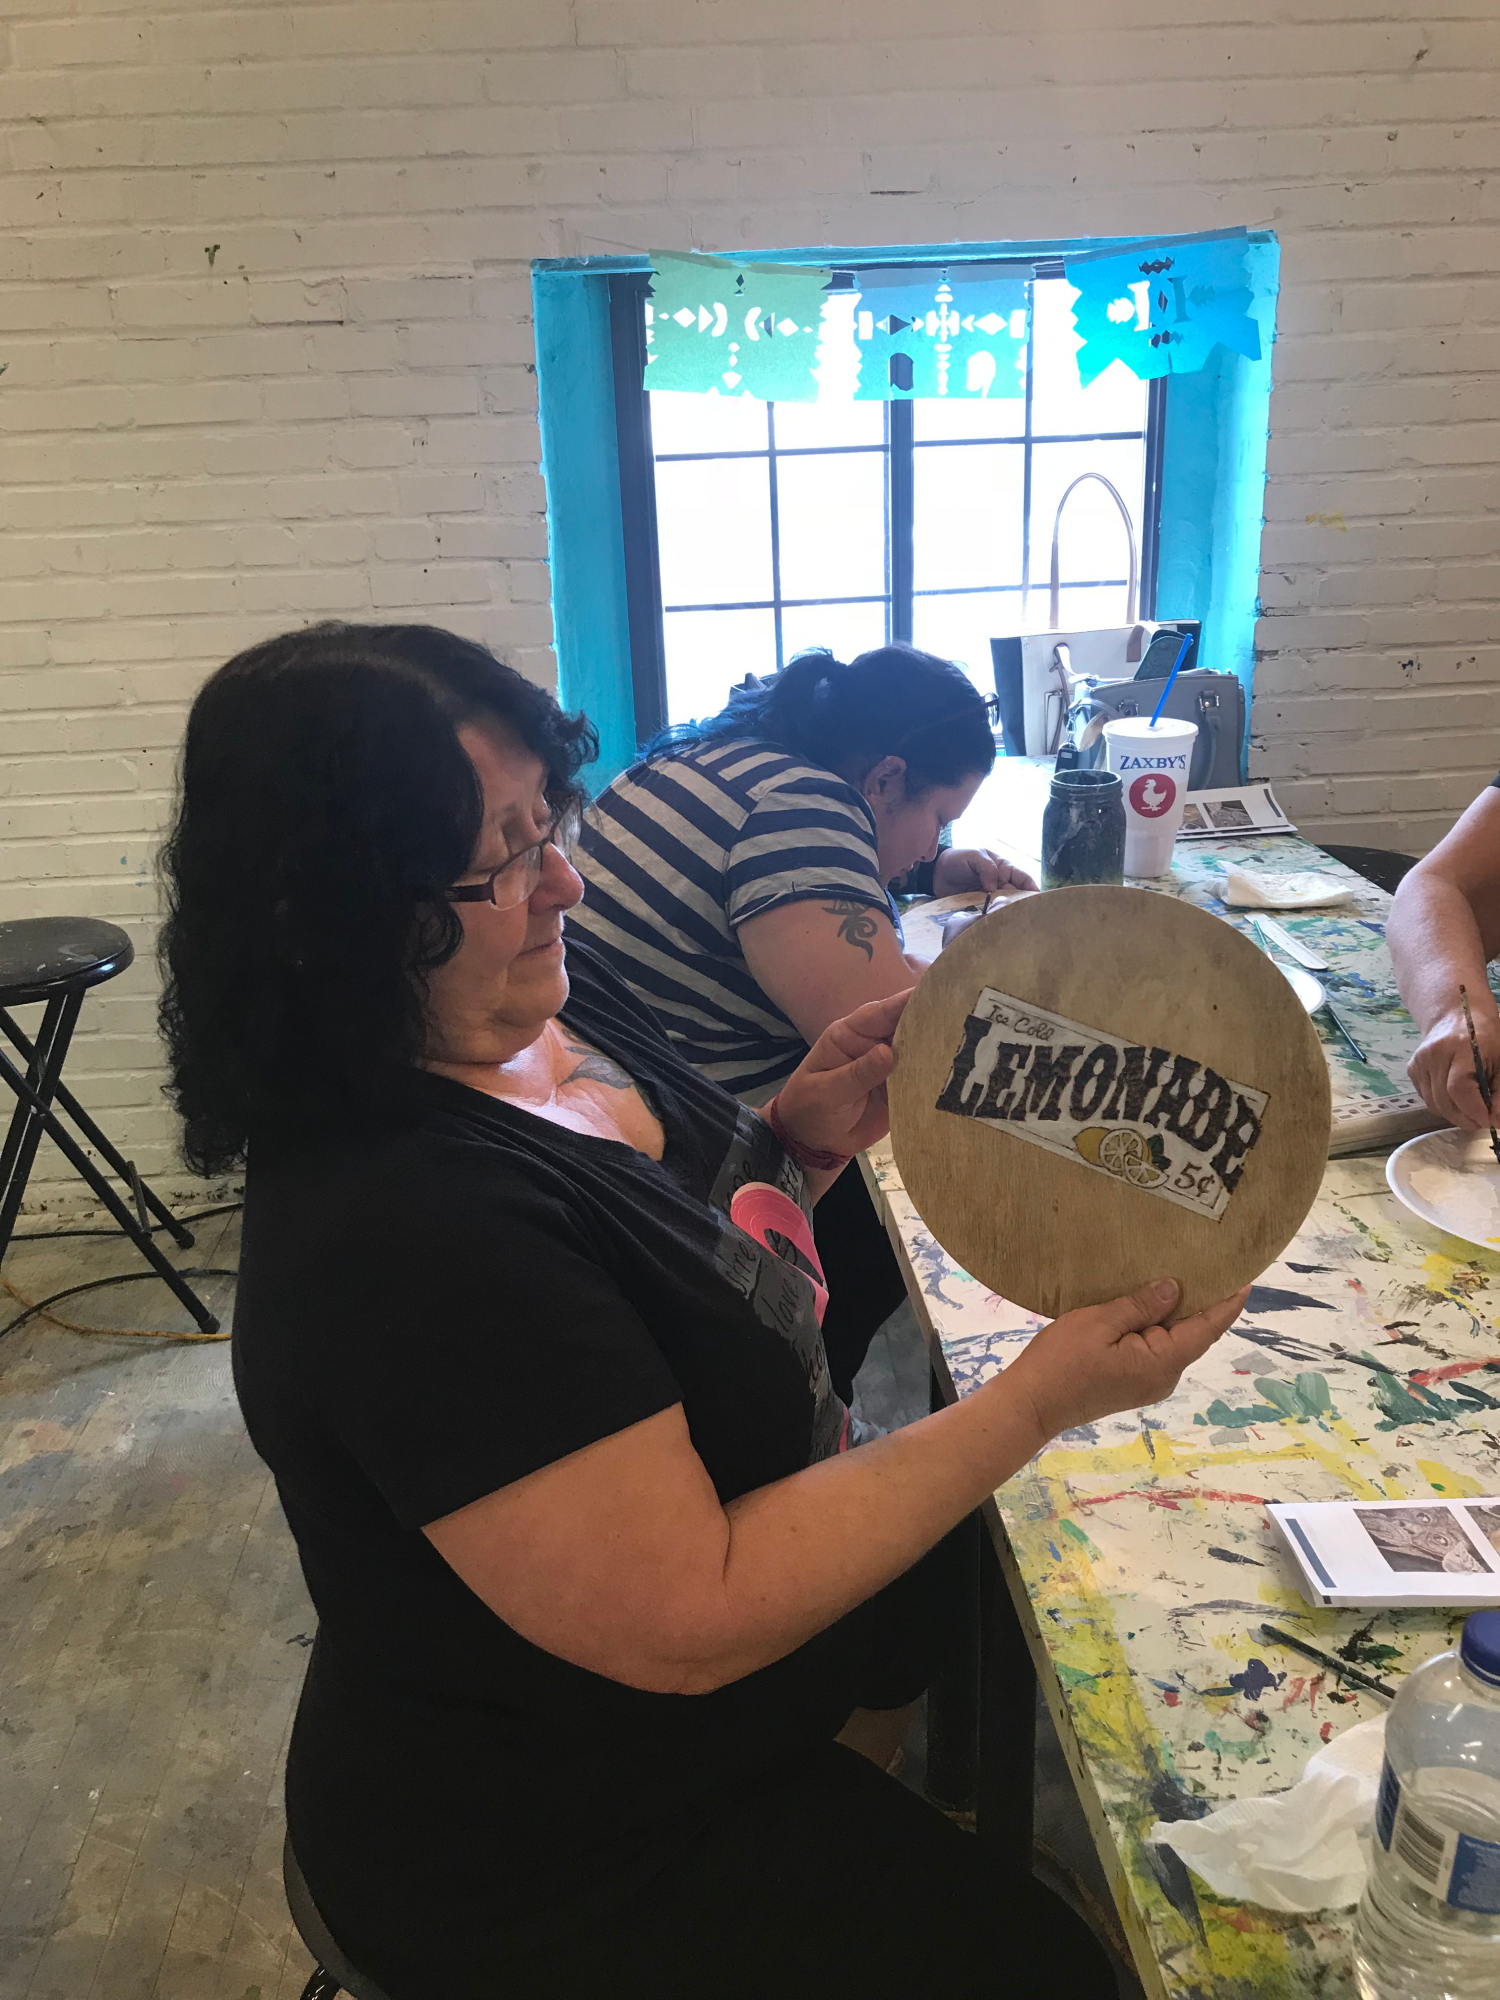
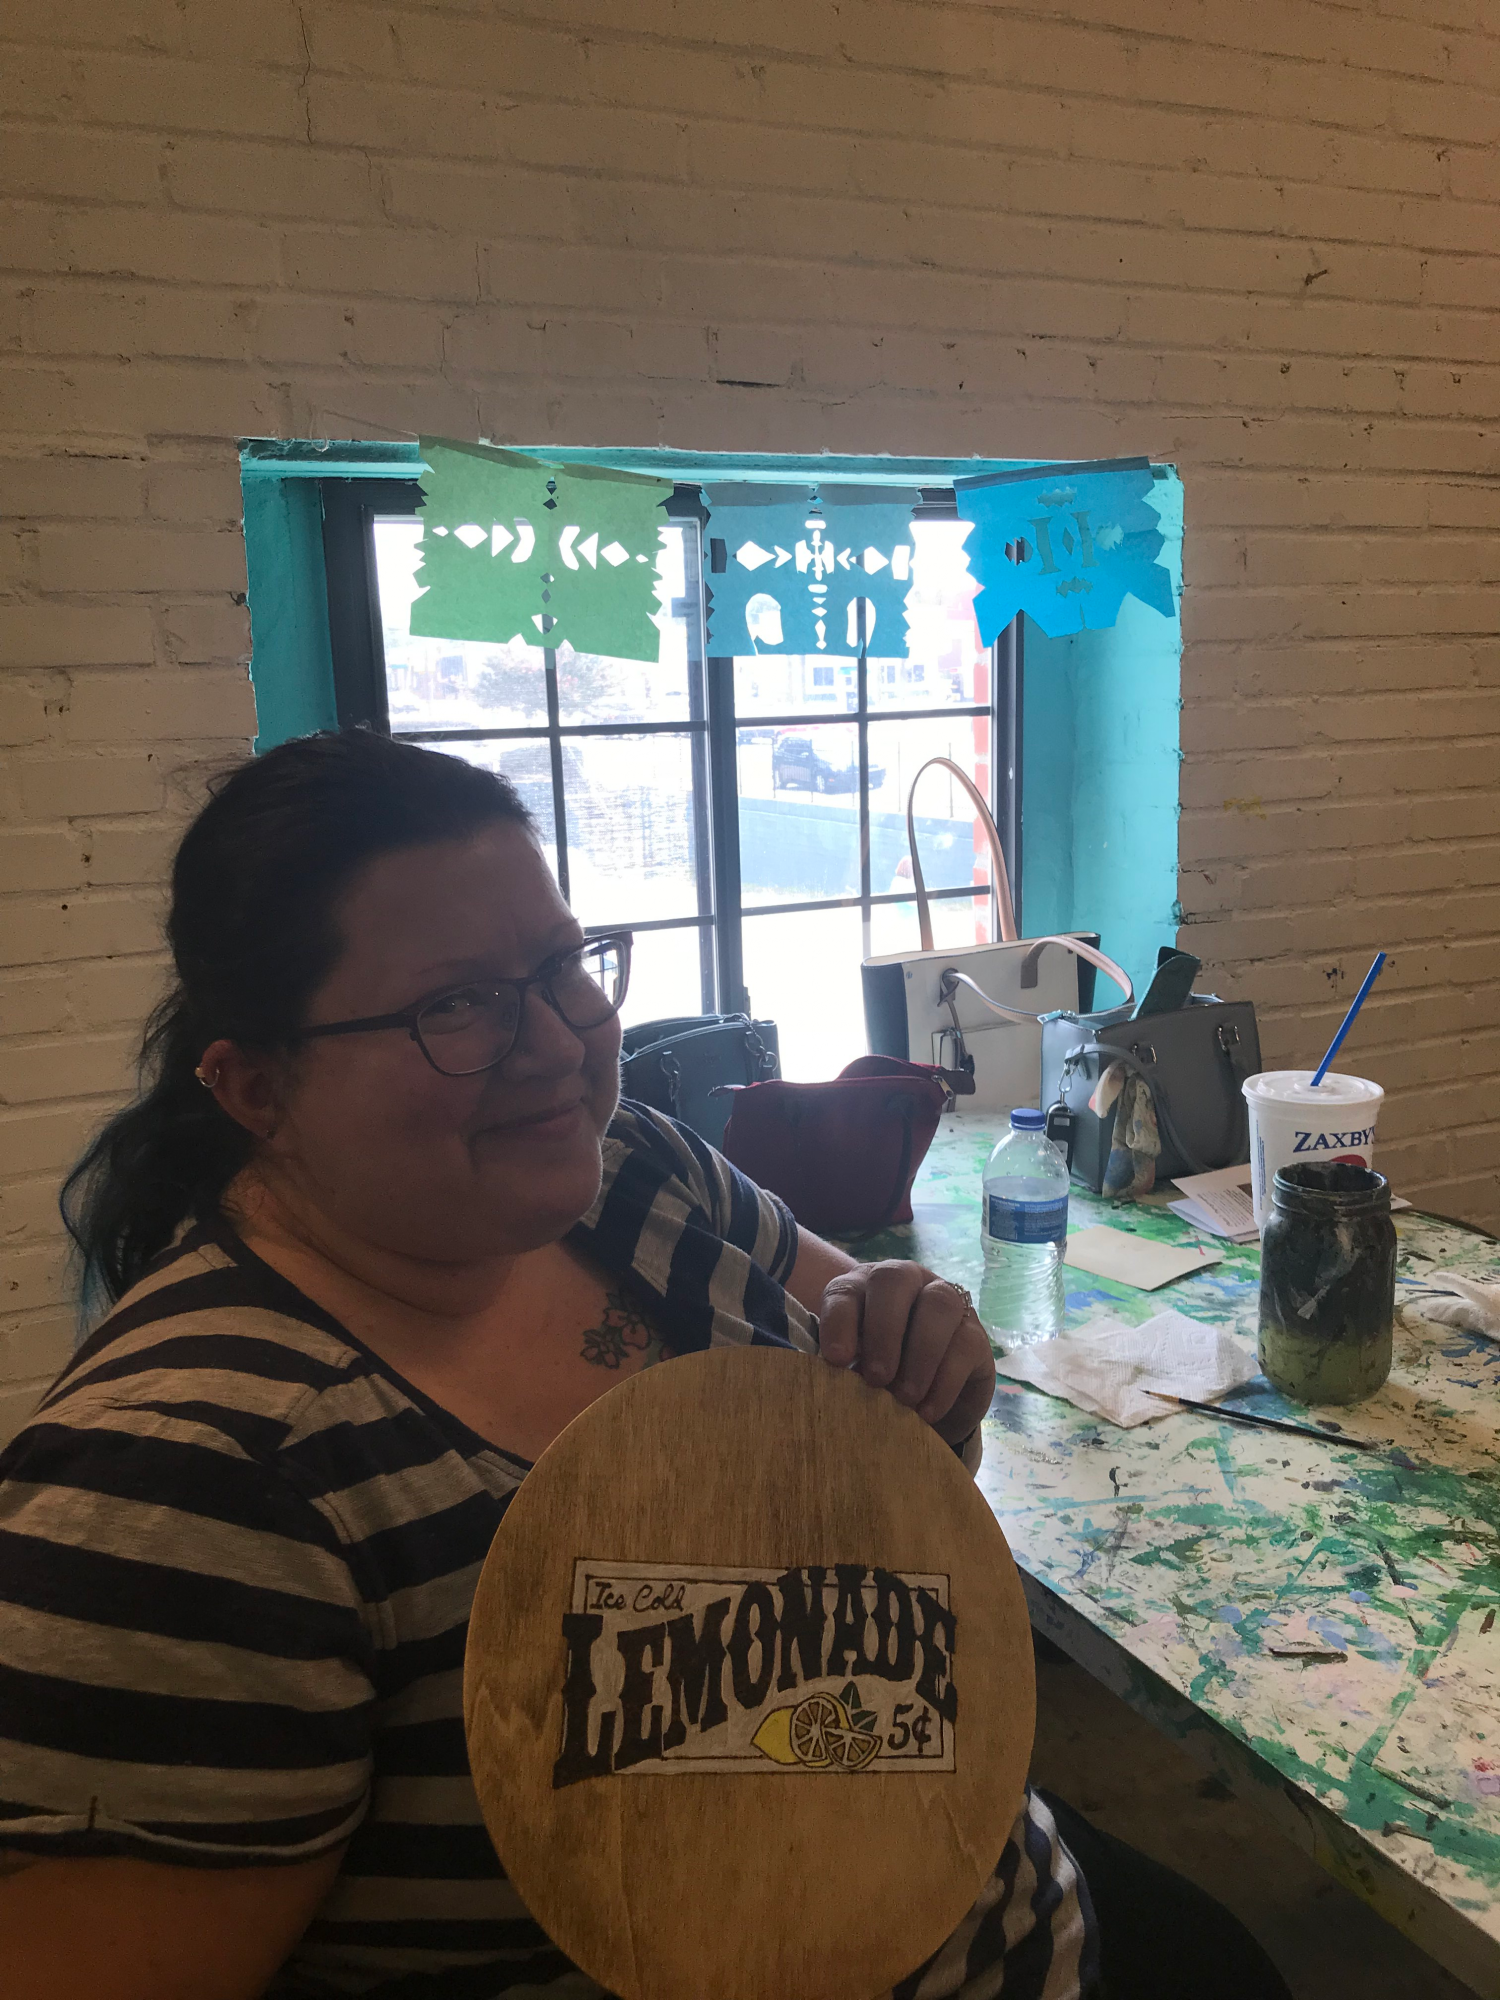
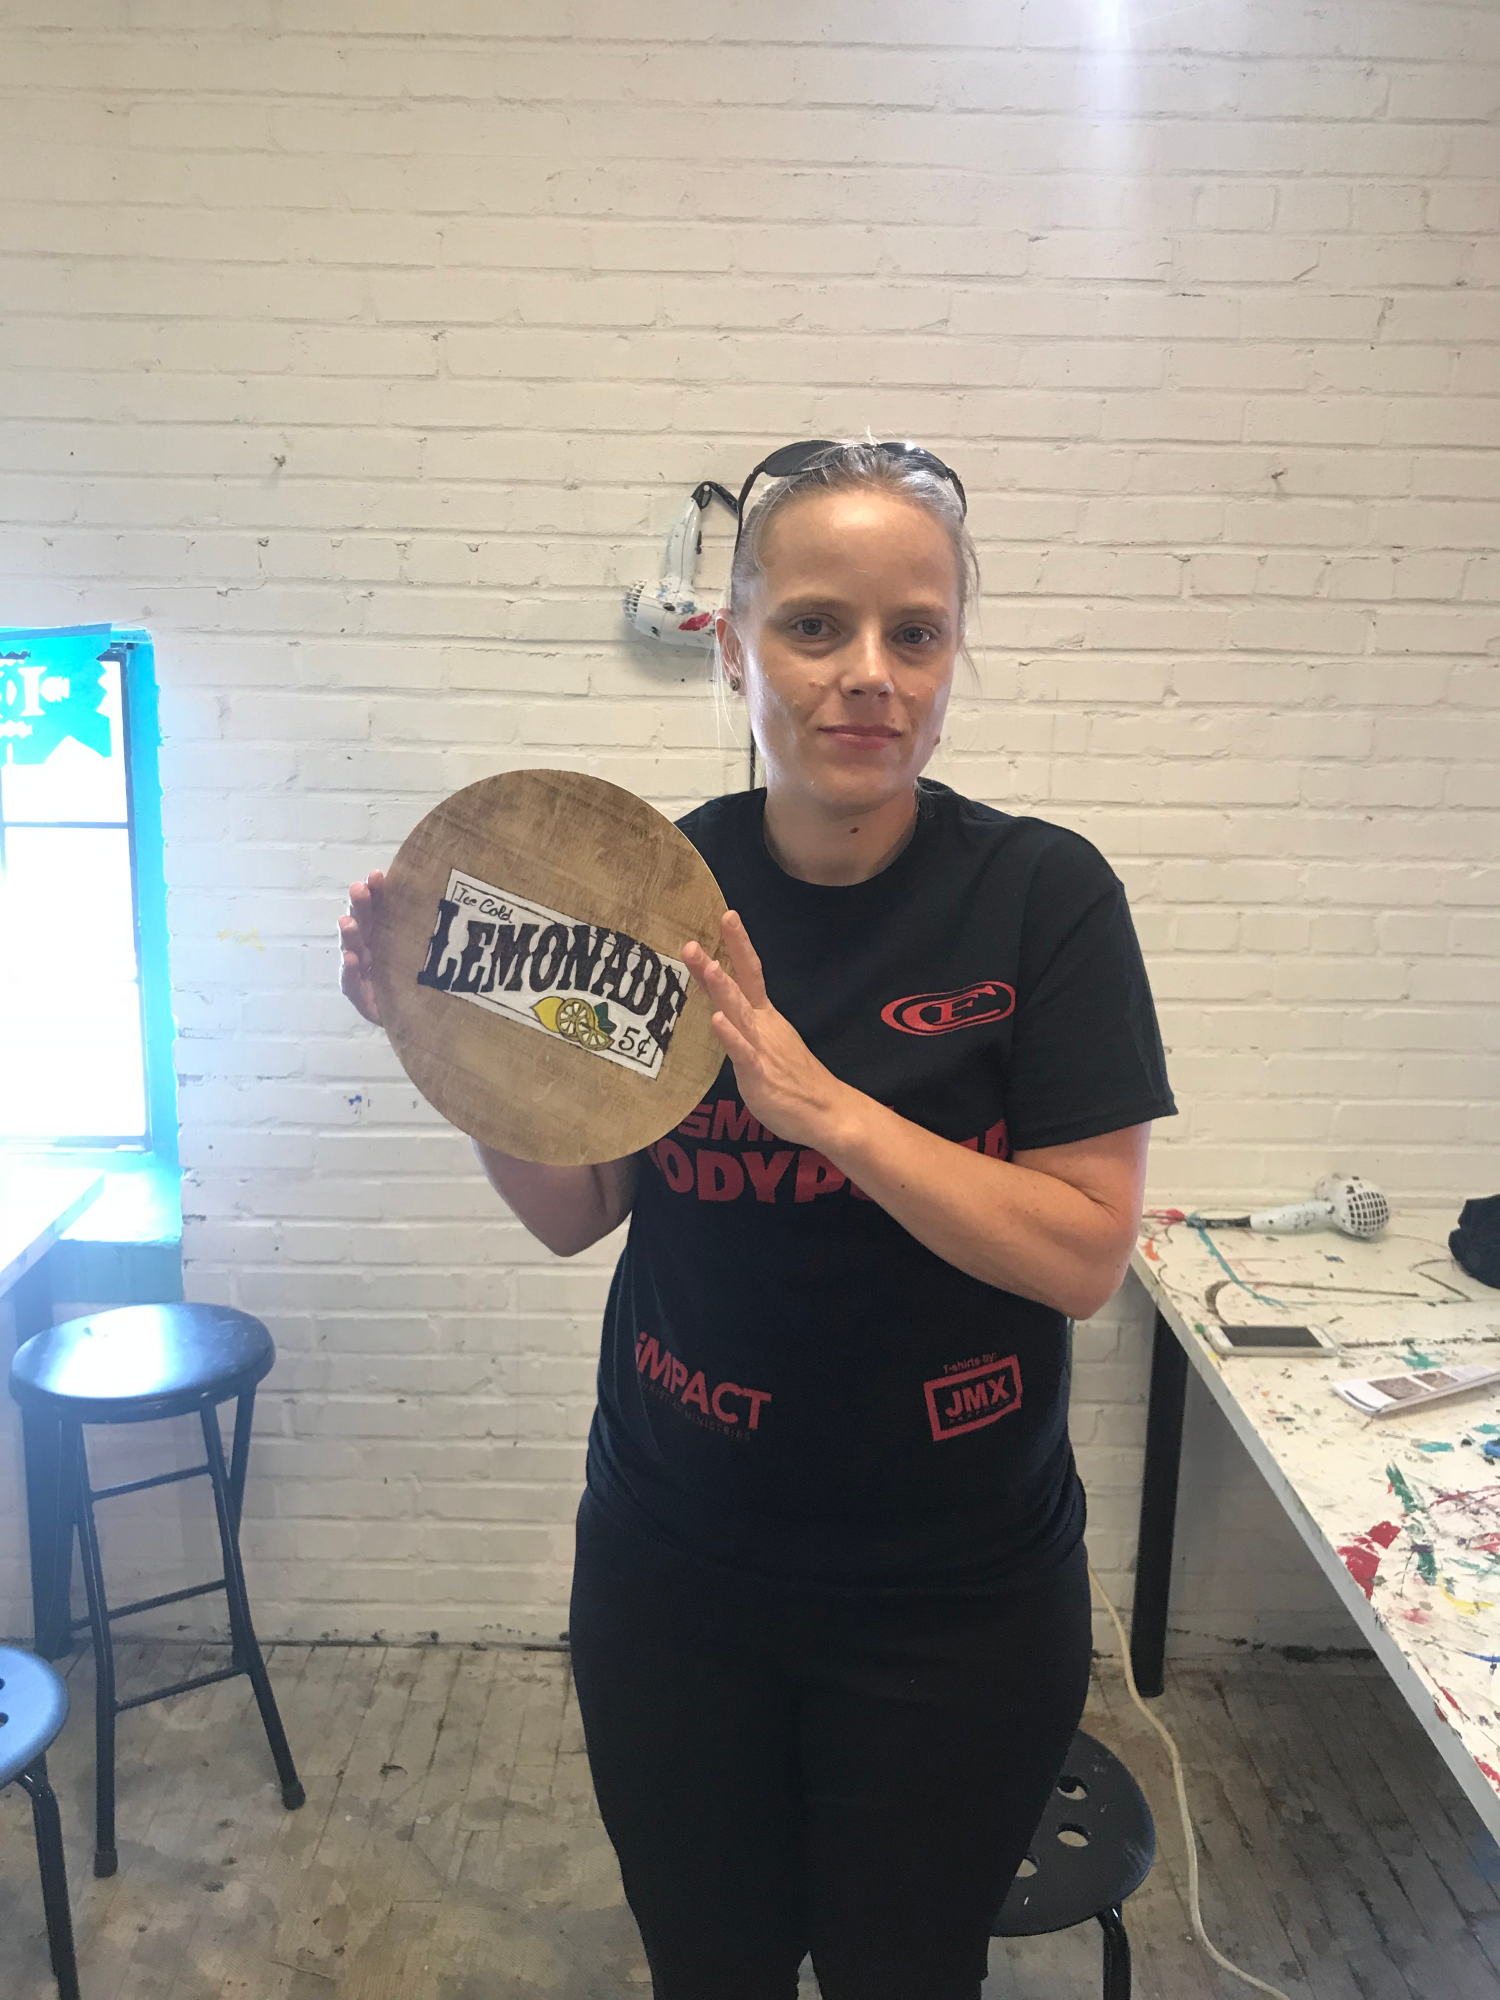
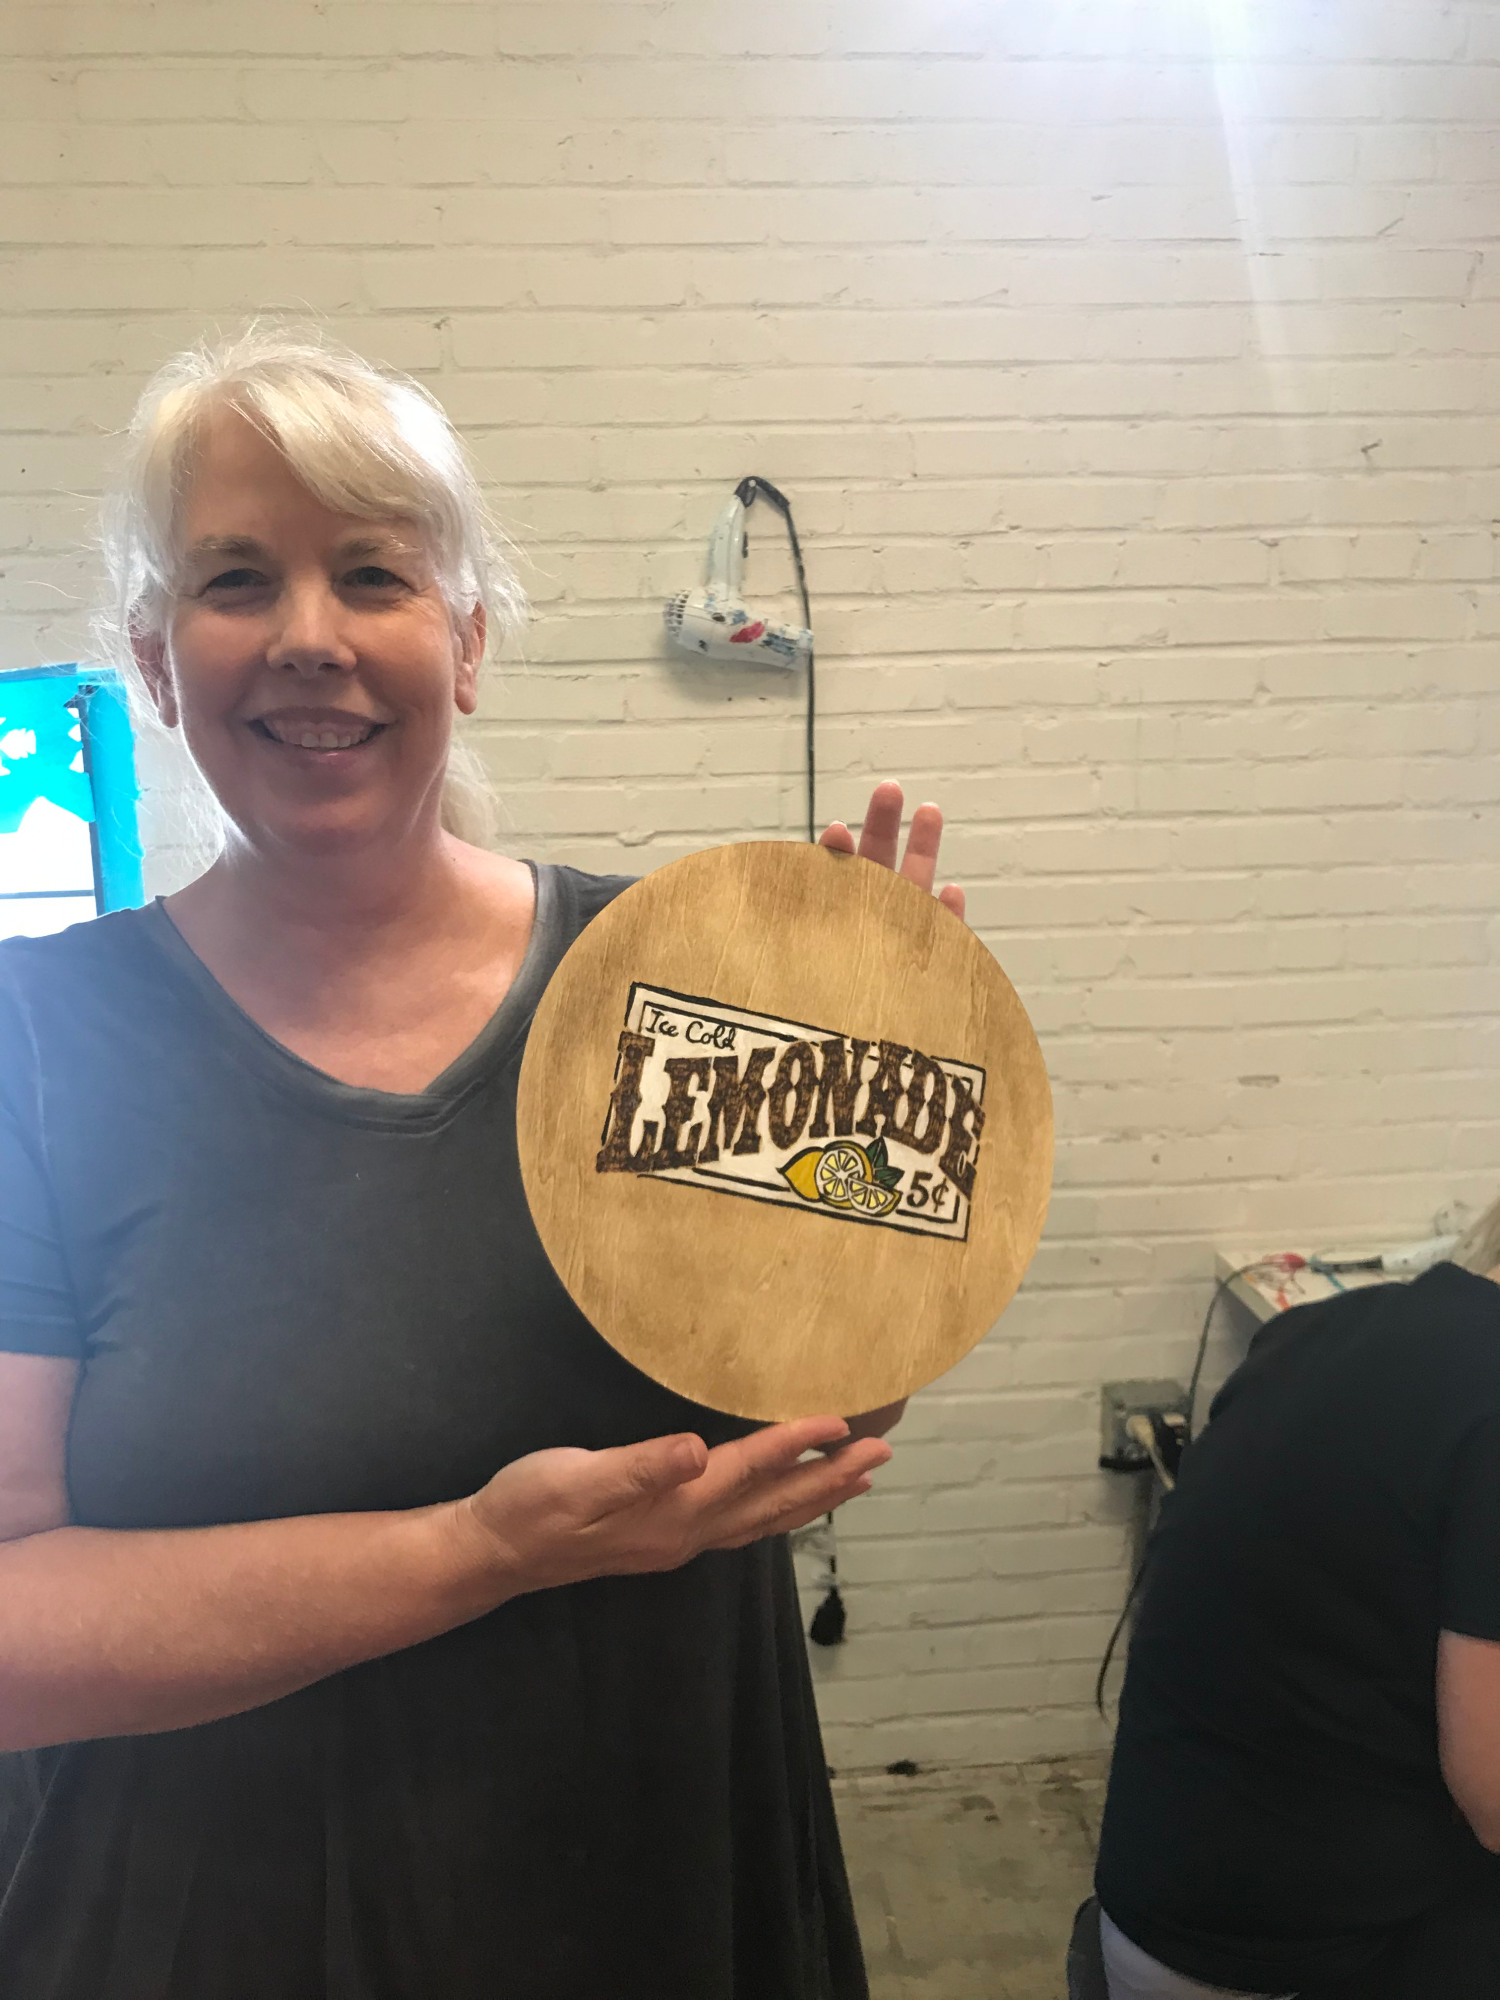
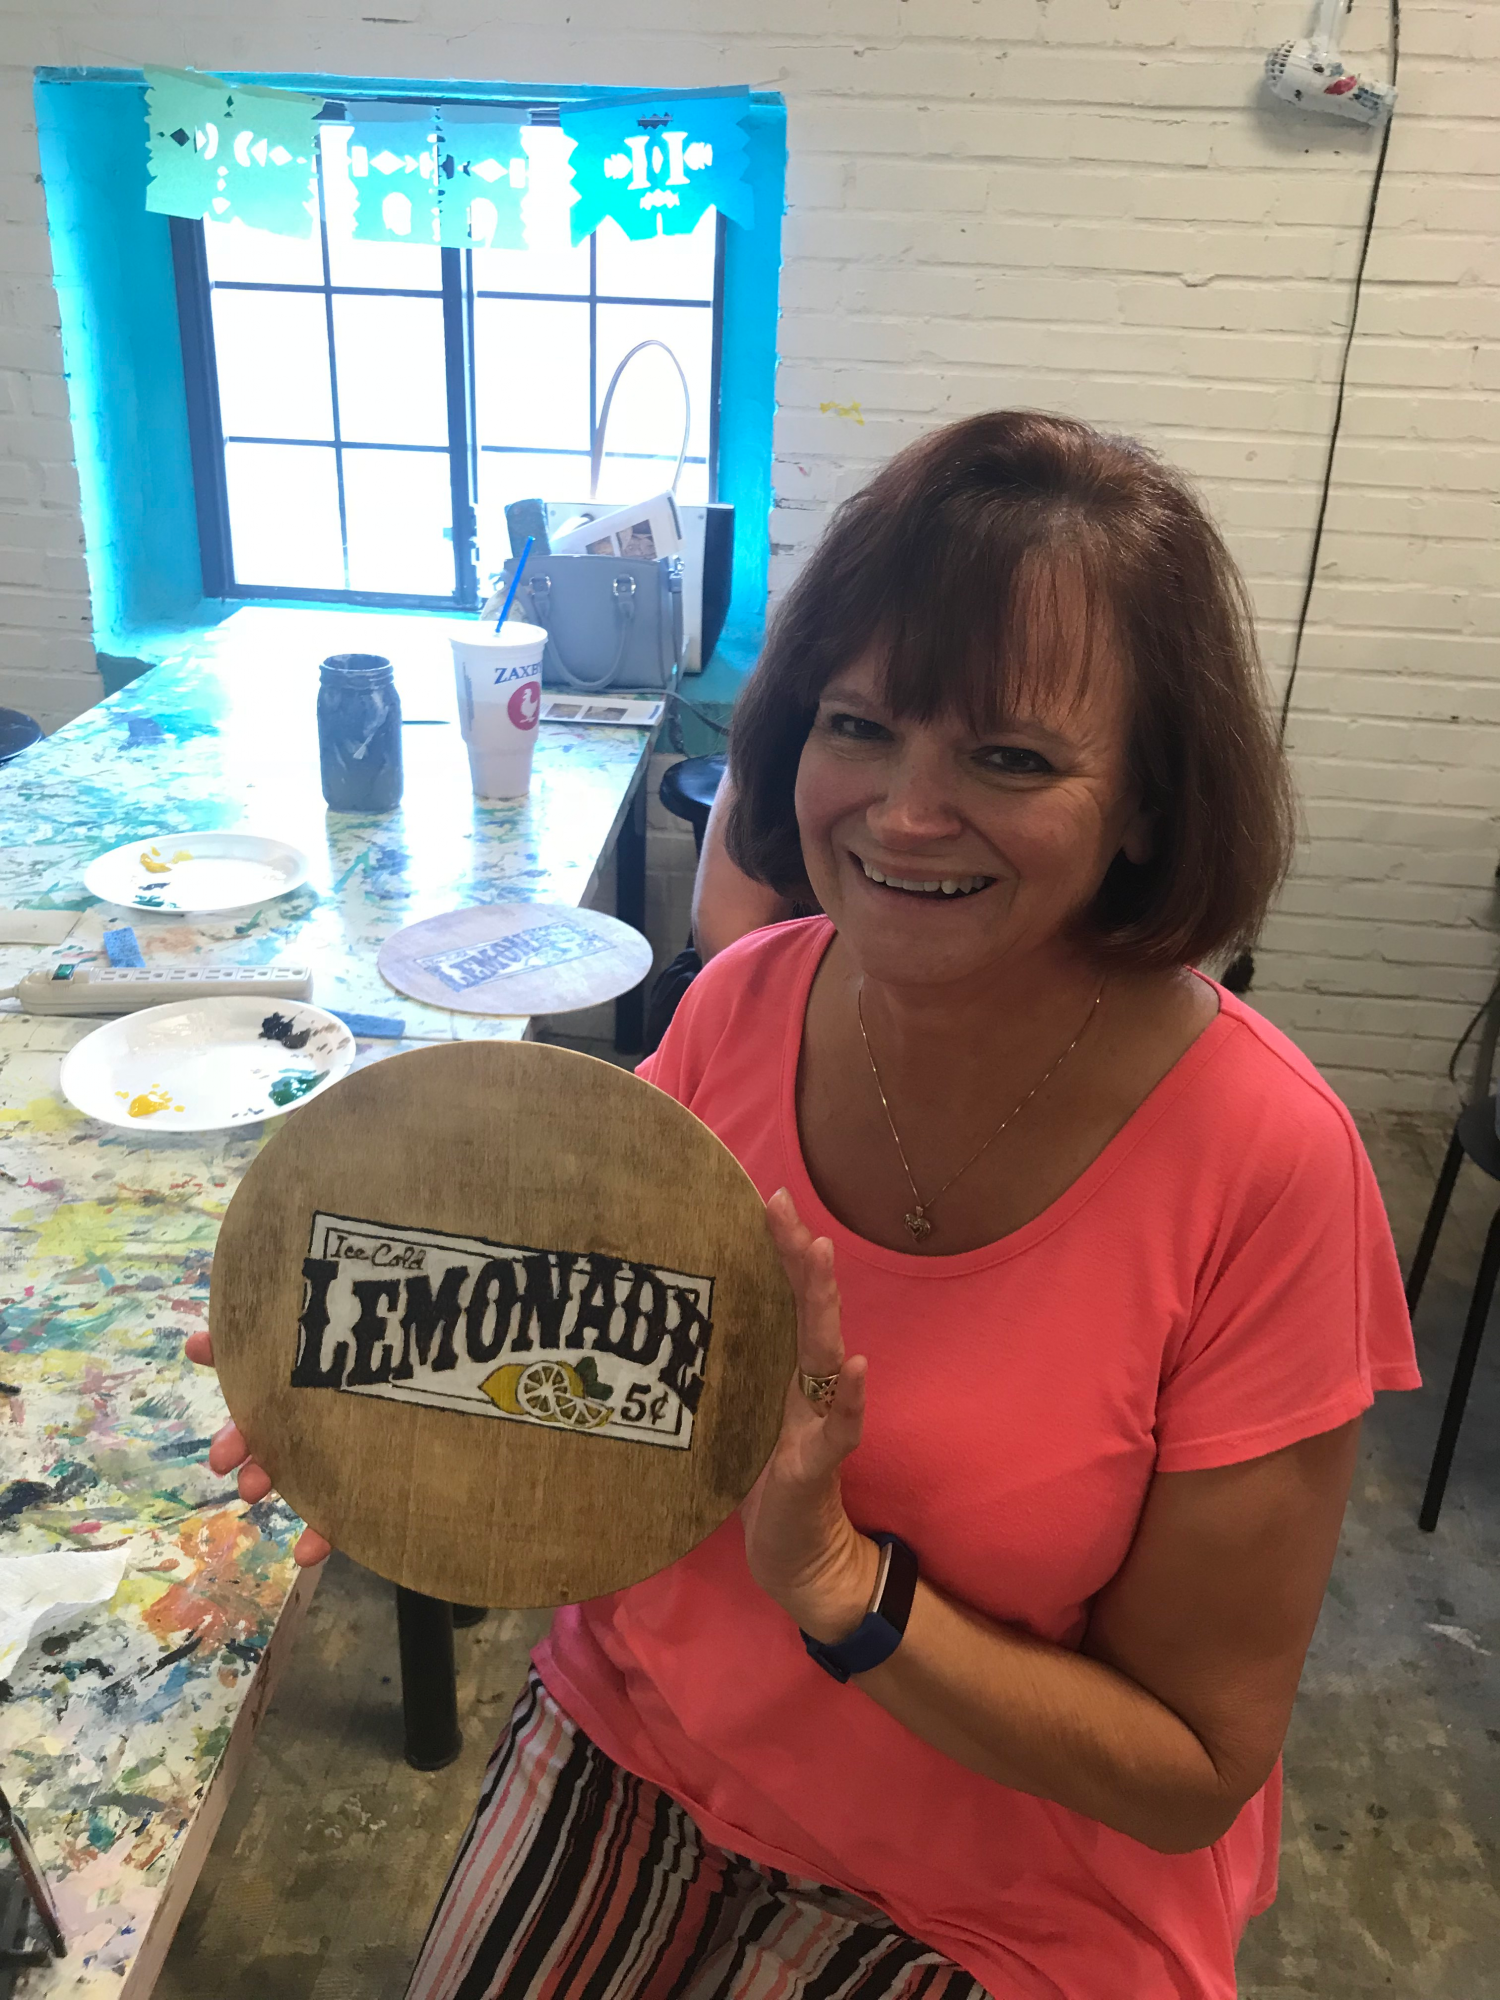
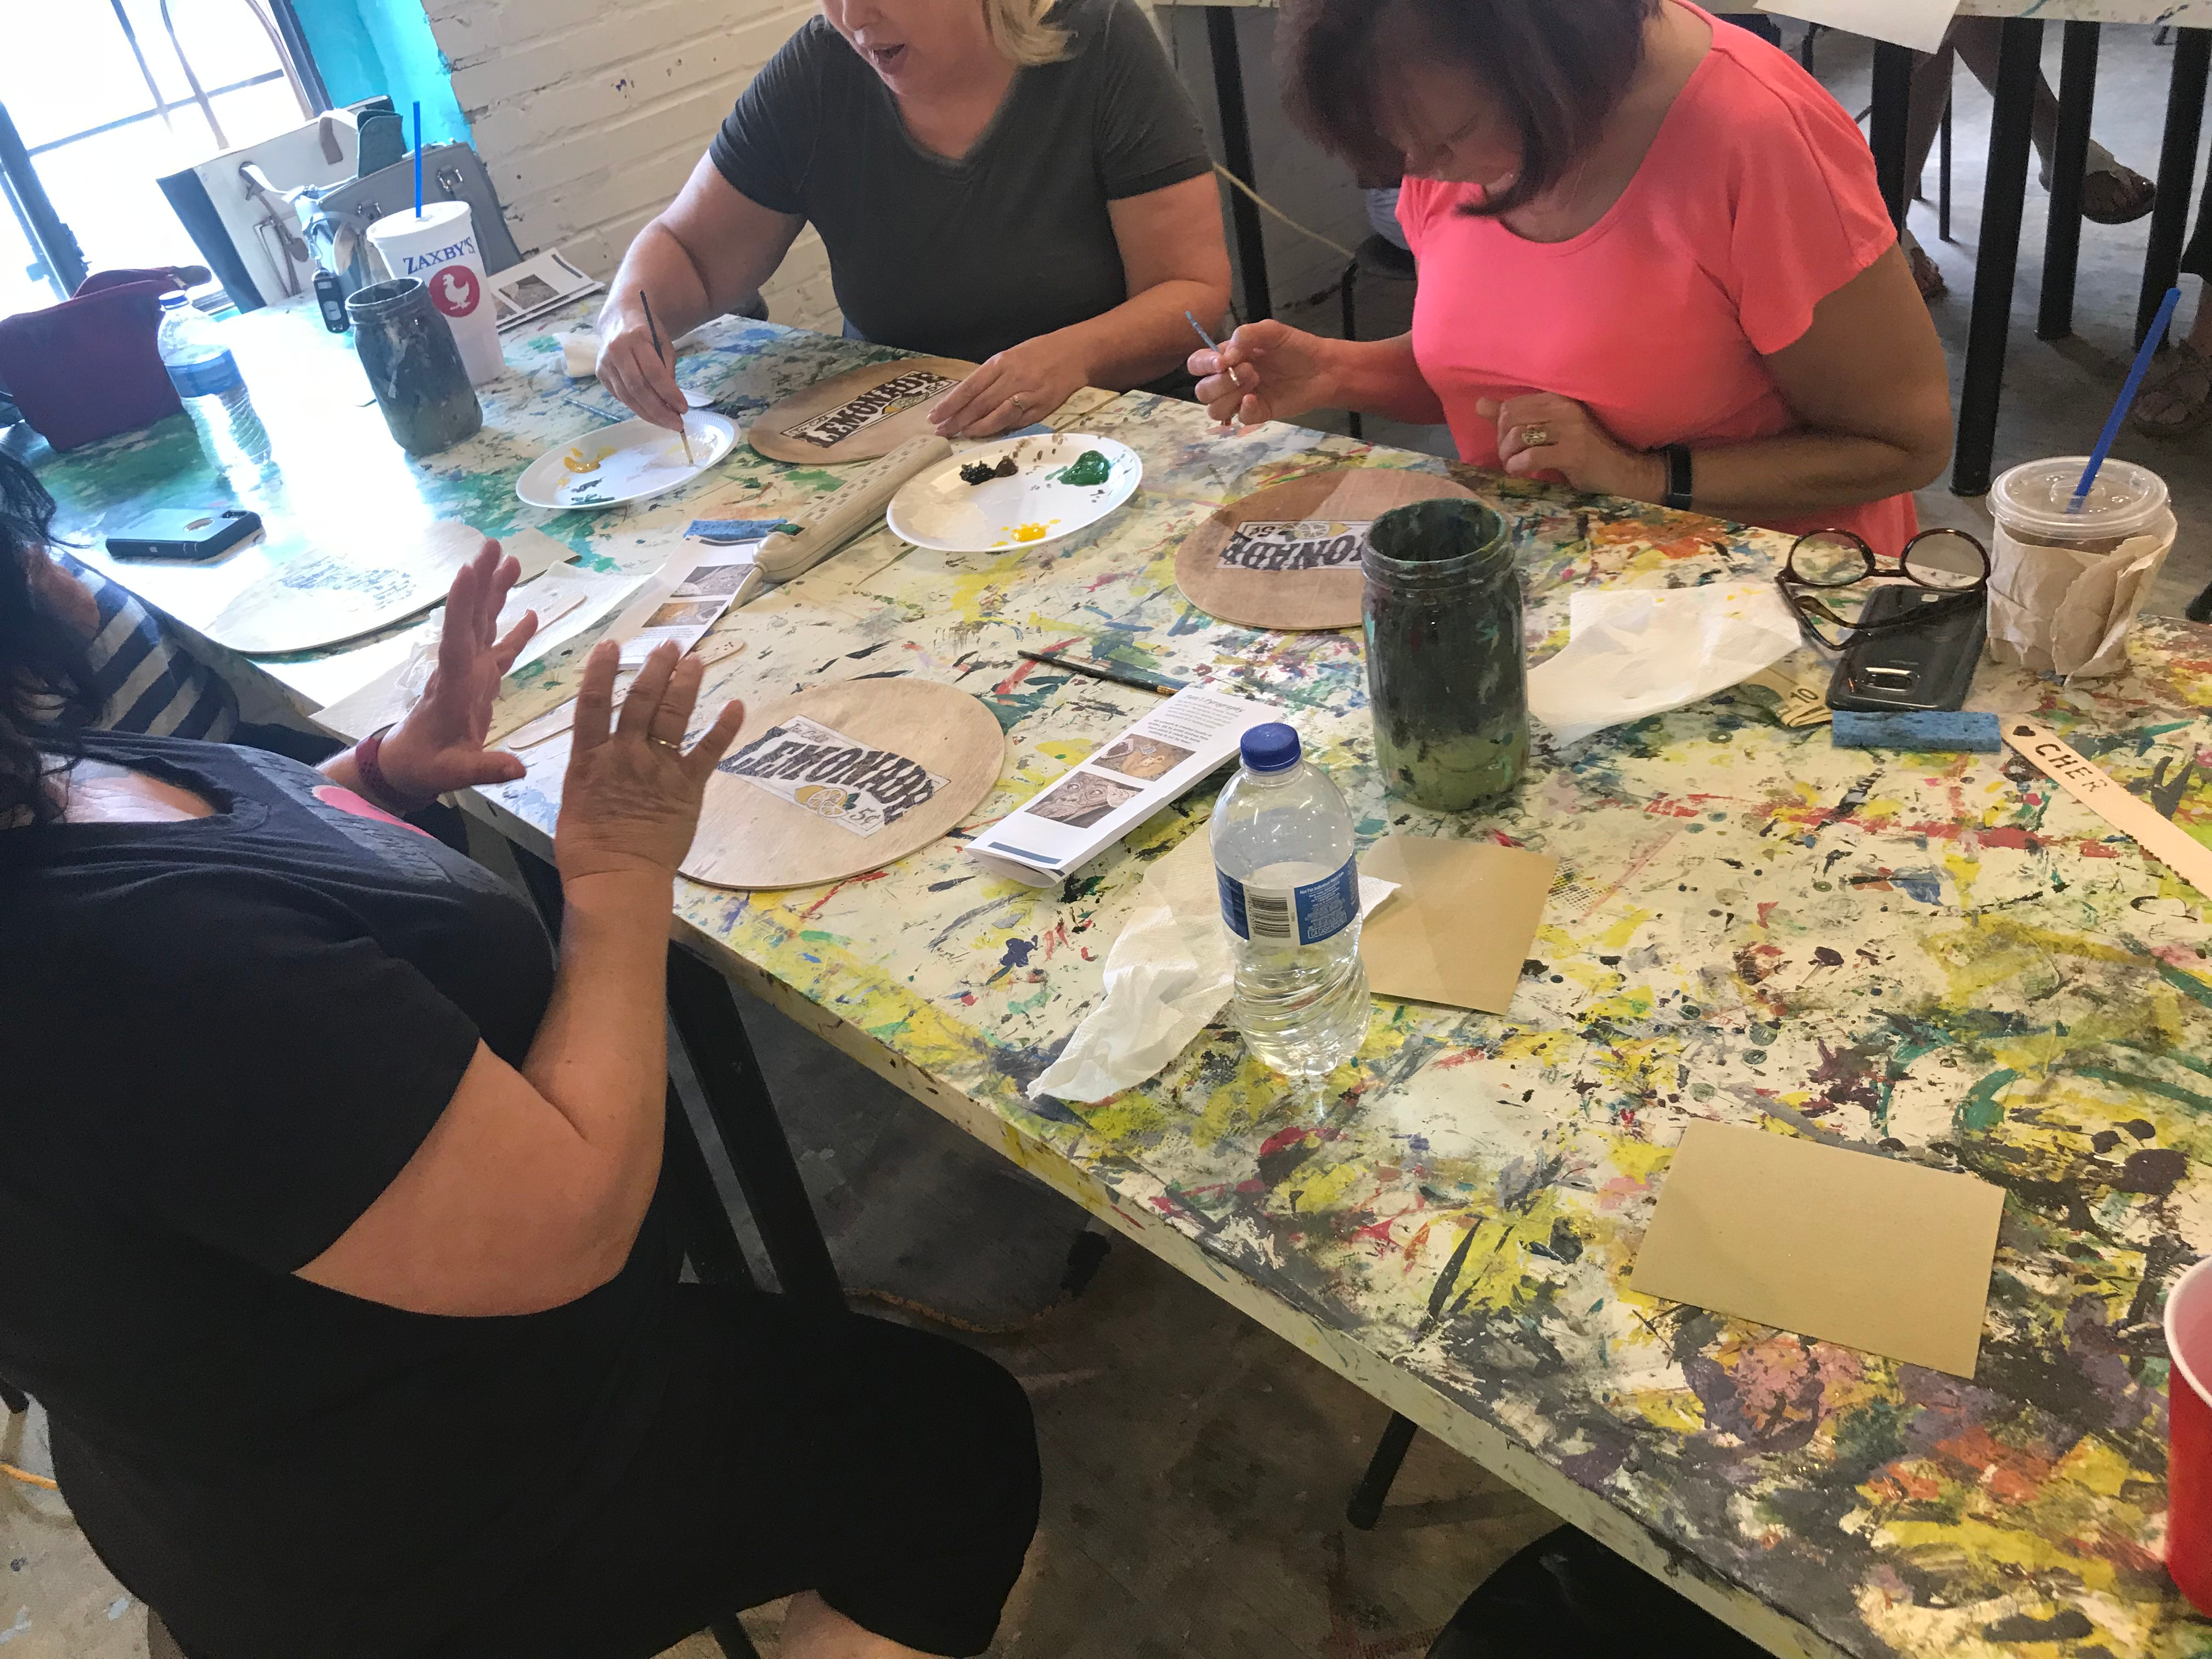
The TRUArt family extends its biggest “CONGRATULATIONS” to Andrea Pate for successfully hosting her first Pyrography Workshop at Stache Studios last August 18, 2018 and has effectively opened the doors to many budding artists looking for a unique and fun way to express their creativity!

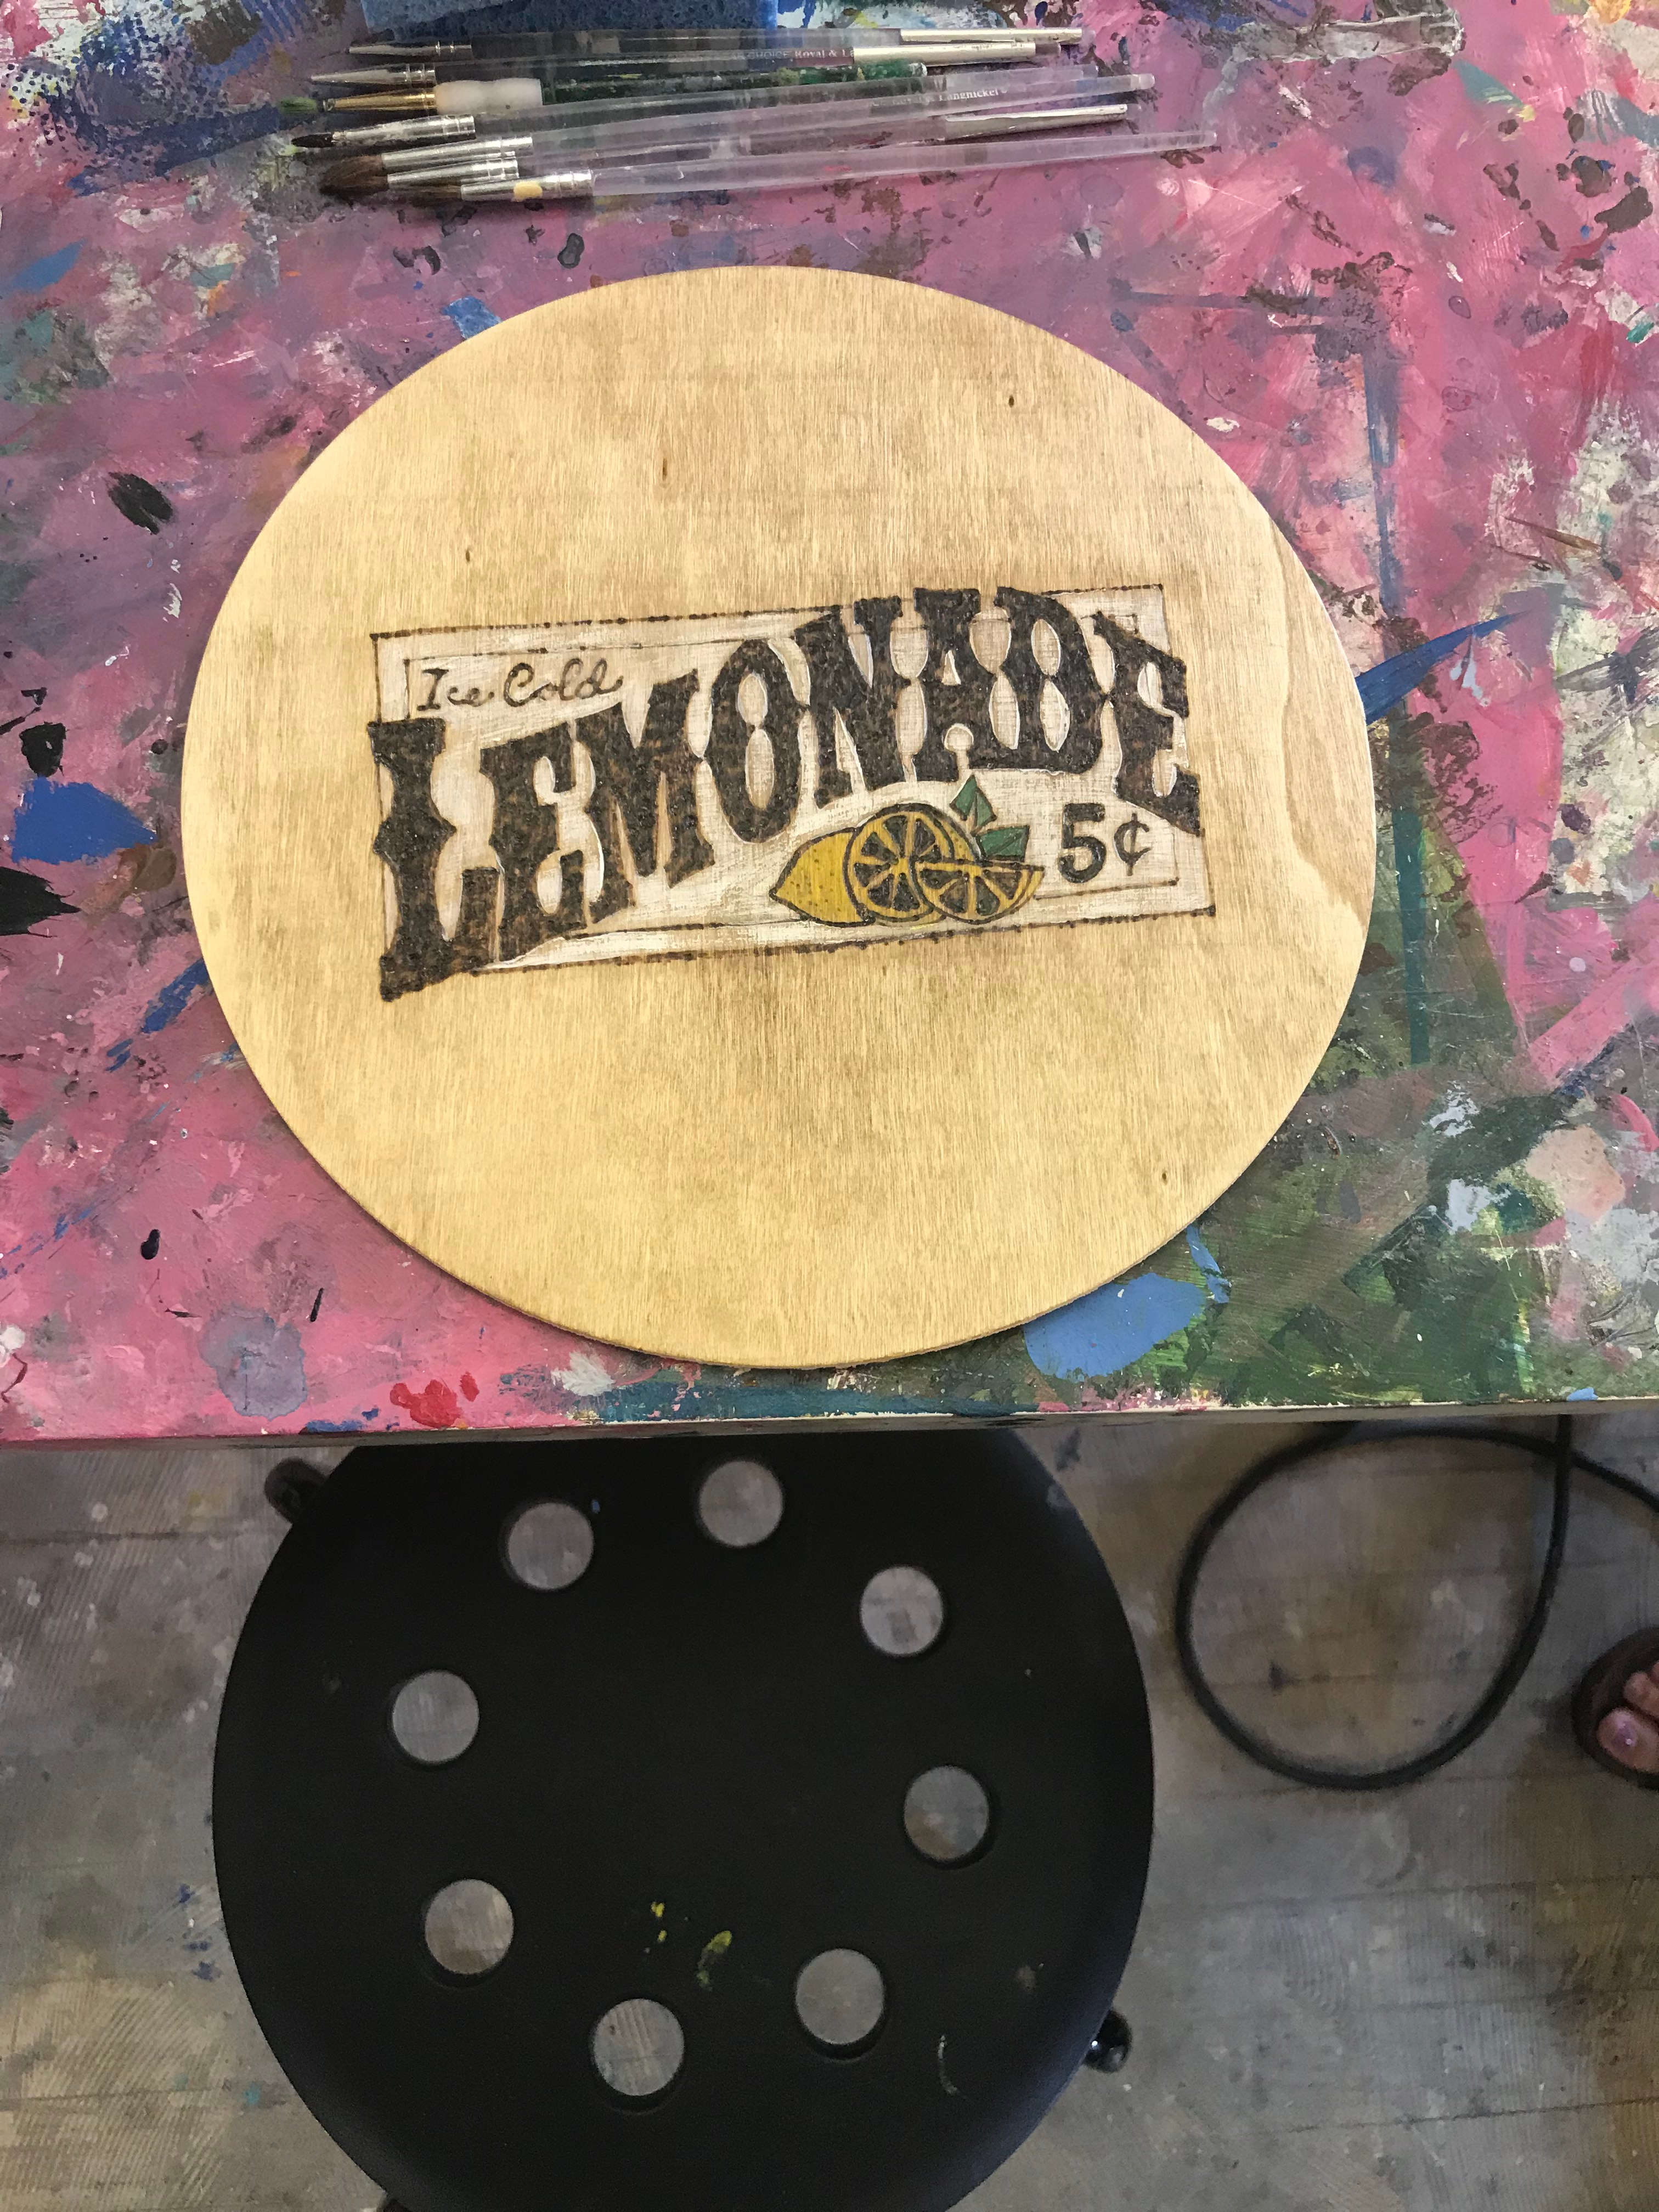
Stache Studios, the go-to place in Downtown Griffin for learning various forms of art medium such as painting, ceramics, mosaics and clay works, graciously welcomed Andrea’s suggestion to include a new form of artwork – pyrography. With Andrea’s long history and connection to art since childhood, coupled with more than two years of pyrography experience, she deftly introduced and guided everyone into the practically new art world of wood burning. Needless to say, all workshop attendees left with proud smiles and their finished projects. Just check out the pictures below!

Andrea understands that pyrography isn’t a medium that is well known in the field of arts. In fact, she did not imagine herself hosting any workshop about it at all – being contented with creating beautiful pyrogrphy art work and selling them. That changed when we started commissioning her to create tutorials for us using our wood burning pens. In one of the tutorials, she was teaching some children how to create wood burnings for their loved ones. Watching their excitement in the process got her curious about creating classes for adults. She wanted to expose as many people to this art form as she could. Thinking of ways to get pyrography out there, she came across her local art studio. Although Stache Studio provides customers with amazing pottery and painting classes, she realized they didn’t have any on woodburning. In fact, there just aren’t many places around where one could learn Pyrography.

“Leave a permanent impression with pyrography”
Andrea Pate


Jessica, owner of Stache Studios, loved Andrea’s idea and immediately went to work to get things rolling while the artist provided the tools she got from TRUArt. After the resounding success of her first workshop, the artist was thrilled to see the excitement others were going through learning something she was passionate about. She feels very fortunate to have the opportunity to teach people pyrography and plans to continue sharing her expertise with more classes. As of this writing, she’s been busy creating seasonal designs for her workshop that customers can display every month of the year in their homes. It definitely doesn’t look like she plans to slow down one bit seeing that workshops are powerful tools to get the needed exposure to the art as people are starting to become familiar with it and with what she does.


To those who have yet to touch a pyrography pen or to those who think they don’t have the creativity for it, here’s what Andrea has to say about it:

“DO not to give up. If it’s something you’re not good at, that’s all the more reason to keep going. It will get easier and you’ll learn what works for you along the way. If it’s something you are passionate about then never give up.

It’s amazing what you can learn and how you can improve in such a short time frame. I look back at where I started and to where I’m at today and there is such a huge difference. I’m excited to see how much I will continue to grow and improve over the course of this year.”


We at TRUArt couldn’t have said it better, Andrea. We’re so glad and honored to be a part of your achievements in the wonderful world of pyrography. Thank you!


Posted on 5 Comments

“Welcome Home” Woodburning Tutorial

If you are looking for a way to create a very beautiful and professional looking wood burning, I have some tips to assist you along the way.

What you will need:

  1. TRUArt pyrography pen
  2. Wood of your choice
  3. Colored ballpoint pen
  4. Carbon tracing paper
  5. Tape
  6. Image/design to burn
  7. Magic eraser
  8. Sand paper
  9. Stain
  10. Varnish


Take the time to find the right image to burn.  Make sure the size of the image works well with the piece of wood you choose.  Be mindful of the type of wood you choose.  Try sticking to a softwood such as birch wood, basswood or even simple plywood.  Sand your wood surface down prior to use to ensure that the image you use will burn evenly.  Do not burn on treated or painted wood as fumes inhaled from these can be harmful to your health.


Get some tape, carbon paper, and a colored pen.  Find the center of your wood and place your image on the desired location.  Tape the top of your image onto the wood to prevent it from shifting.  Slide the carbon paper underneath your image (glossy side down). Take out your pen and trace the image.  I like using a pen because I feel like I don’t have to add as much pressure while I’m tracing the image.  It is useful to use a colored pen so that you can see the area that was already traced.


Once the image has been completely transferred, gently lift the bottom portion of the design to ensure that you have traced the whole image onto the wood. If so, remove the paper.  When burning the image, start at a lower heat and slowly increase the temperature as needed.  If you start too hot, you will get an uneven burn and possible burn marks outside your design.

Do not press down hard while burning. If you feel the need to push down hard on the wood with the pen in order to get the desired darkness/shade, your temperature is too low and needs to be increased.

Once you have completed the burning, you may have some marks left on your wood from where you traced your design.  These markings can’t simply be erased with a regular eraser. Get a magic eraser.  Add only a little water to the eraser and gently rub in a circular motion evenly across the wood.  If it’s not done evenly, you will have splotchy marks on your wood when you stain.  When that happens, simply sand the wood down on those areas. Rubbing too hard may cause smearing of the image.  Gently rub the eraser on the smudges until they’re gone and let the wood dry completely.

To give the wood a finished look, add a little stain on it.  Be sure not to add too much stain or too dark of a stain or the image will fade into the wood. To protect the image from darkening over time, varnish the wood with polyurethane or resin.

Now, all you have to do is enjoy all your hard work.  Keep practicing and be patient with yourself.  Hang in there, you’ll get it.

I wish you the best of luck and I will see next time with some more tips to help you along the way.

If you have any questions regarding the whole process, please leave them in the comments below and I’ll get to them as soon as possible.


Andrea

Pate’s Pyrography
 

Posted on Leave a comment

A Simple Wood Burning Stencil For Mother’s Day

Mother's day quote

In a few more weeks it’s going to be that day where we all have the best excuse to get a little cheesy and tell our moms how special she is! Mother’s day!

I may have started a little too early on this but I couldn’t stop myself from feeling inspired so I went ahead and searched for a very simple yet very meaningful stencil for her, which I hope you will like. Use it as you see fit or let it inspire you to create your own. Tell me what you think about it!

My only problem right now is how to work on it without her knowing about it until the big unveil…

You can also find more free downloadable stencils for various occasions here. Have fun!