A great way to bond the whole family is to work together on a single woodburning project. Yes, pyrography can be for the little ones too!
What you will need:
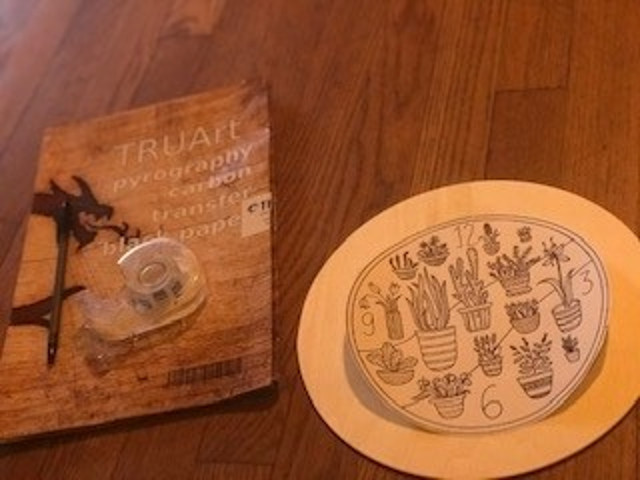
- TRUArt Pyrography Pen
- TRUArt Pyrography Carbon Paper
- Tape
- Wood
- Ball Point Pen
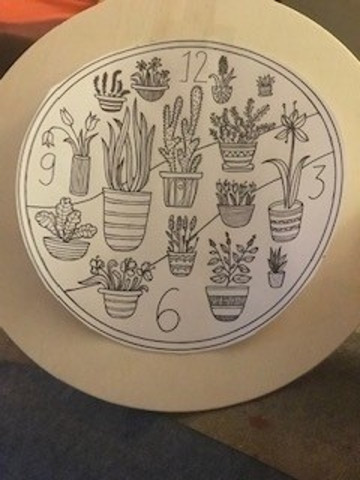
- Printout of Pattern/Image to be traced
IMPORTANT Child Safety Tips:
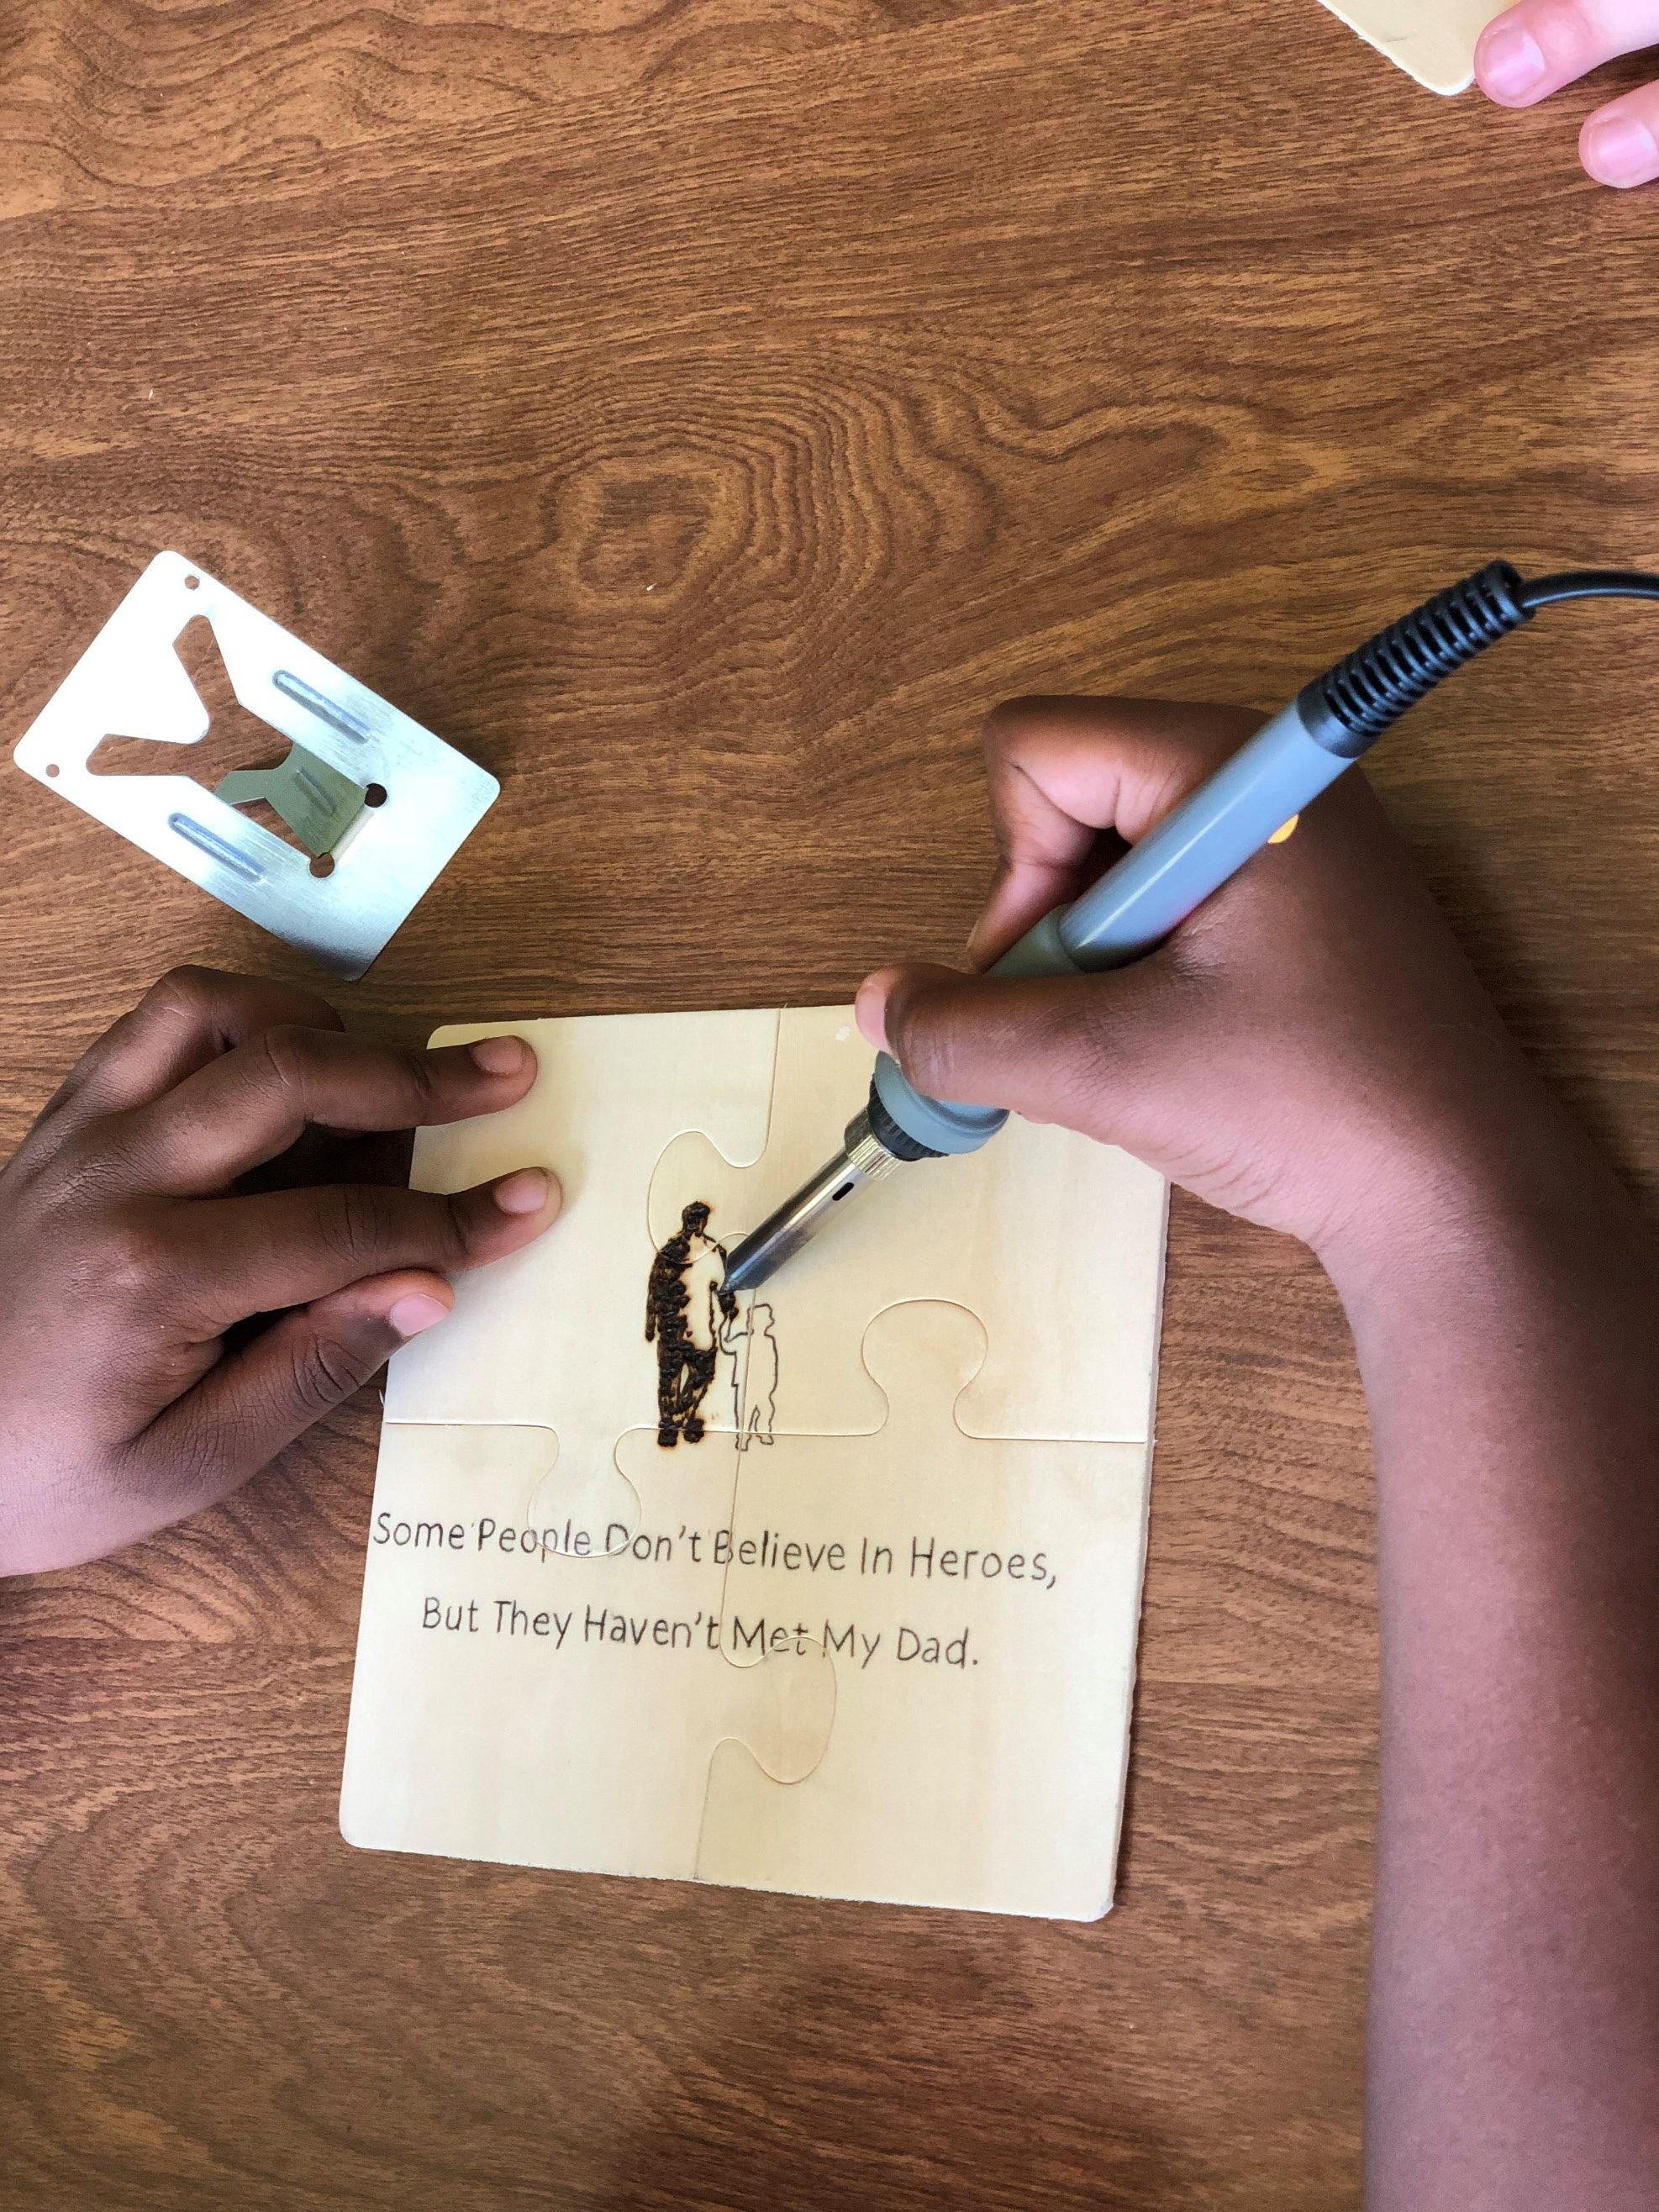
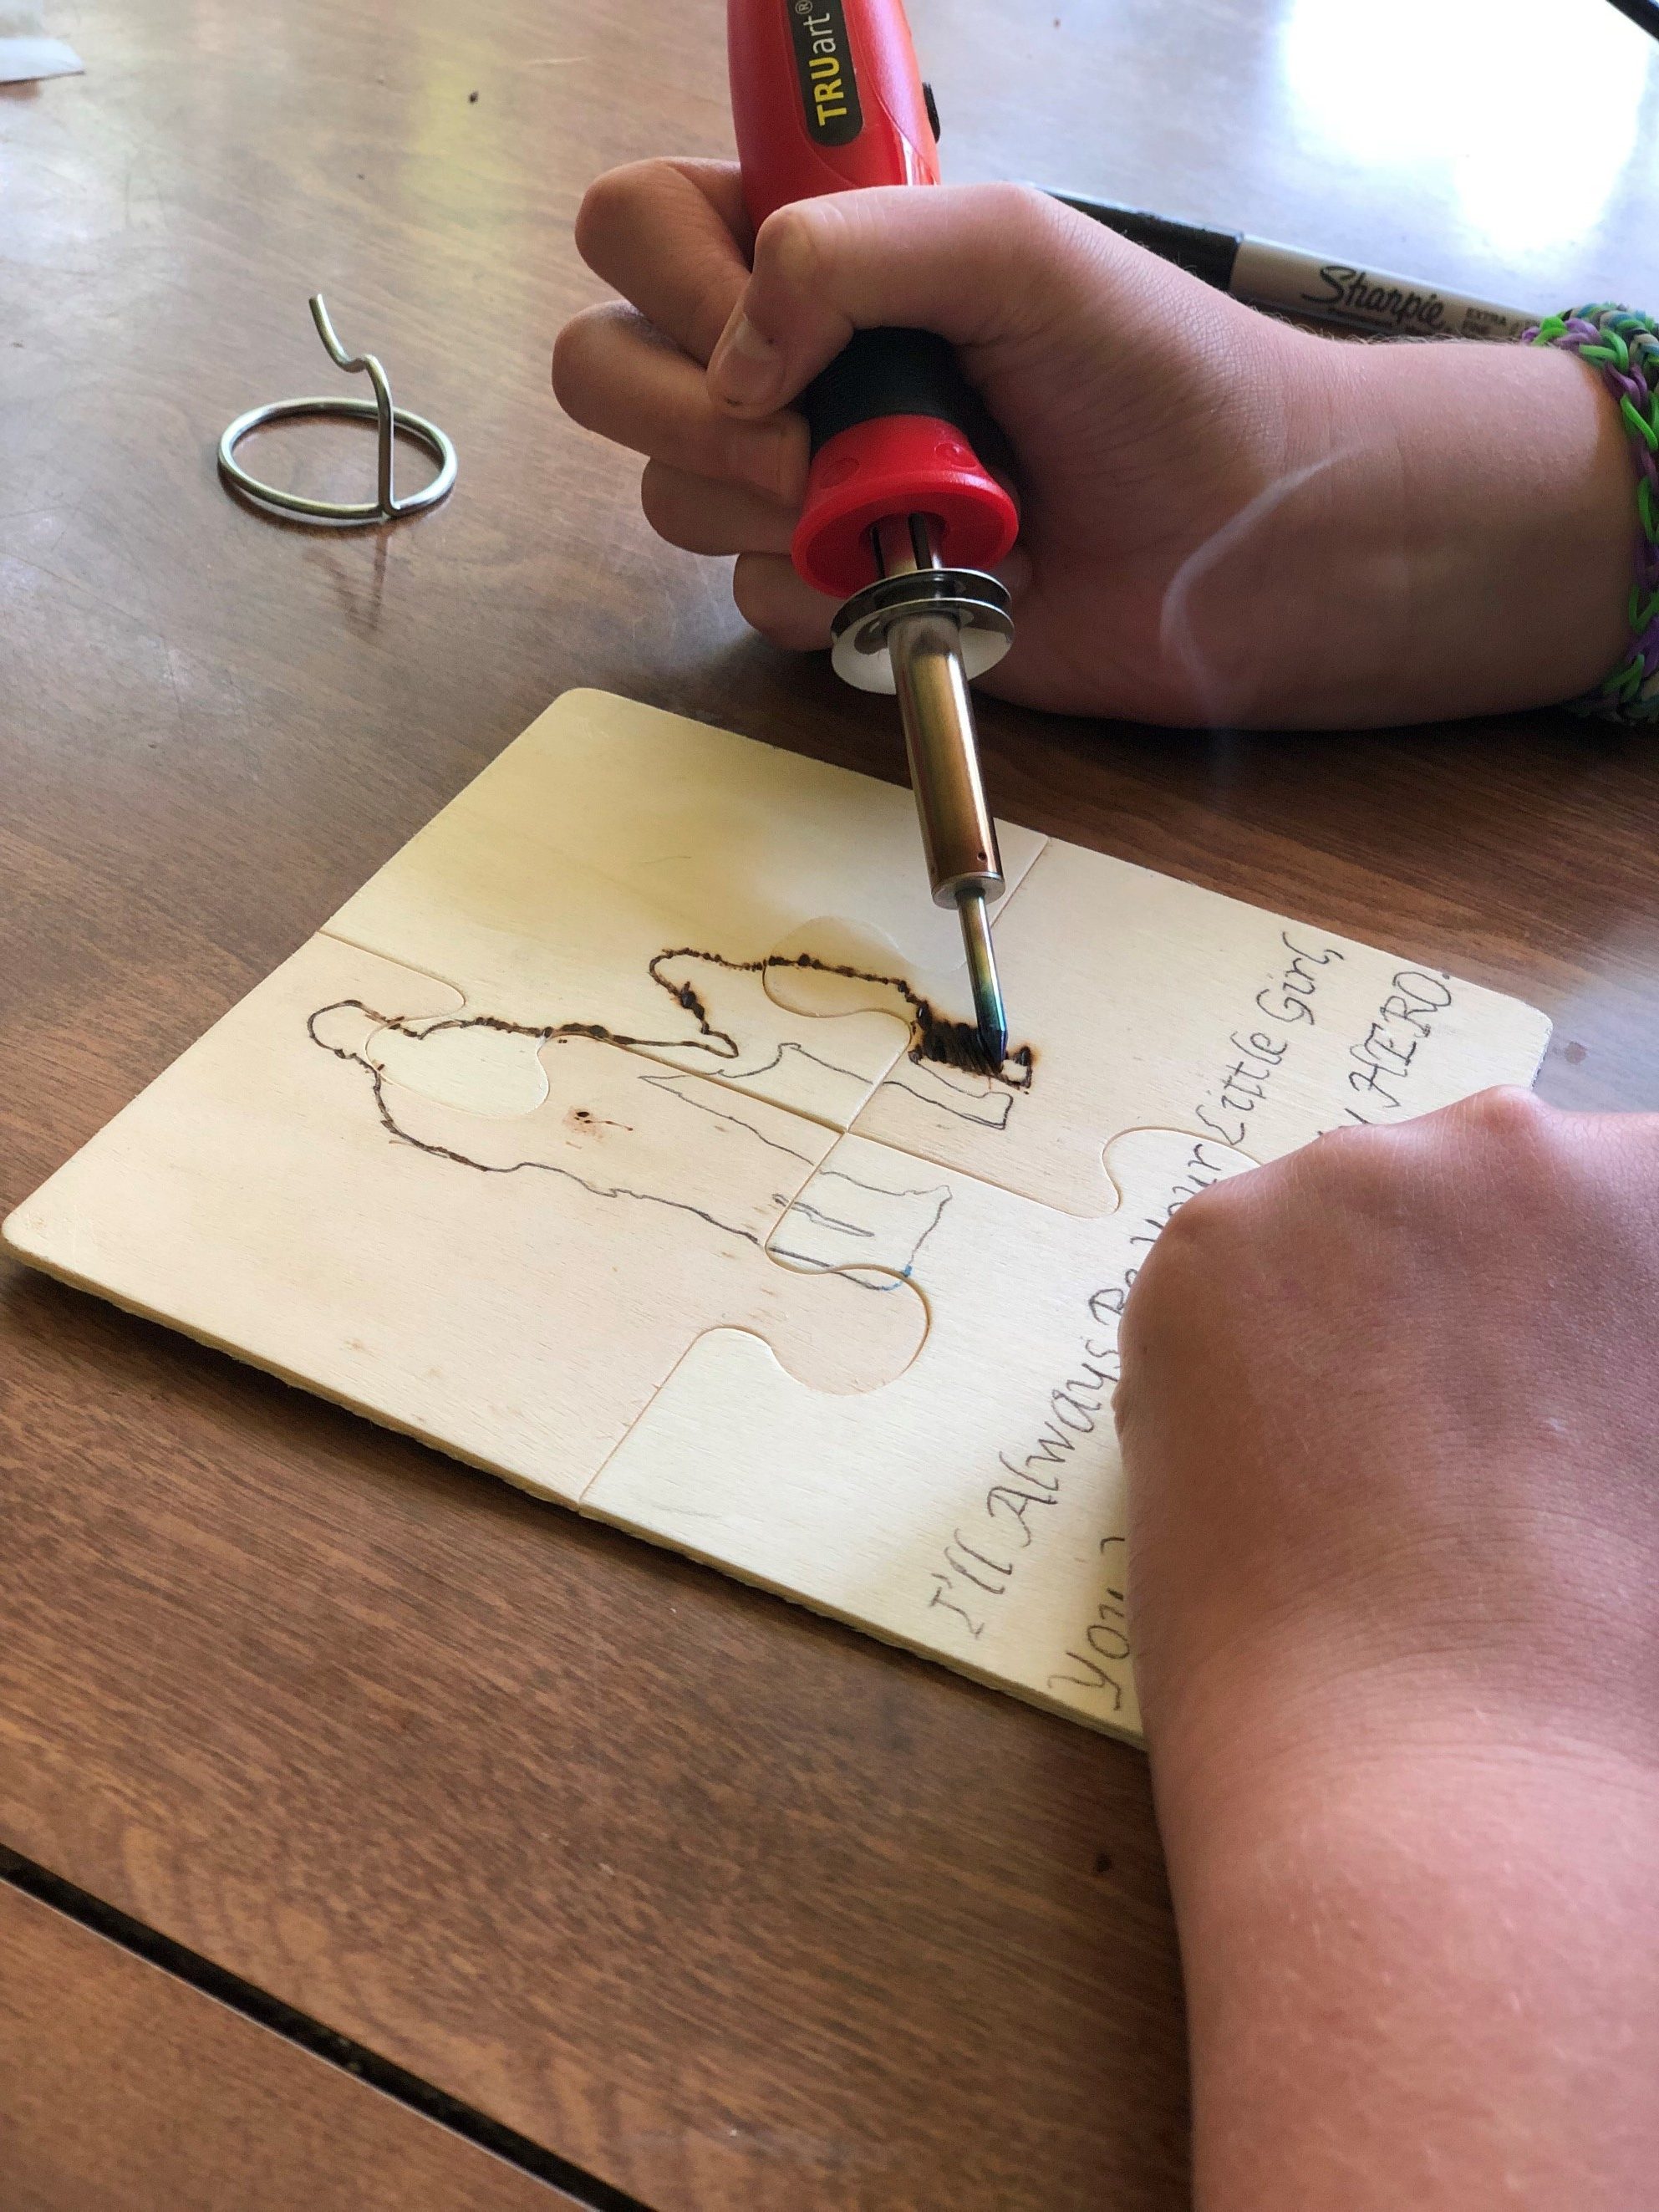
Never let a child use a pyrography pen unattended. An adult must always be present to supervise since pyrography pens get hot – VERY HOT. Be sure your child holds the pen by the rubber handle and never touch near the tip of the pen. If you or your child is not actively burning with your pen, keep it propped up on the stand that was provided with your TRUArt pyrography kit. It holds your hot pen securely and you don’t have to worry about it accidentally touching anything else. Always make sure your pen is turned OFF and unplugged when it is not in use. Allow some time for your pen to cool off completely before handling and storing it. Remember, these pens are HOT. This is not a toy and must be used with caution under adult supervision.

 |
 |
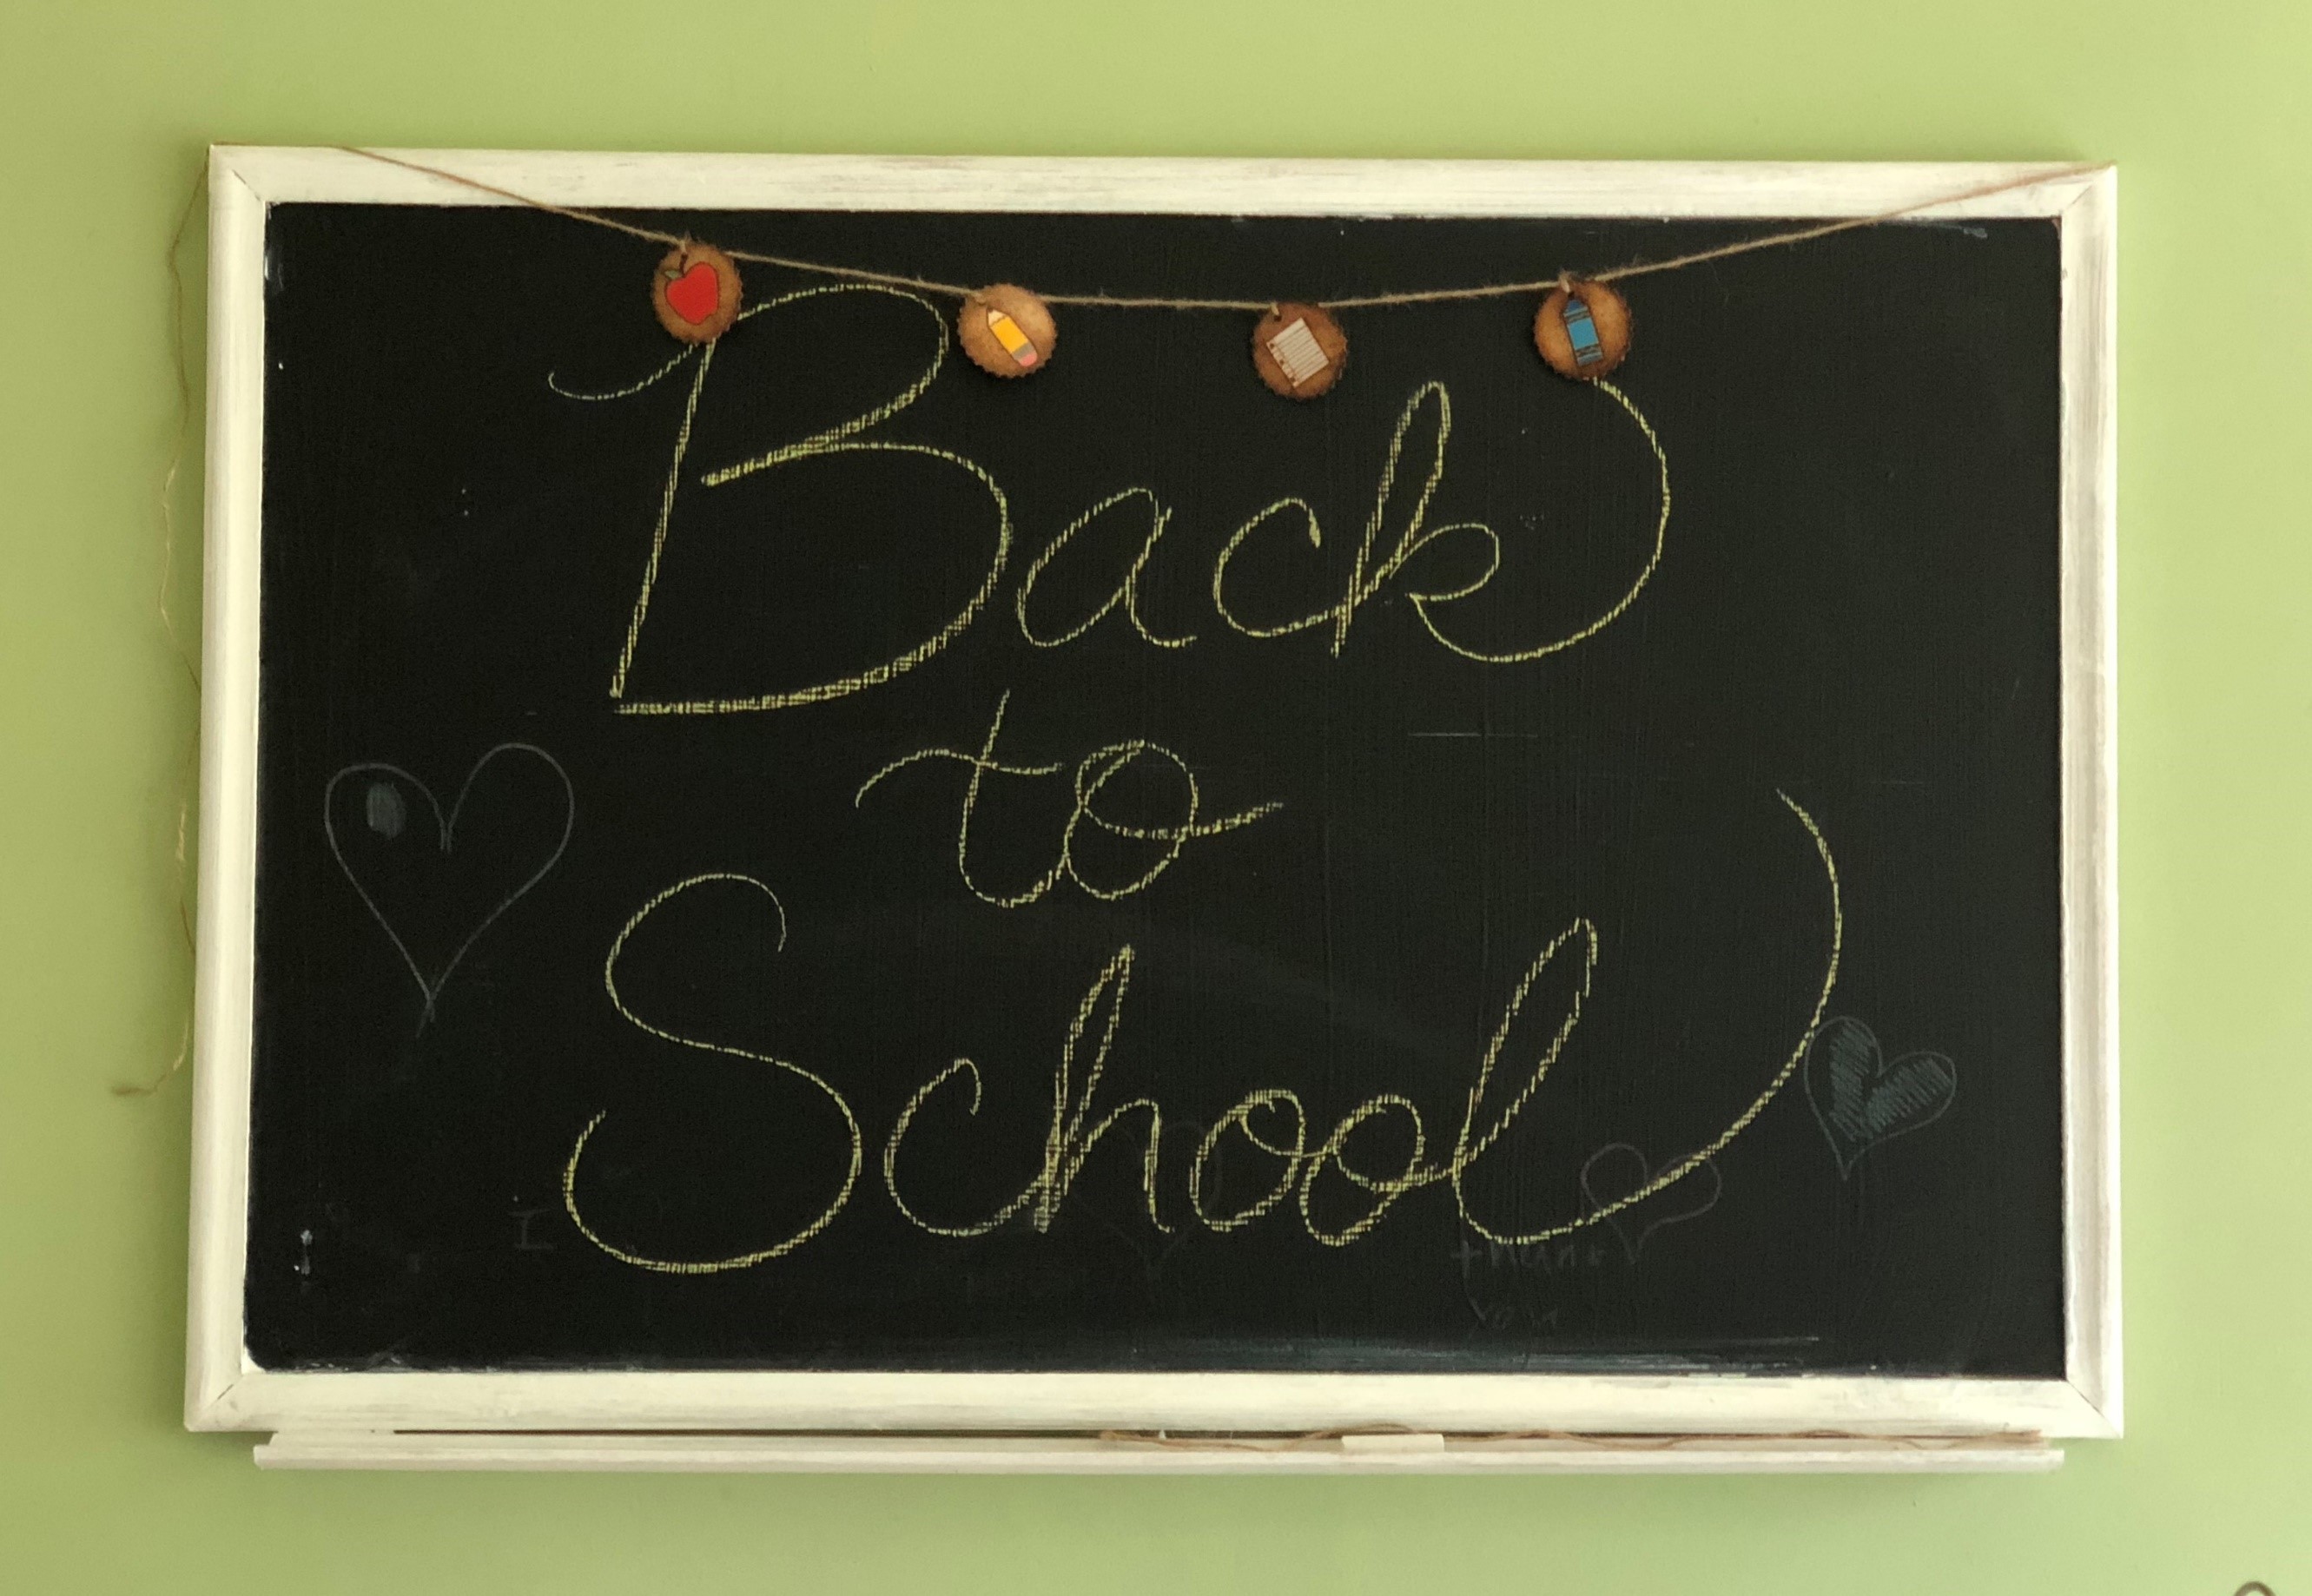
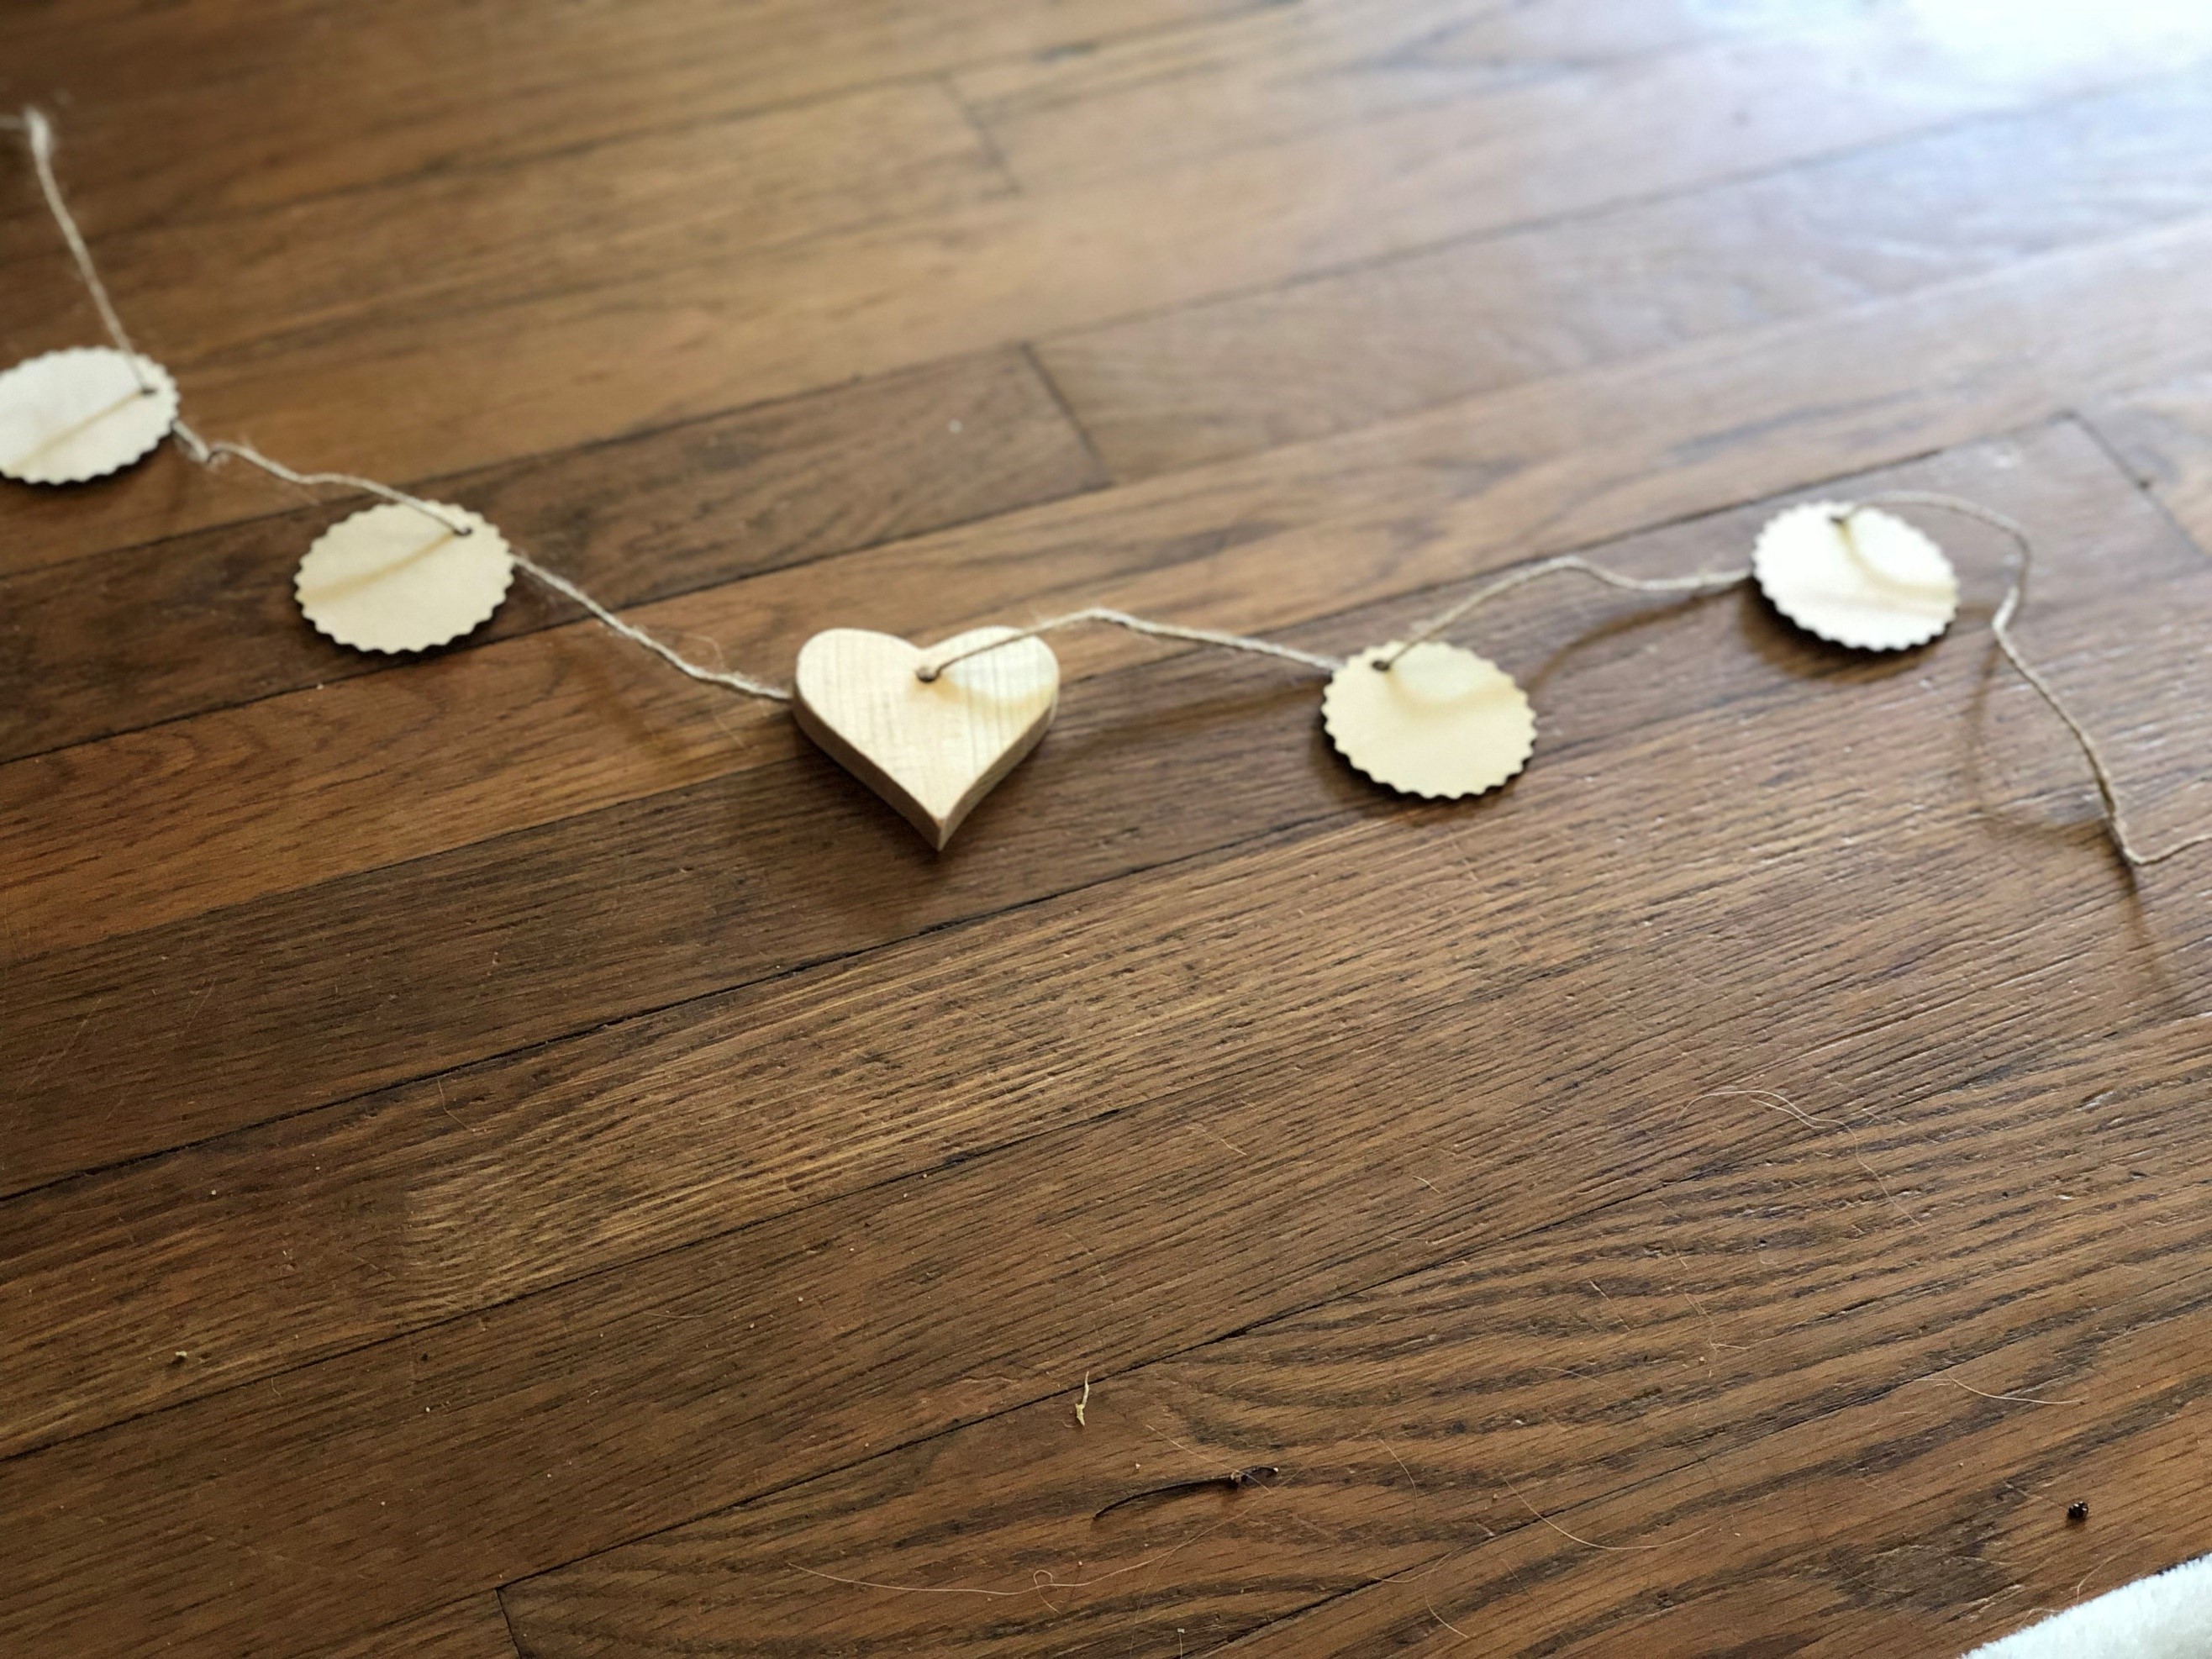
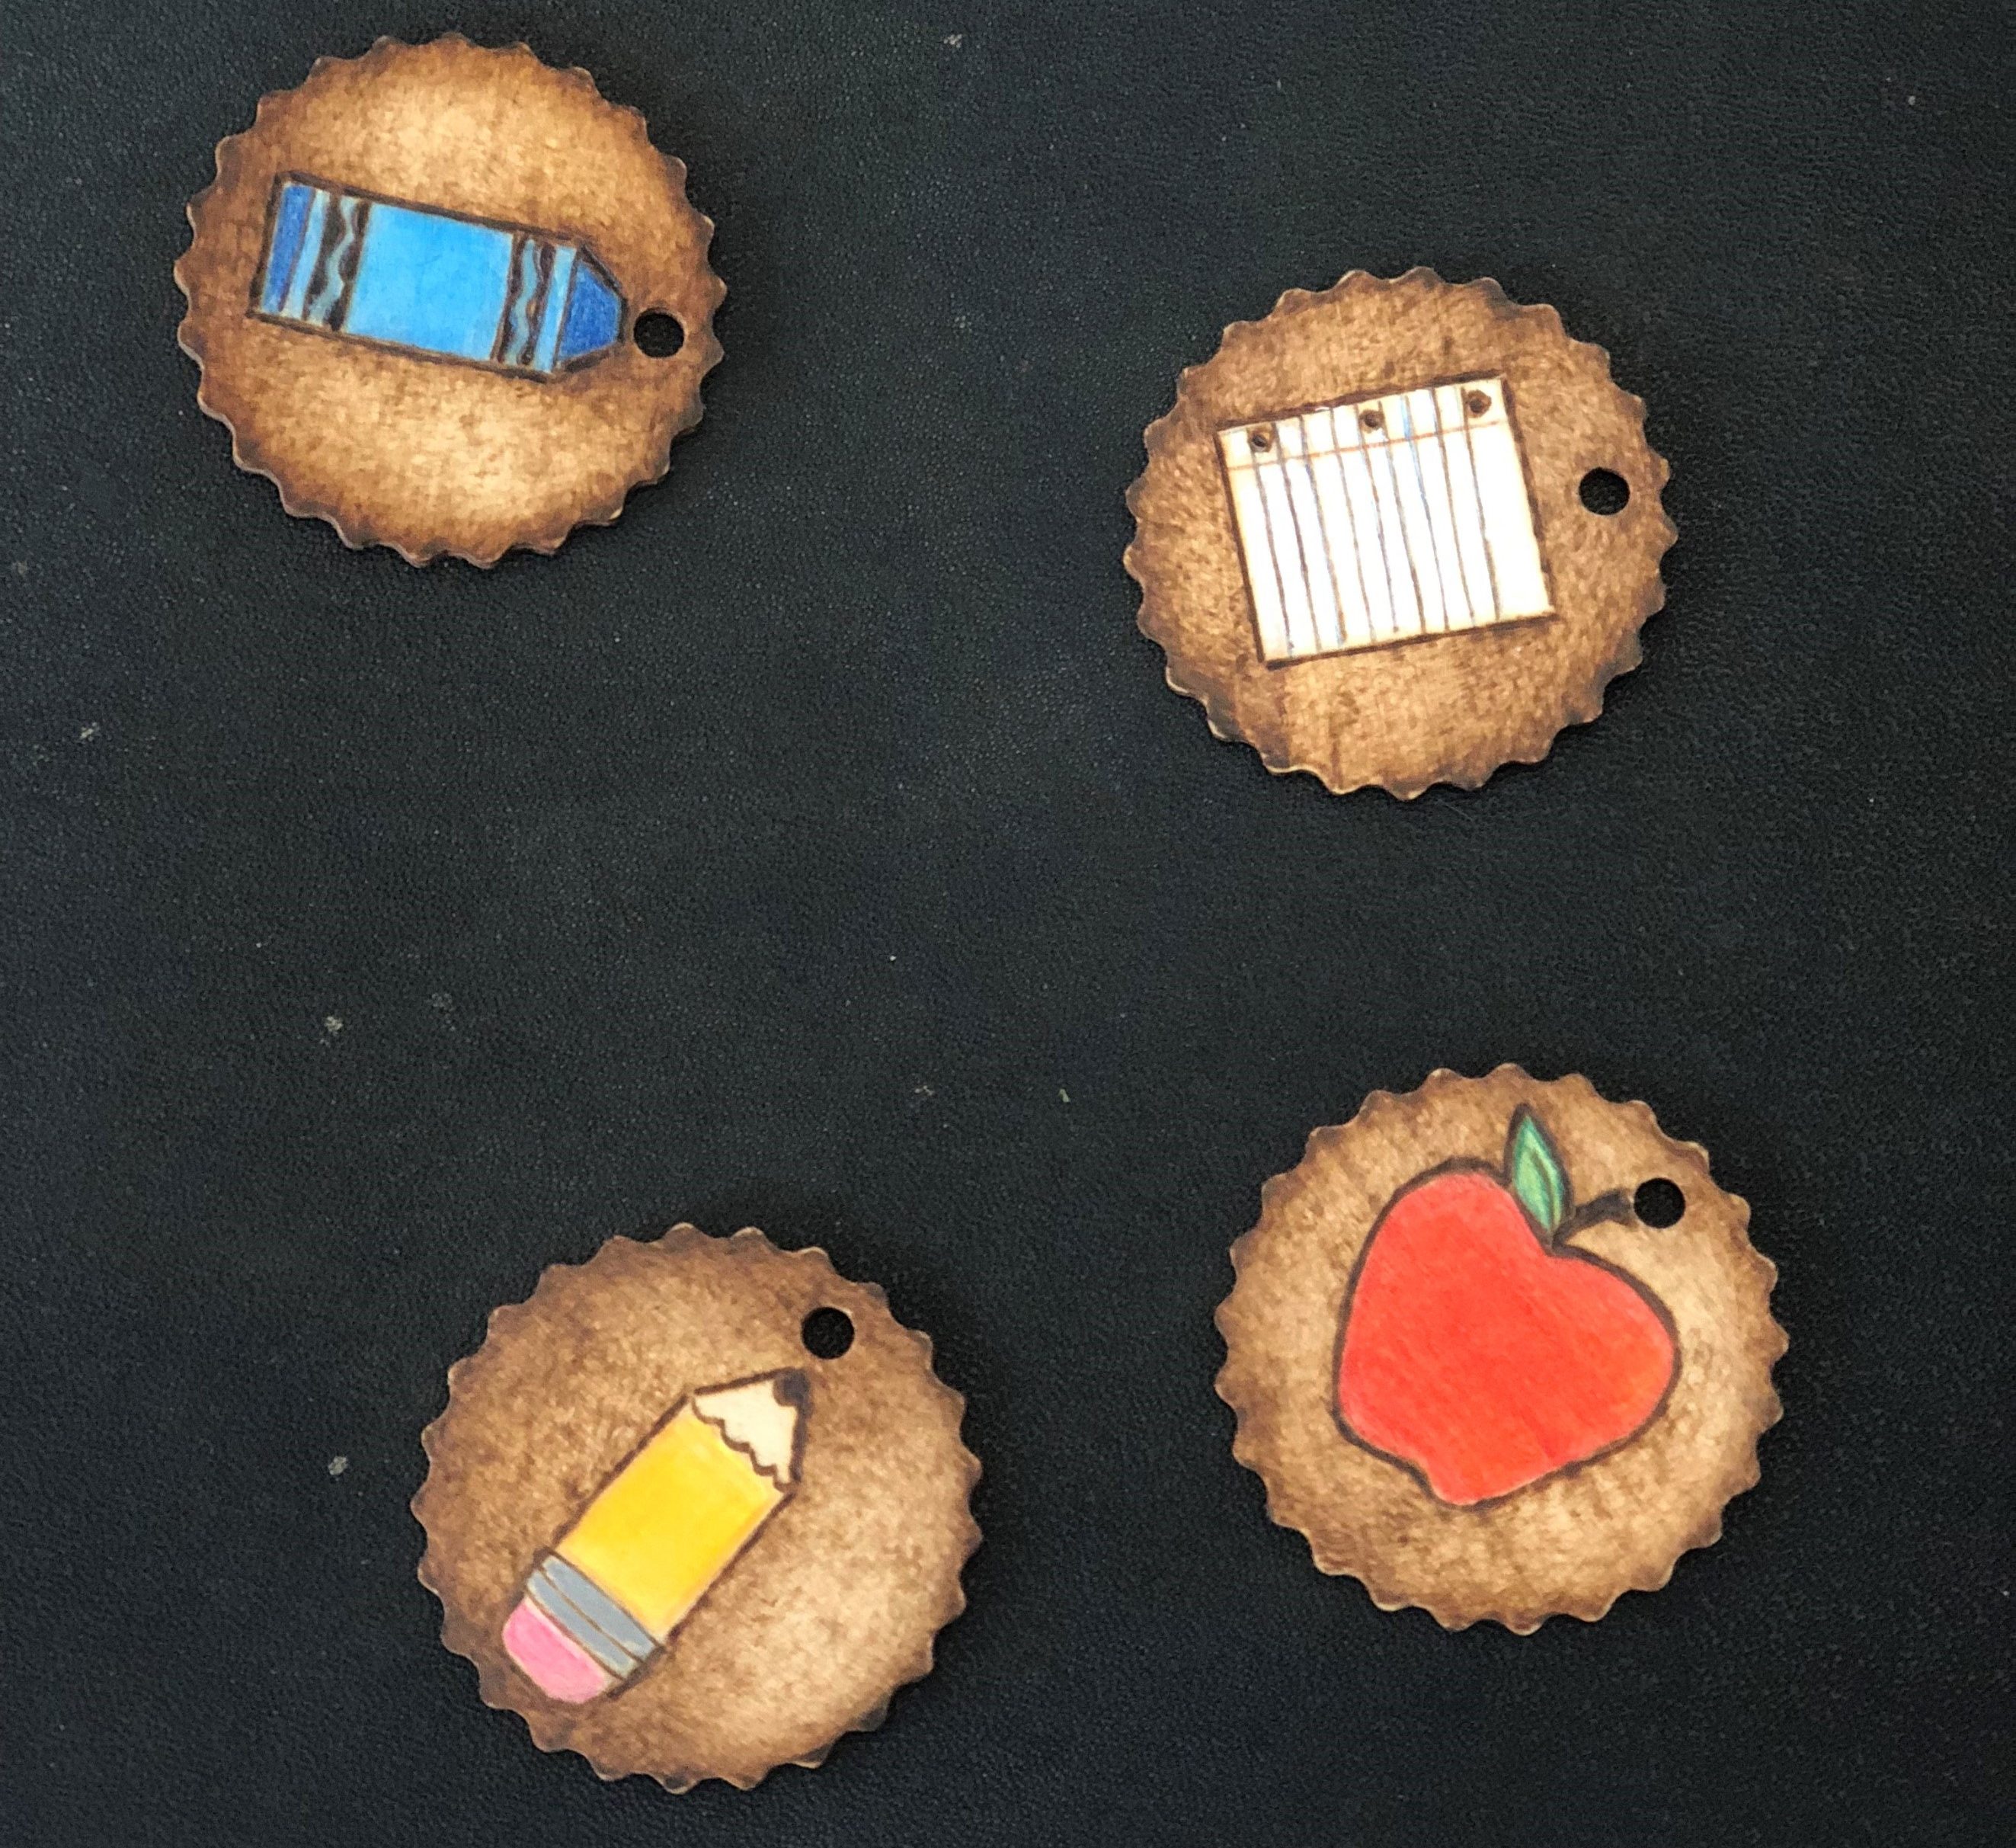
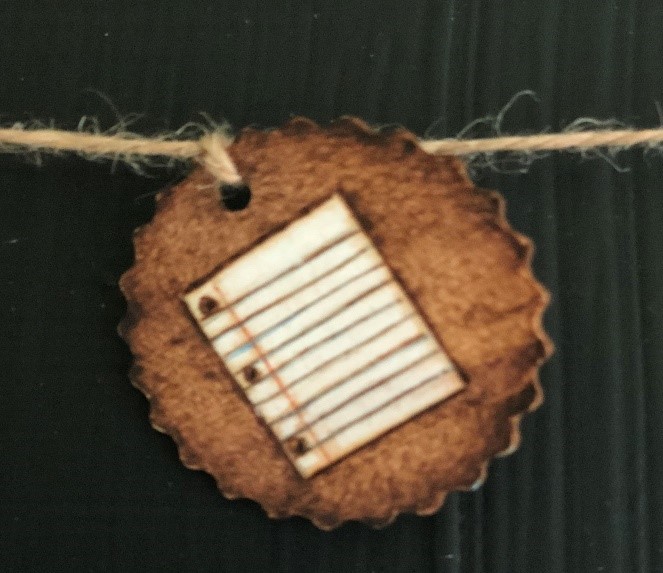
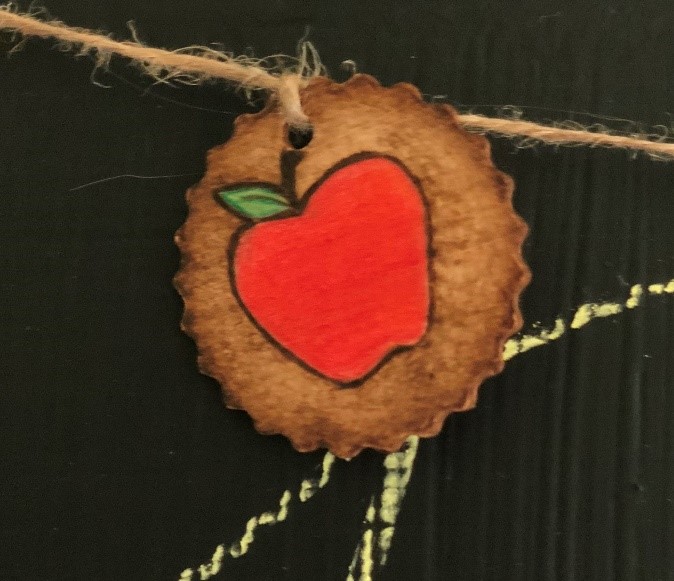
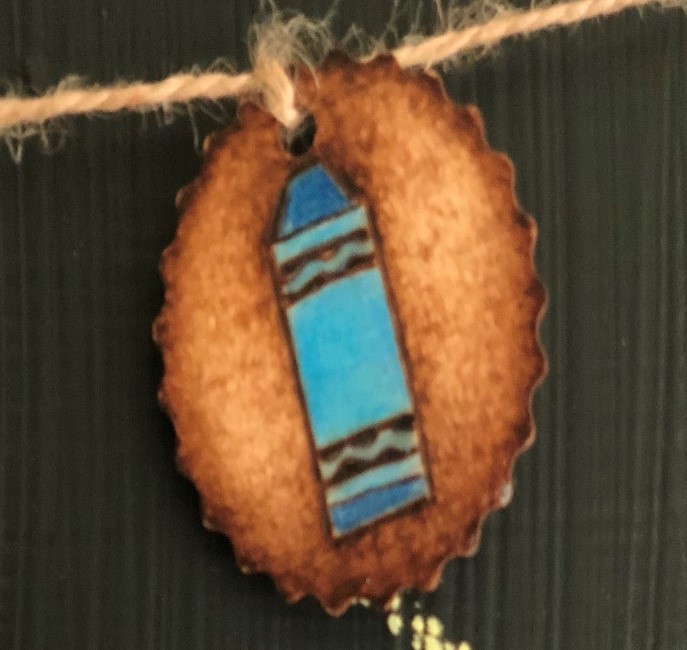
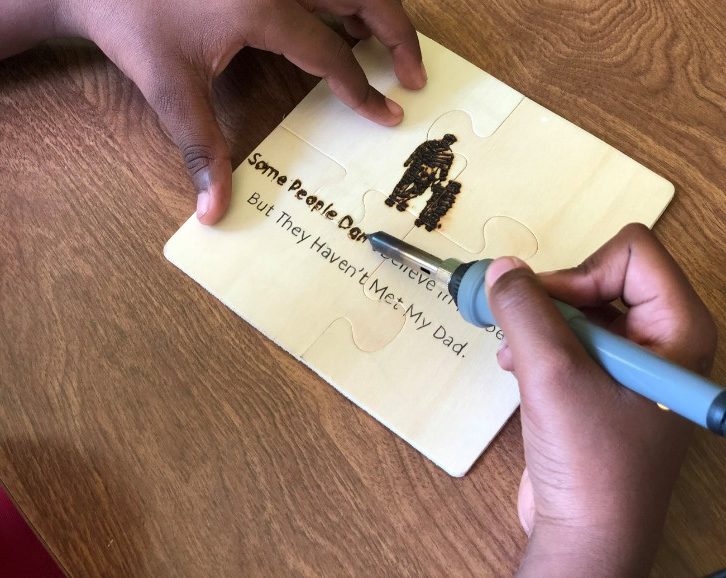
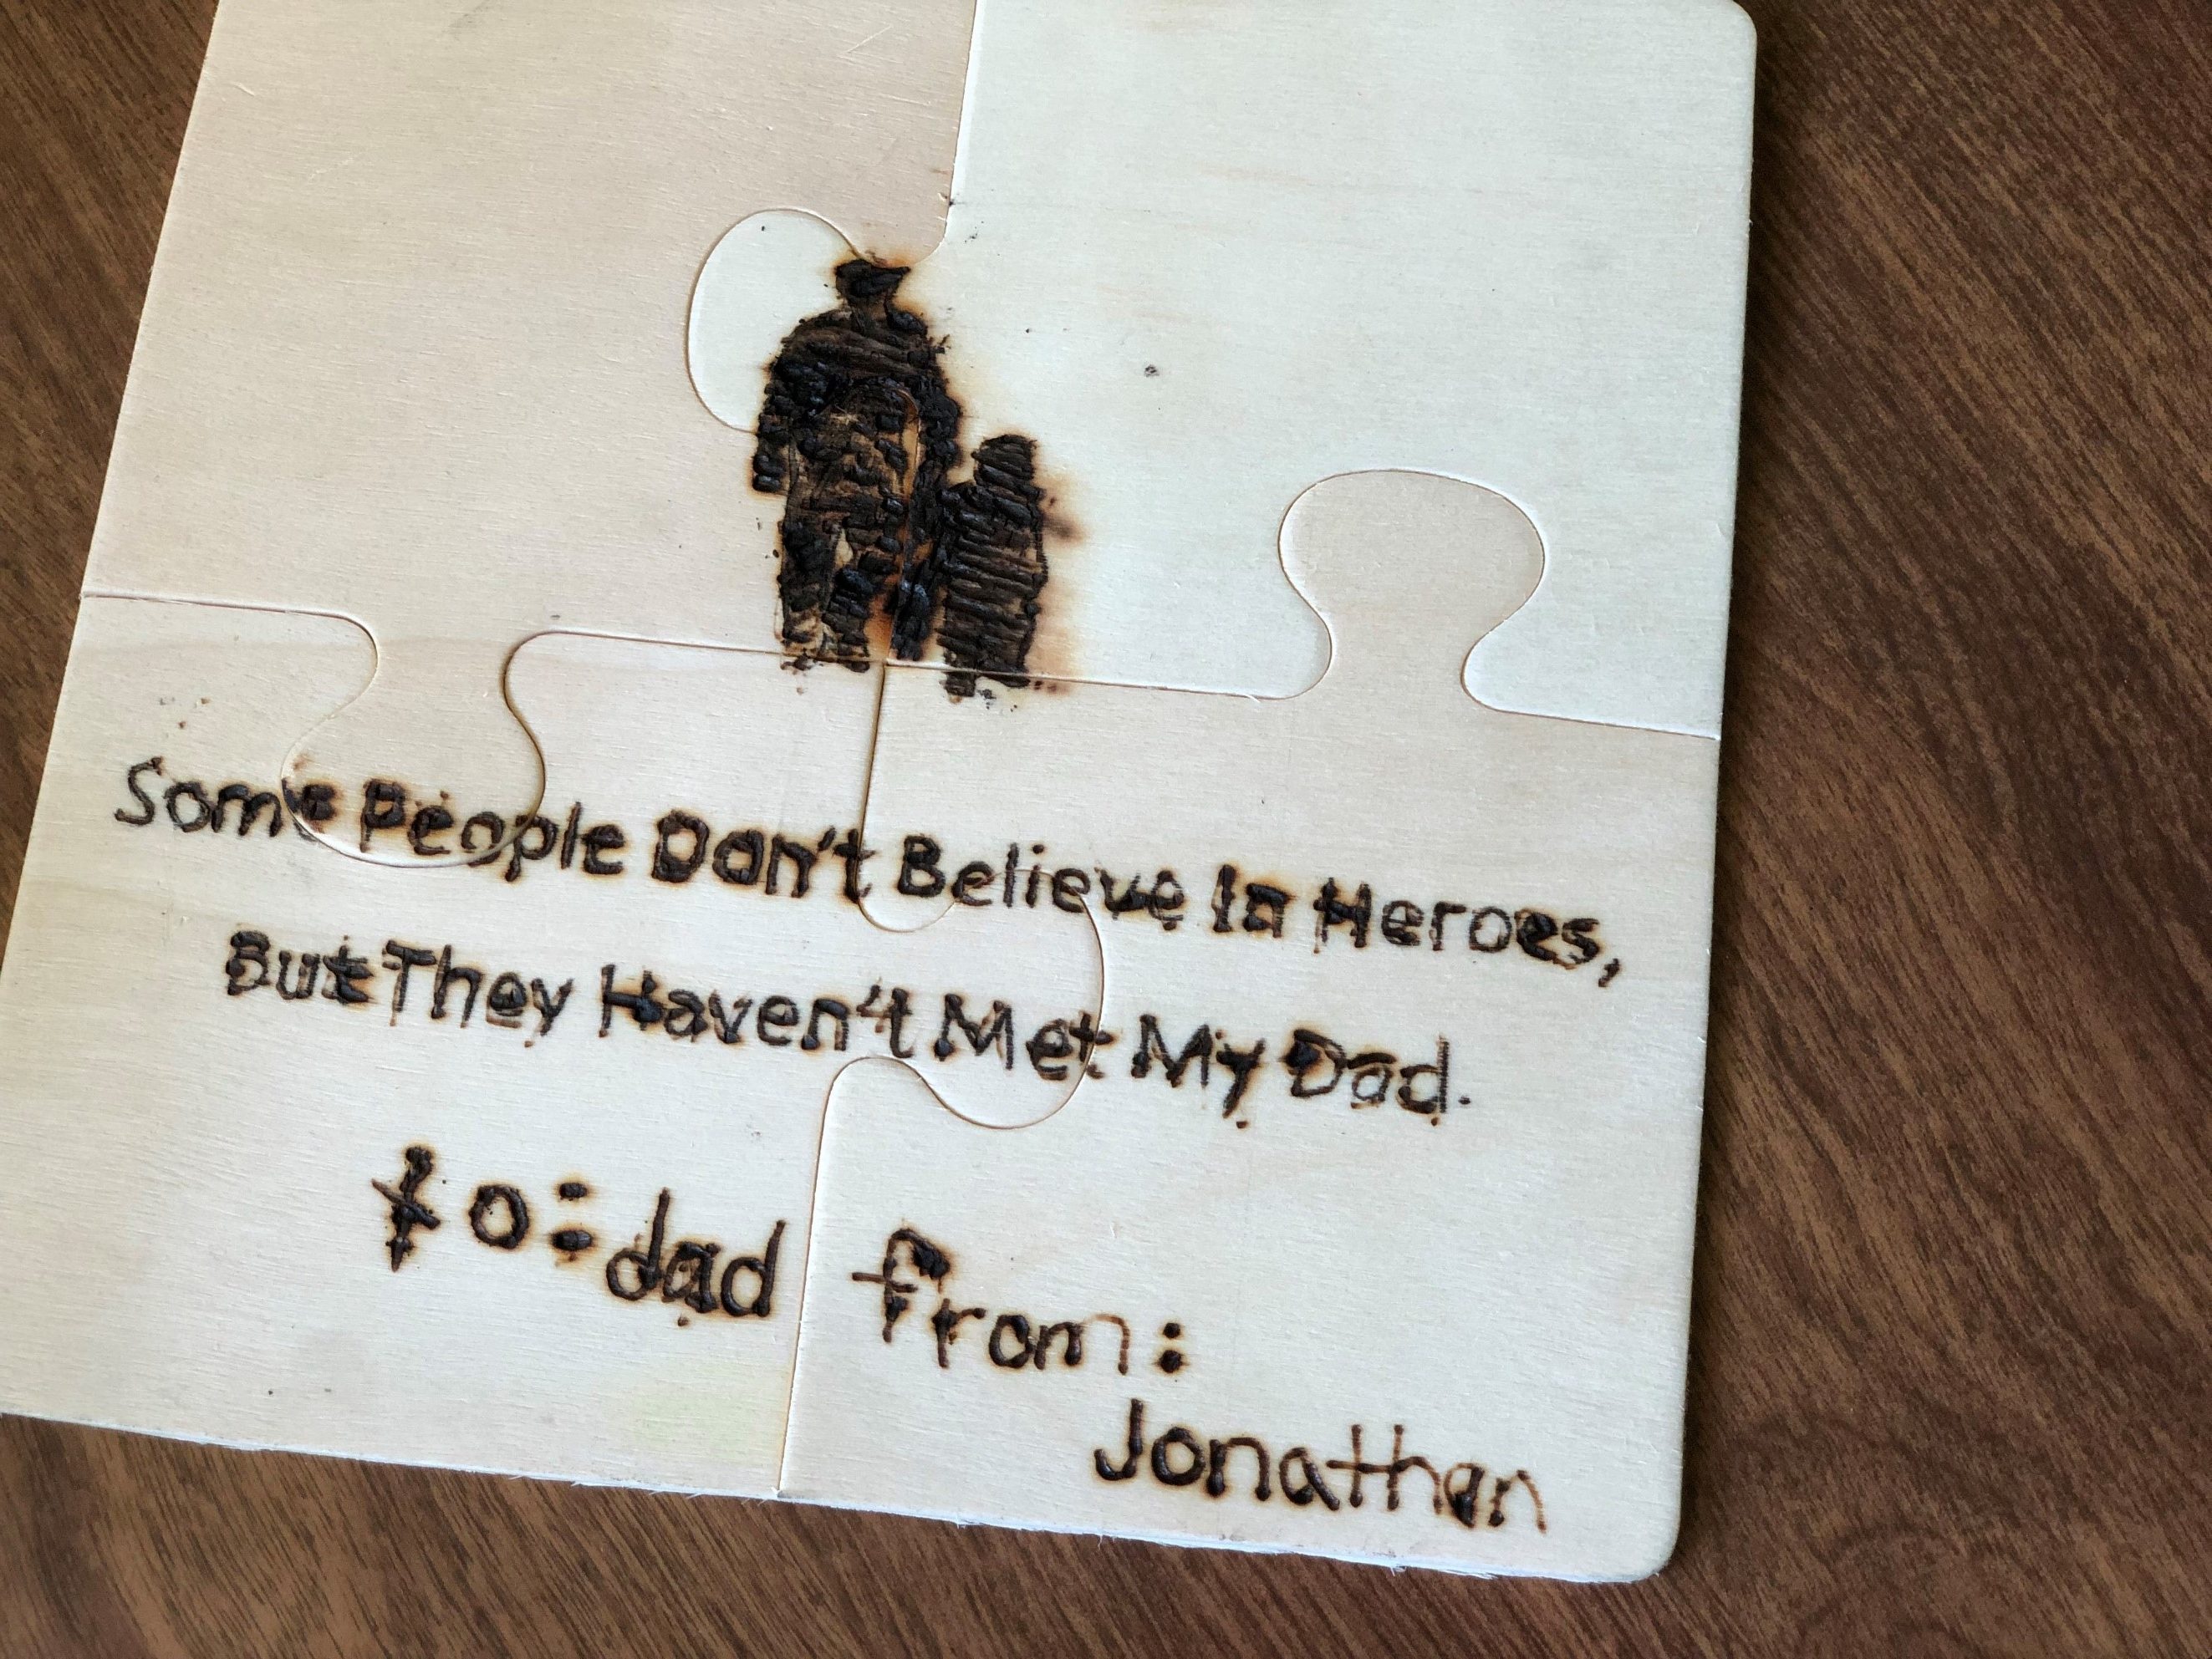
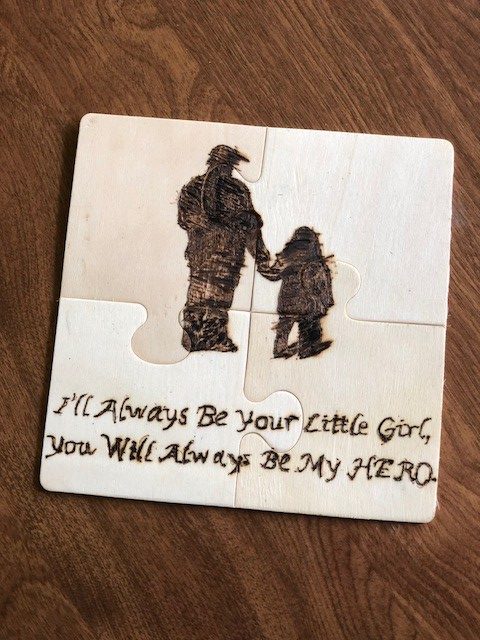
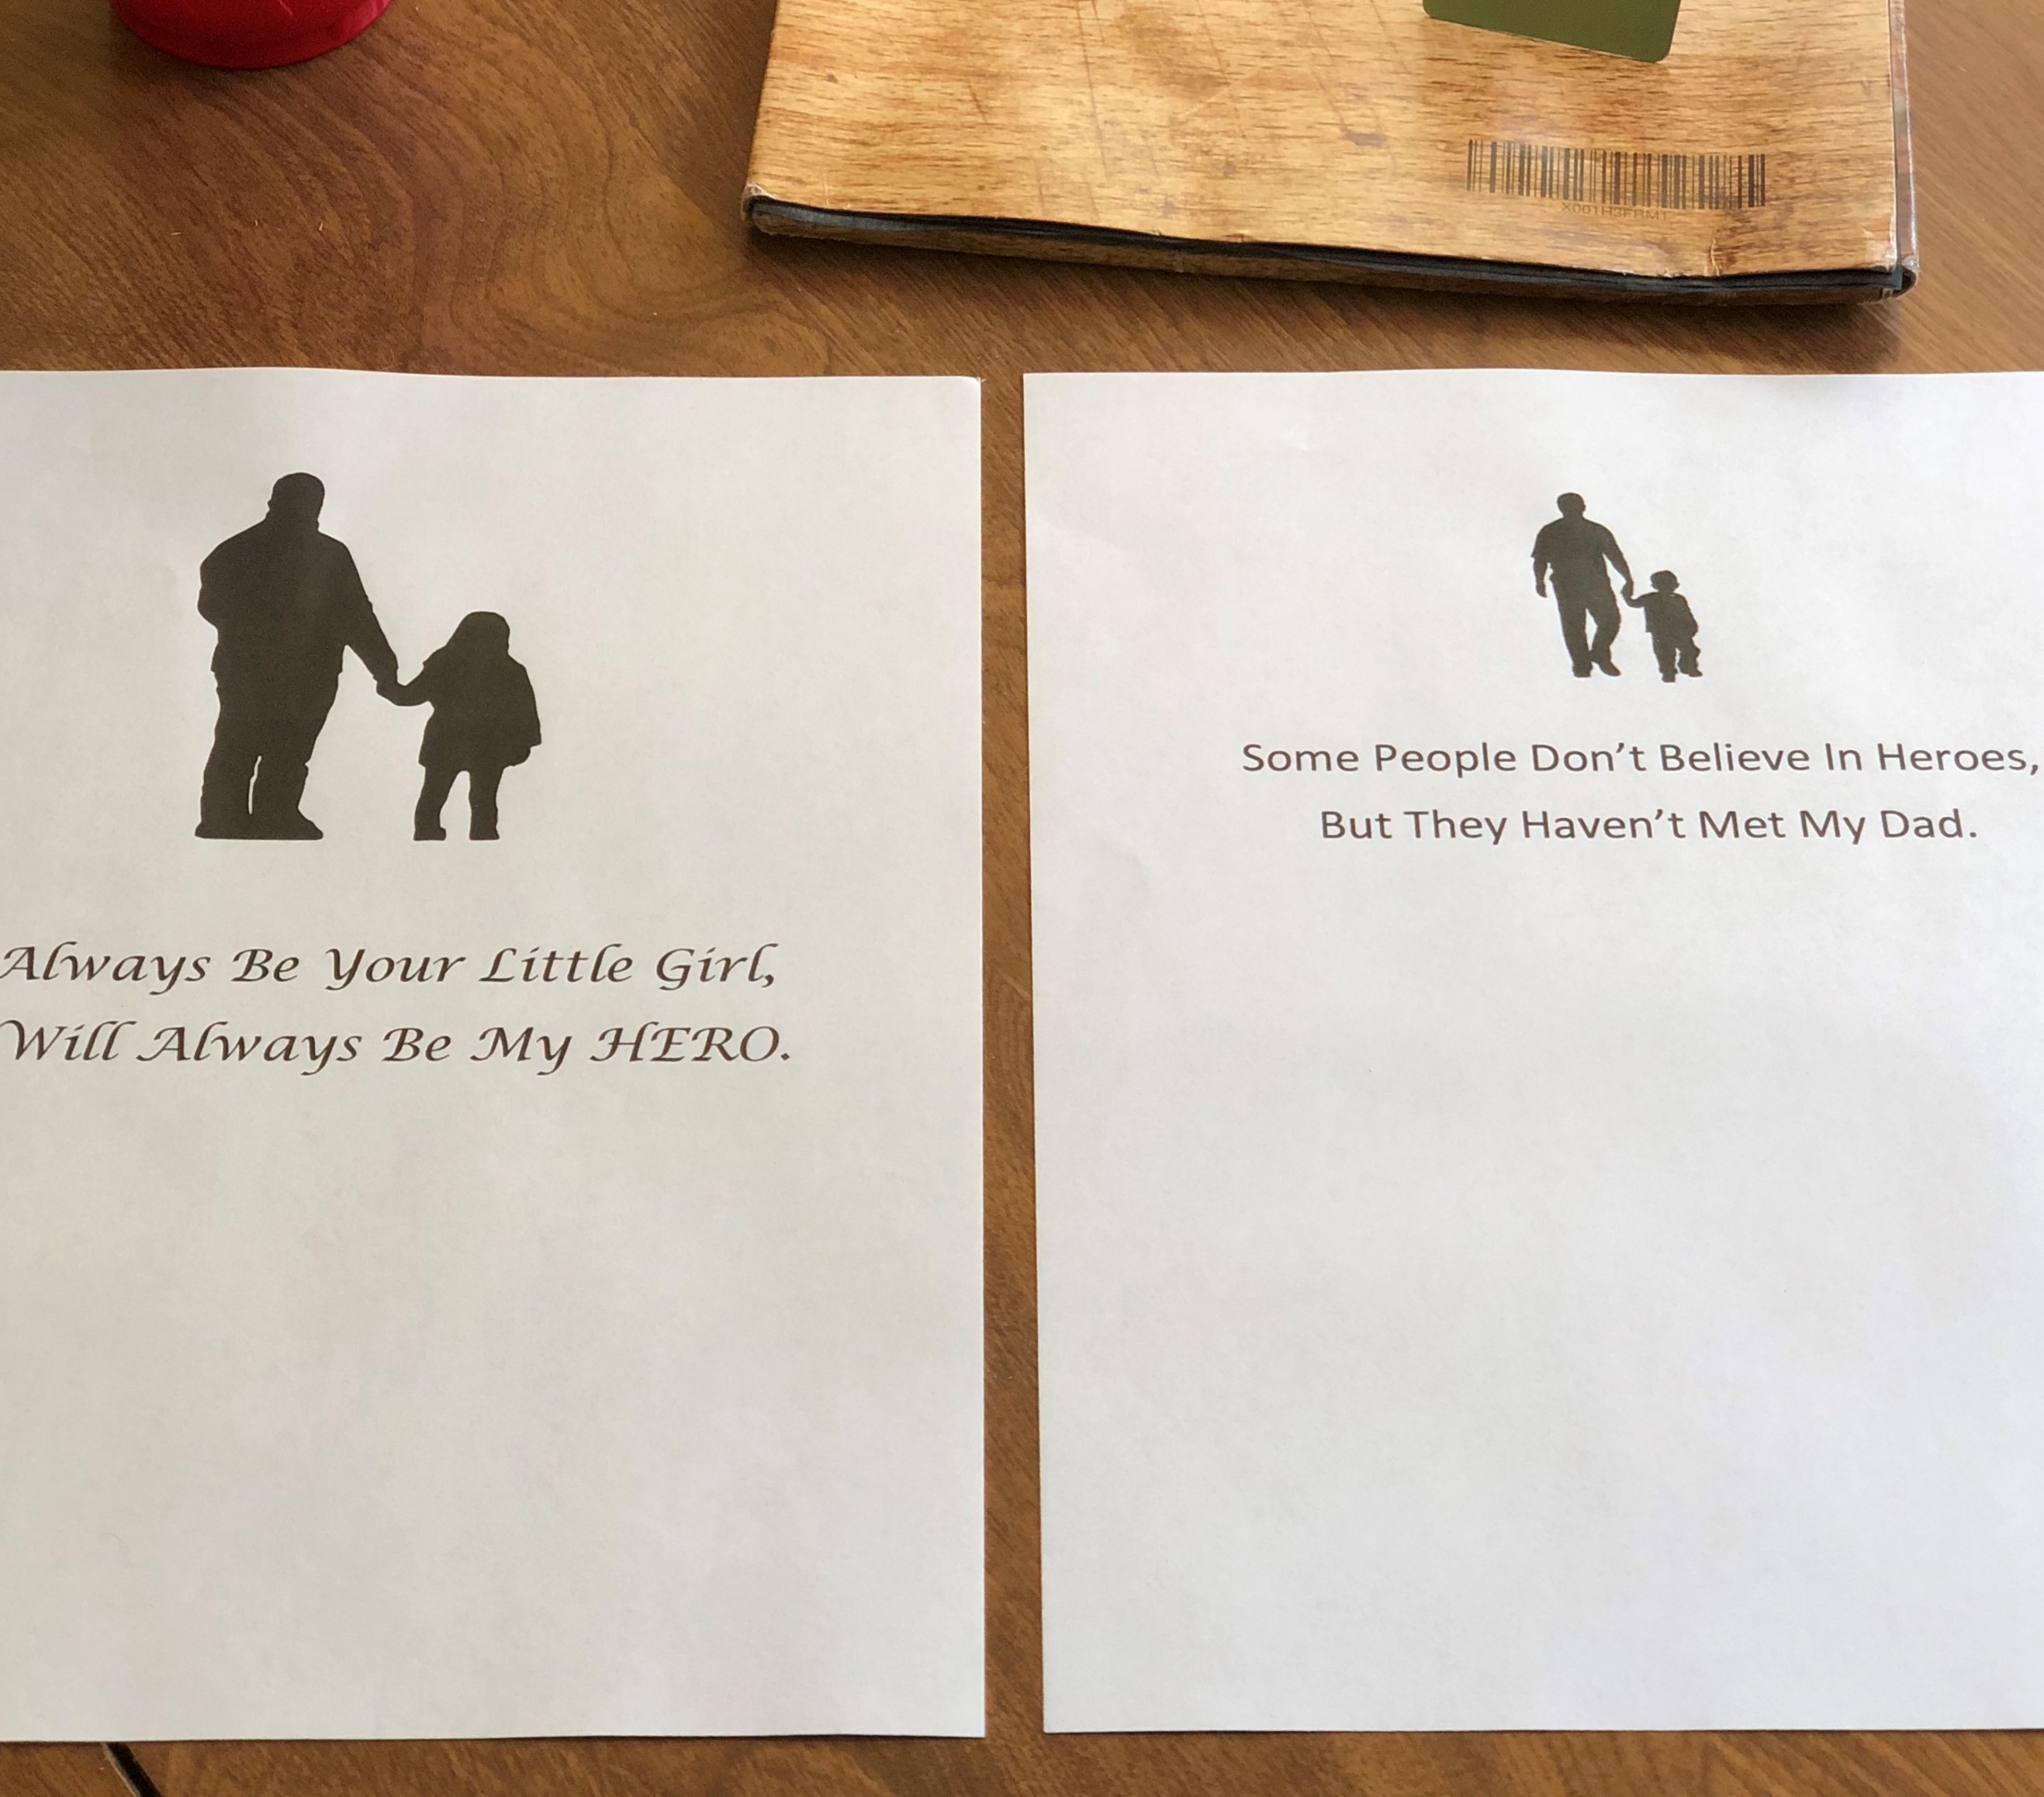
One thing I find exciting about pyrography is that anyone can do it! Children in general love to draw and enjoy creating something special for the ones they love so I wanted to find a project that would be fun and easy for any age to try. With the help of my three little artist volunteers, we scoured the internet for quotes or phrases that sounded like something they would want to tell their father. Once we had the phrases picked out, I typed up the words on a Word document. I let the young artists pick the font that they thought looked best for their artwork. Larger fonts work best as does thicker lettering. I then looked for some simple clip art to add to the document – nothing too difficult for our young artists to handle.
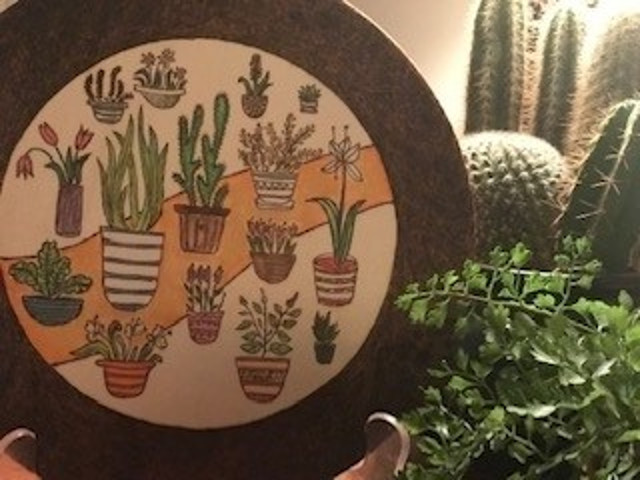
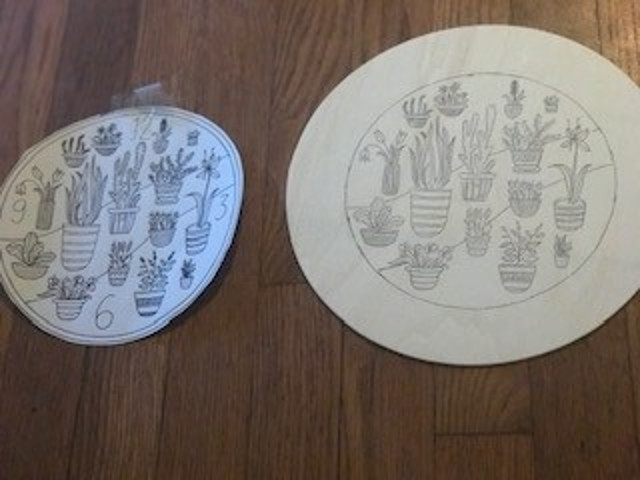
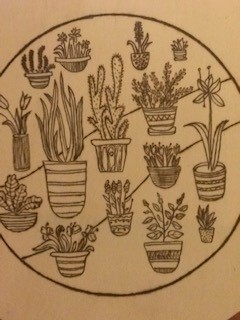
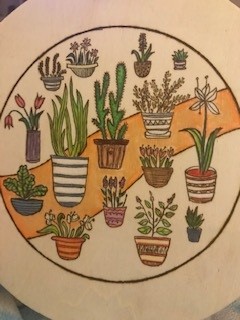
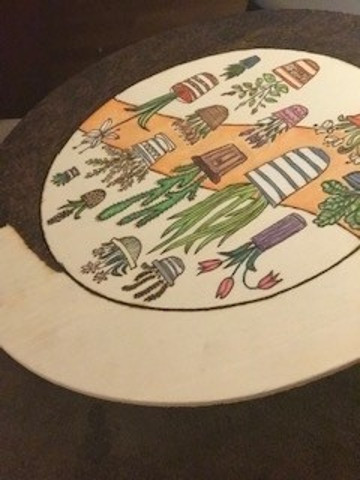
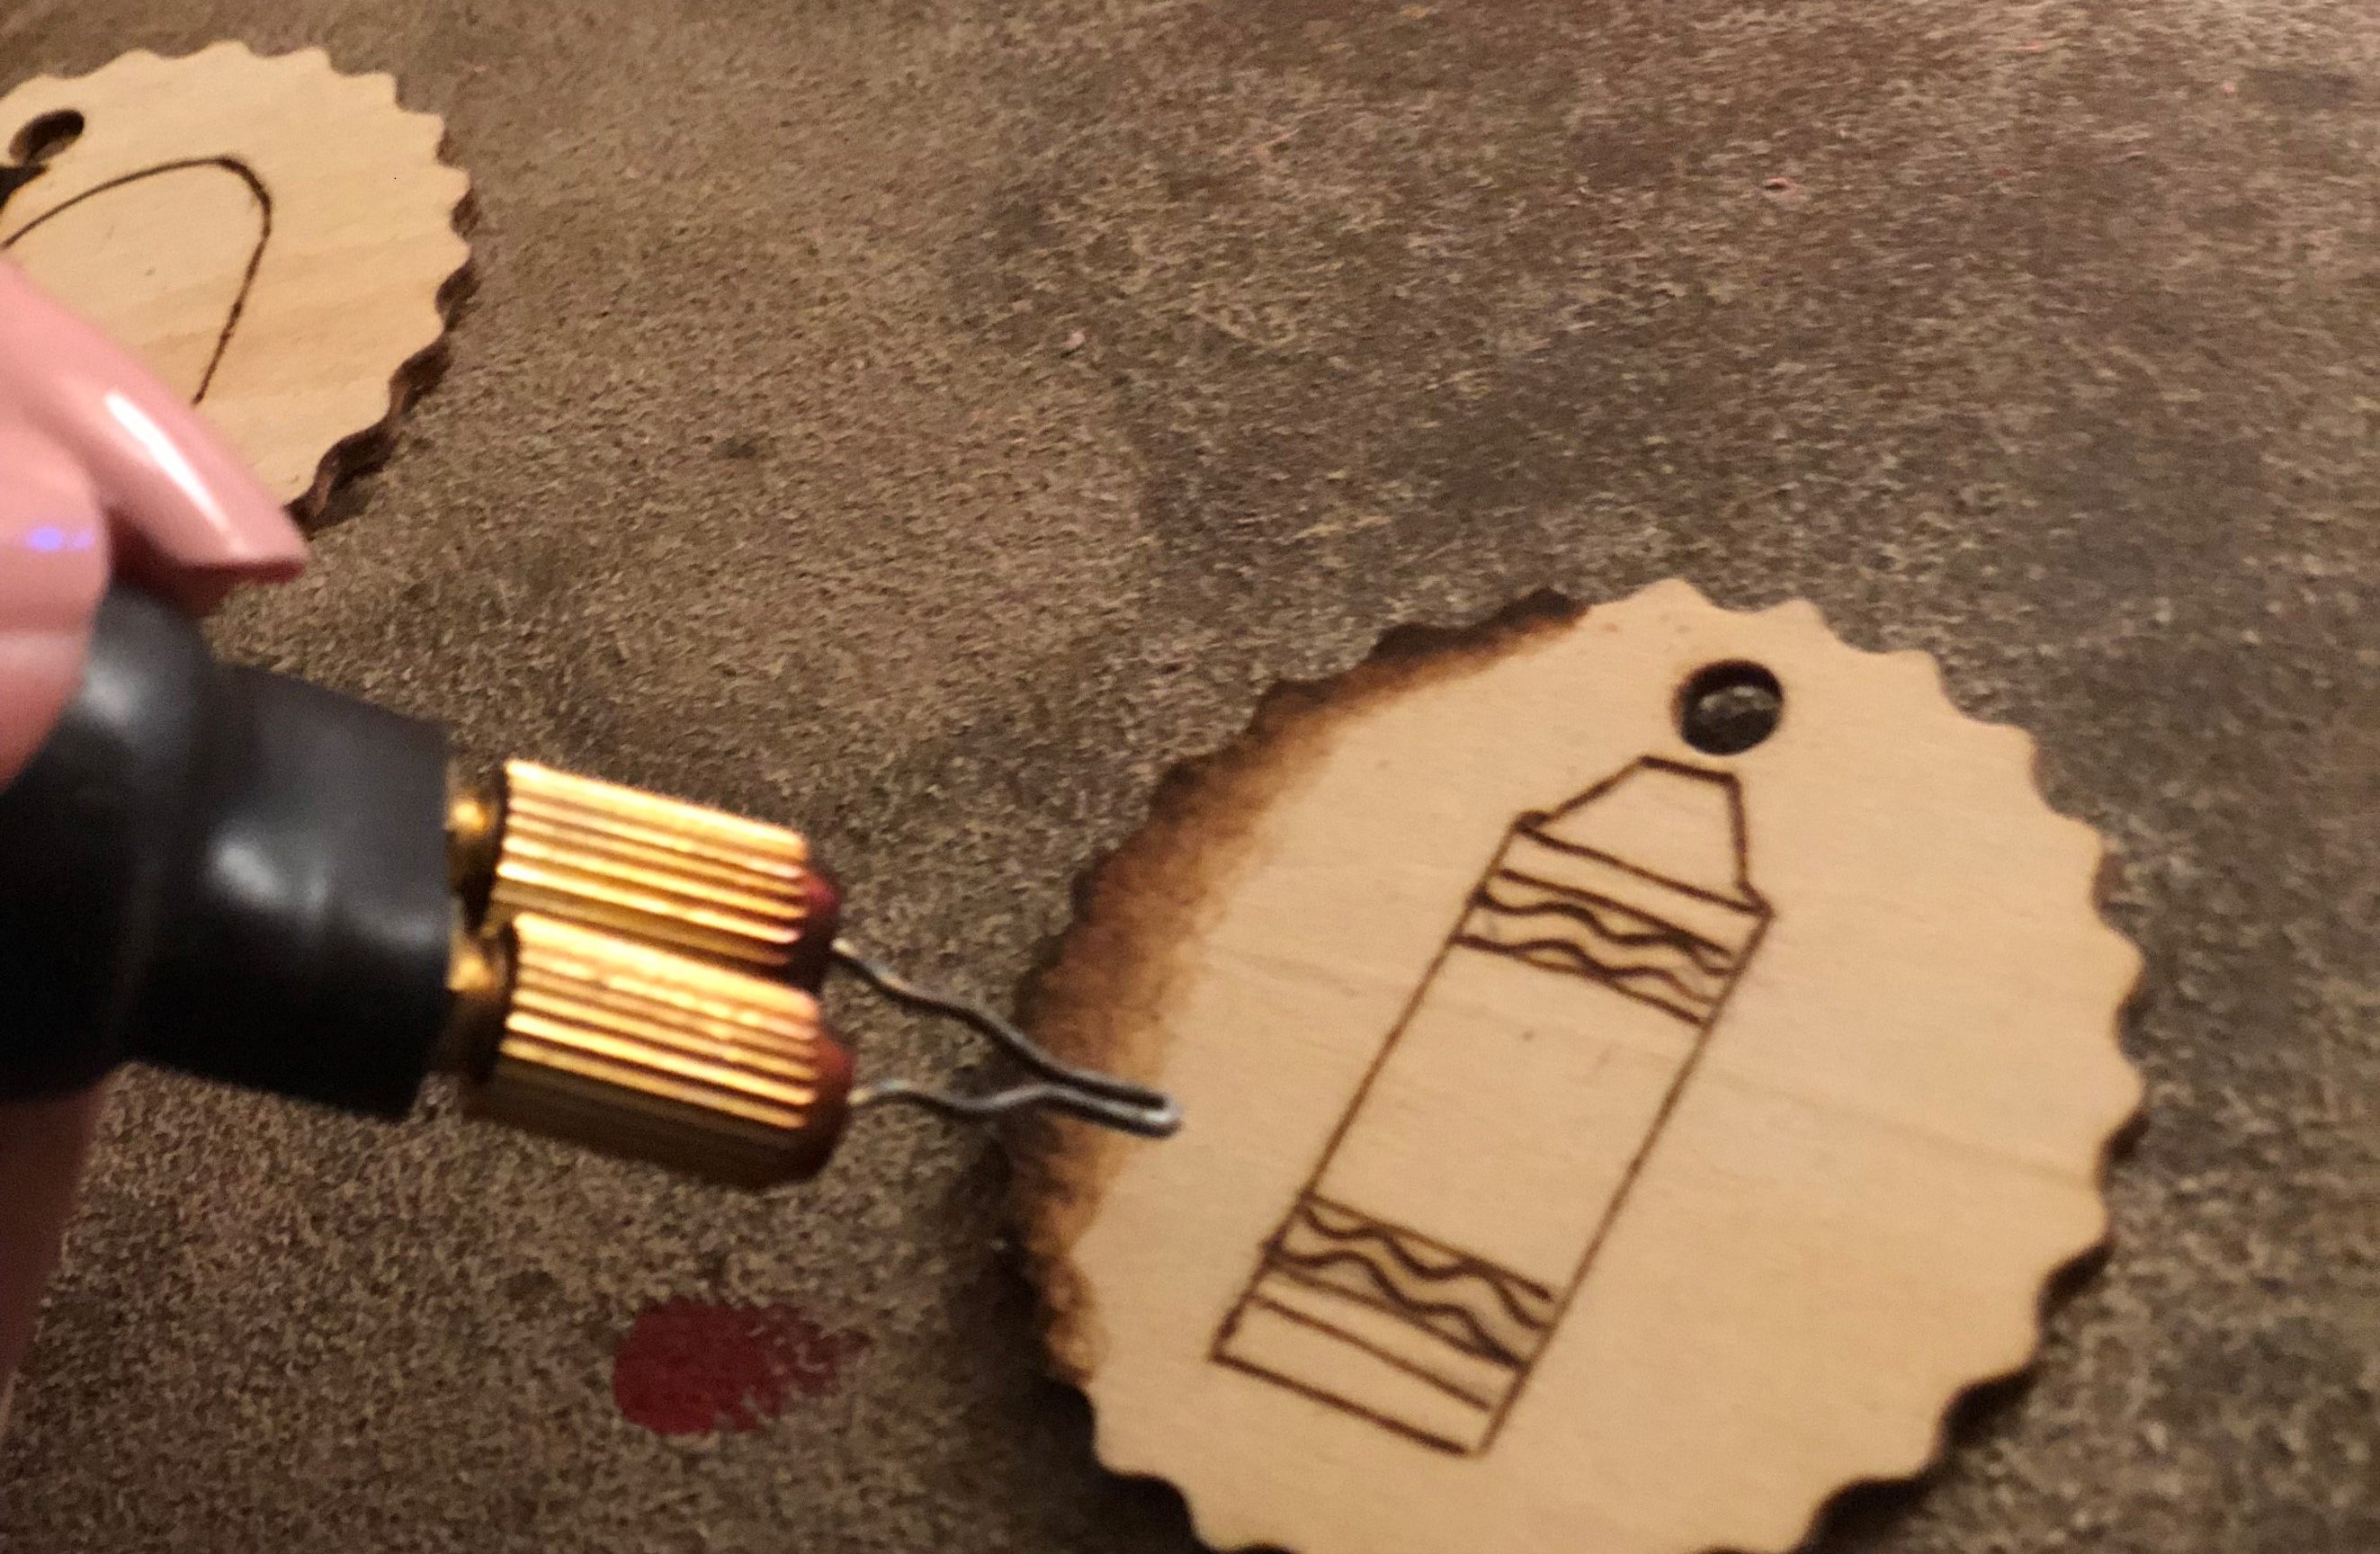
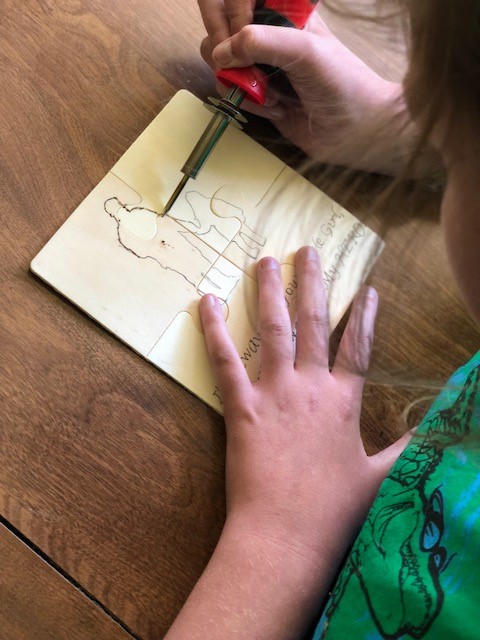
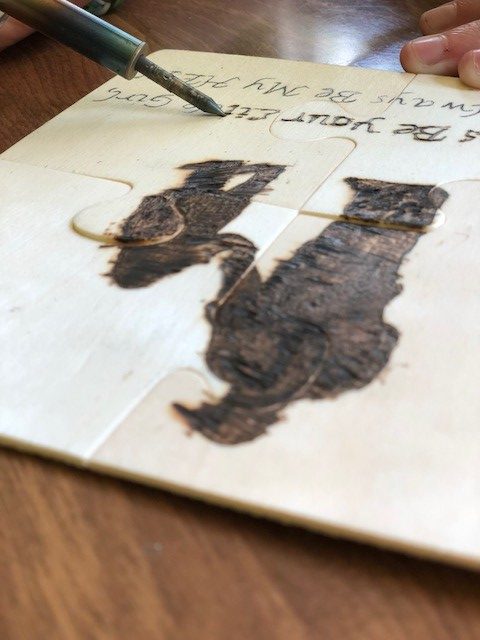
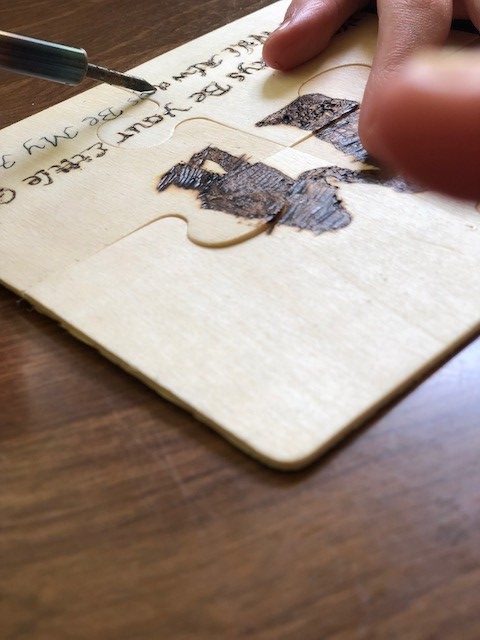
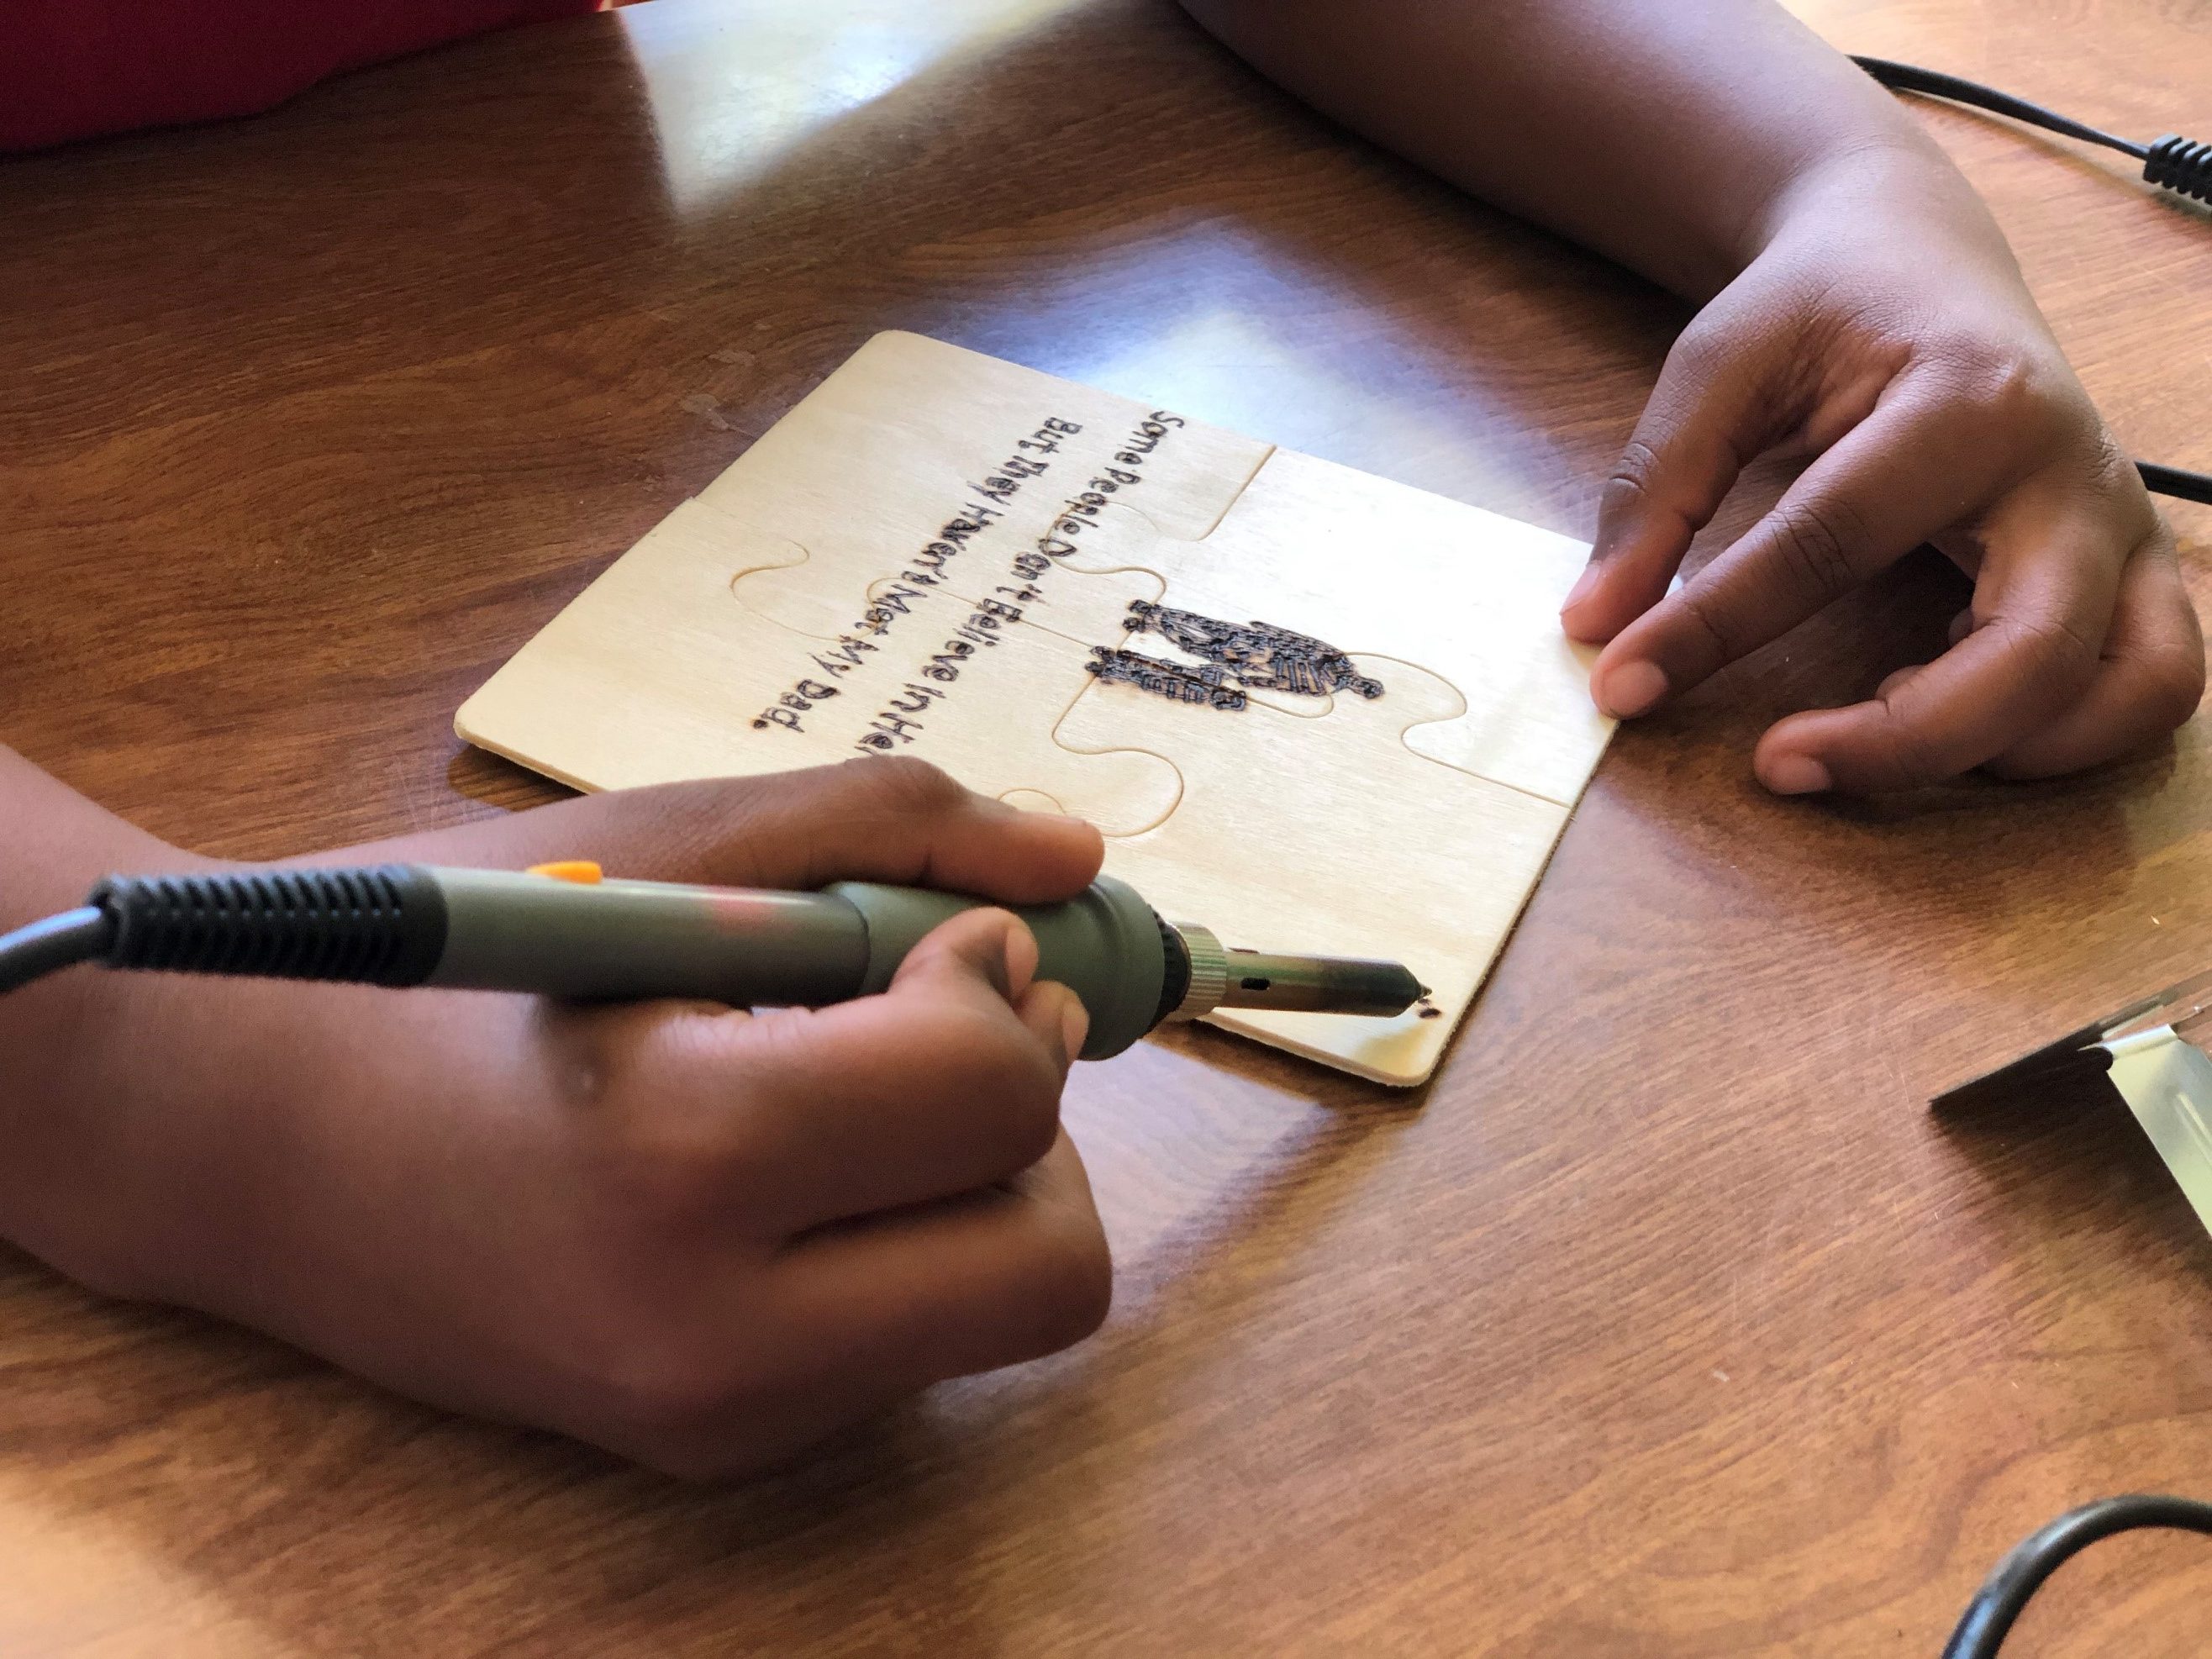
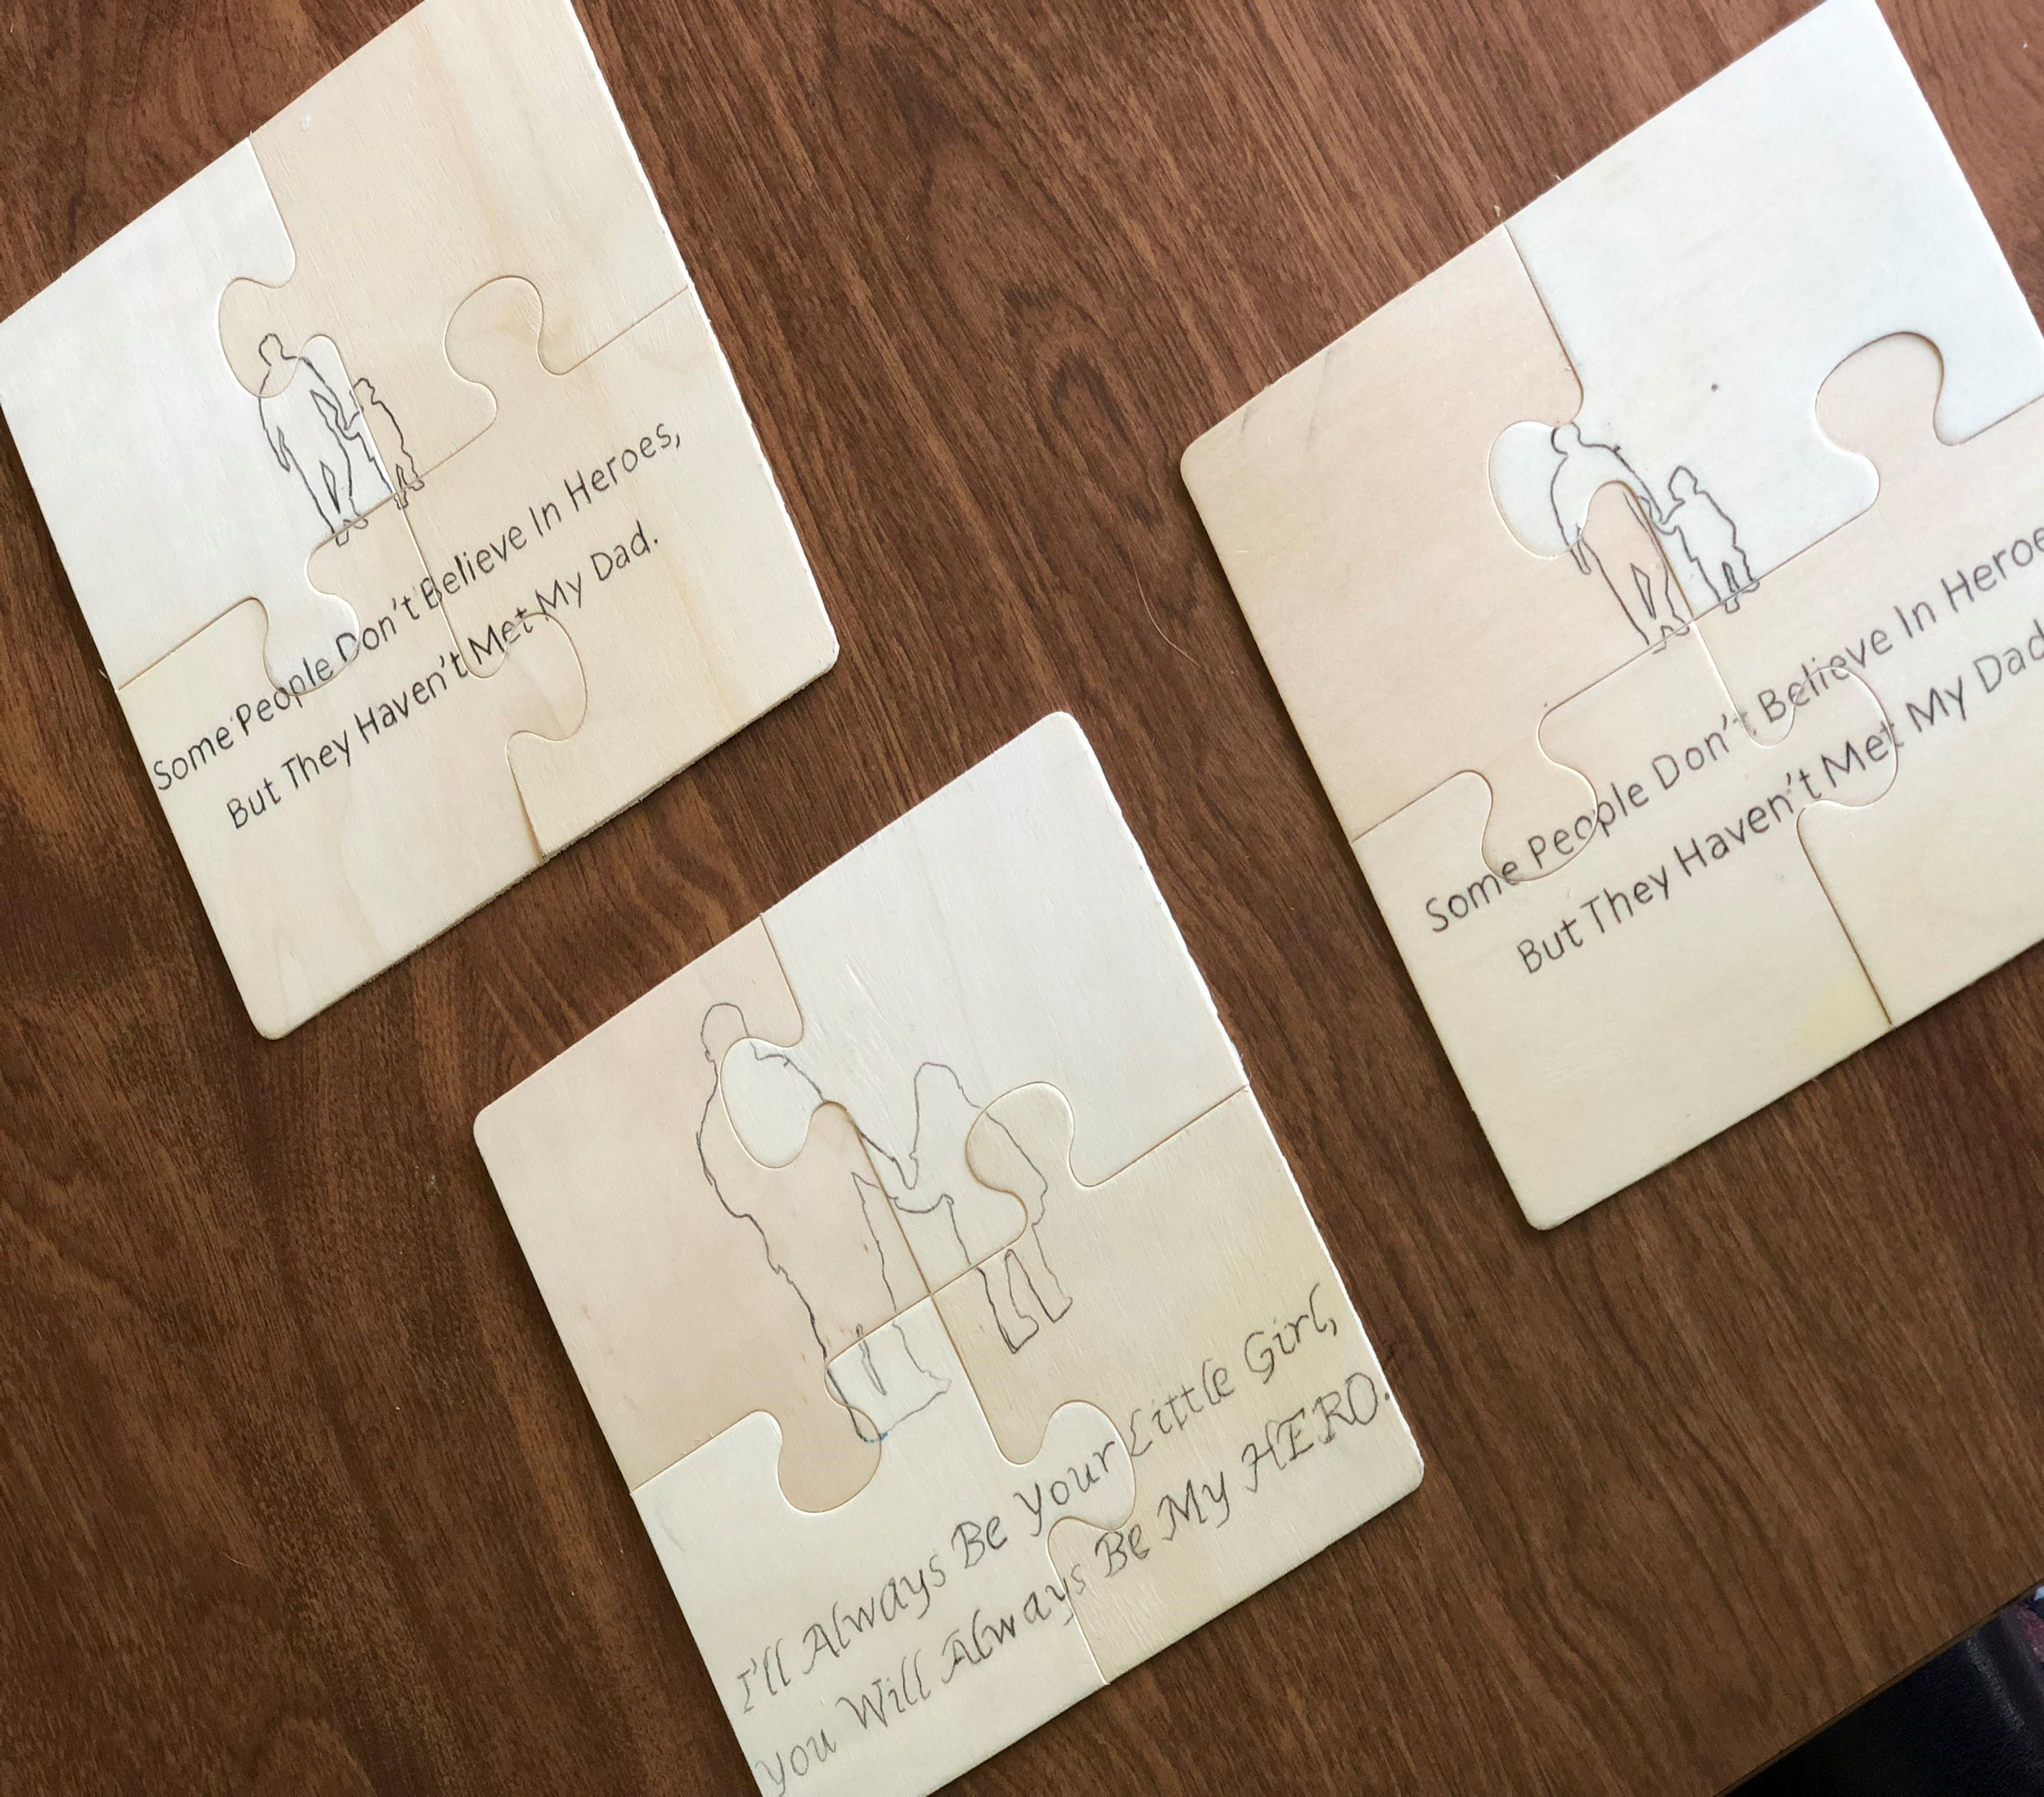
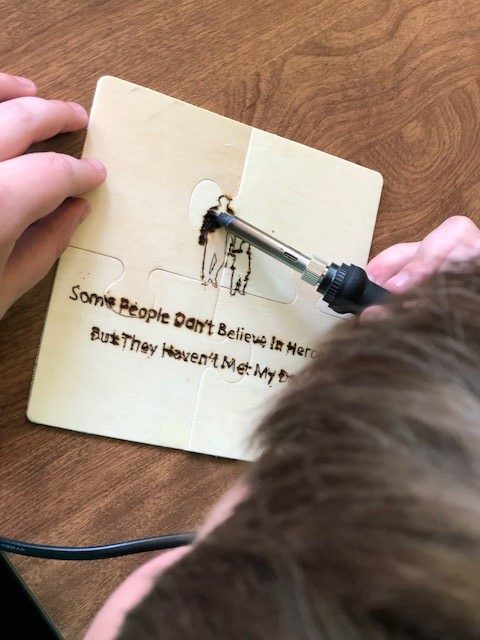
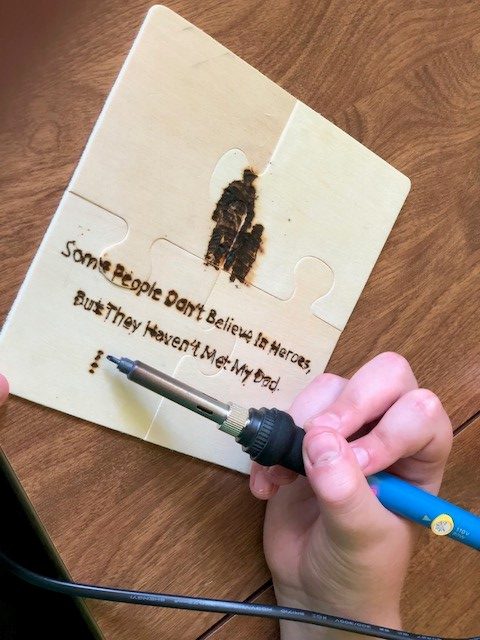
Once you have everything picked out the way you want, scale everything down to the size you need to fit the wood. Print your image out and then either you or your child can trace the image onto the wood. If you’re not sure on how to do this, check out my previous post Woodburning Tutorial. Once the image is traced, remove the carbon paper and tape. Start burning.
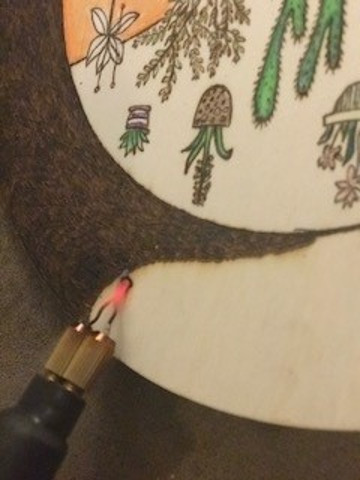
When burning, children tend to press down hard with the pen. This can cause hand cramping as well as burn splotches on the wood. If this happens, don’t worry. Remember, they are just children. Let them have fun enjoying the process and reassure them that it happens to everyone every now and then. If burn splotches do happen, this usually means the temperature is too high and needs to be adjusted. Be sure that an adult adjusts the temperature of the pen, never a child.
 |
 |
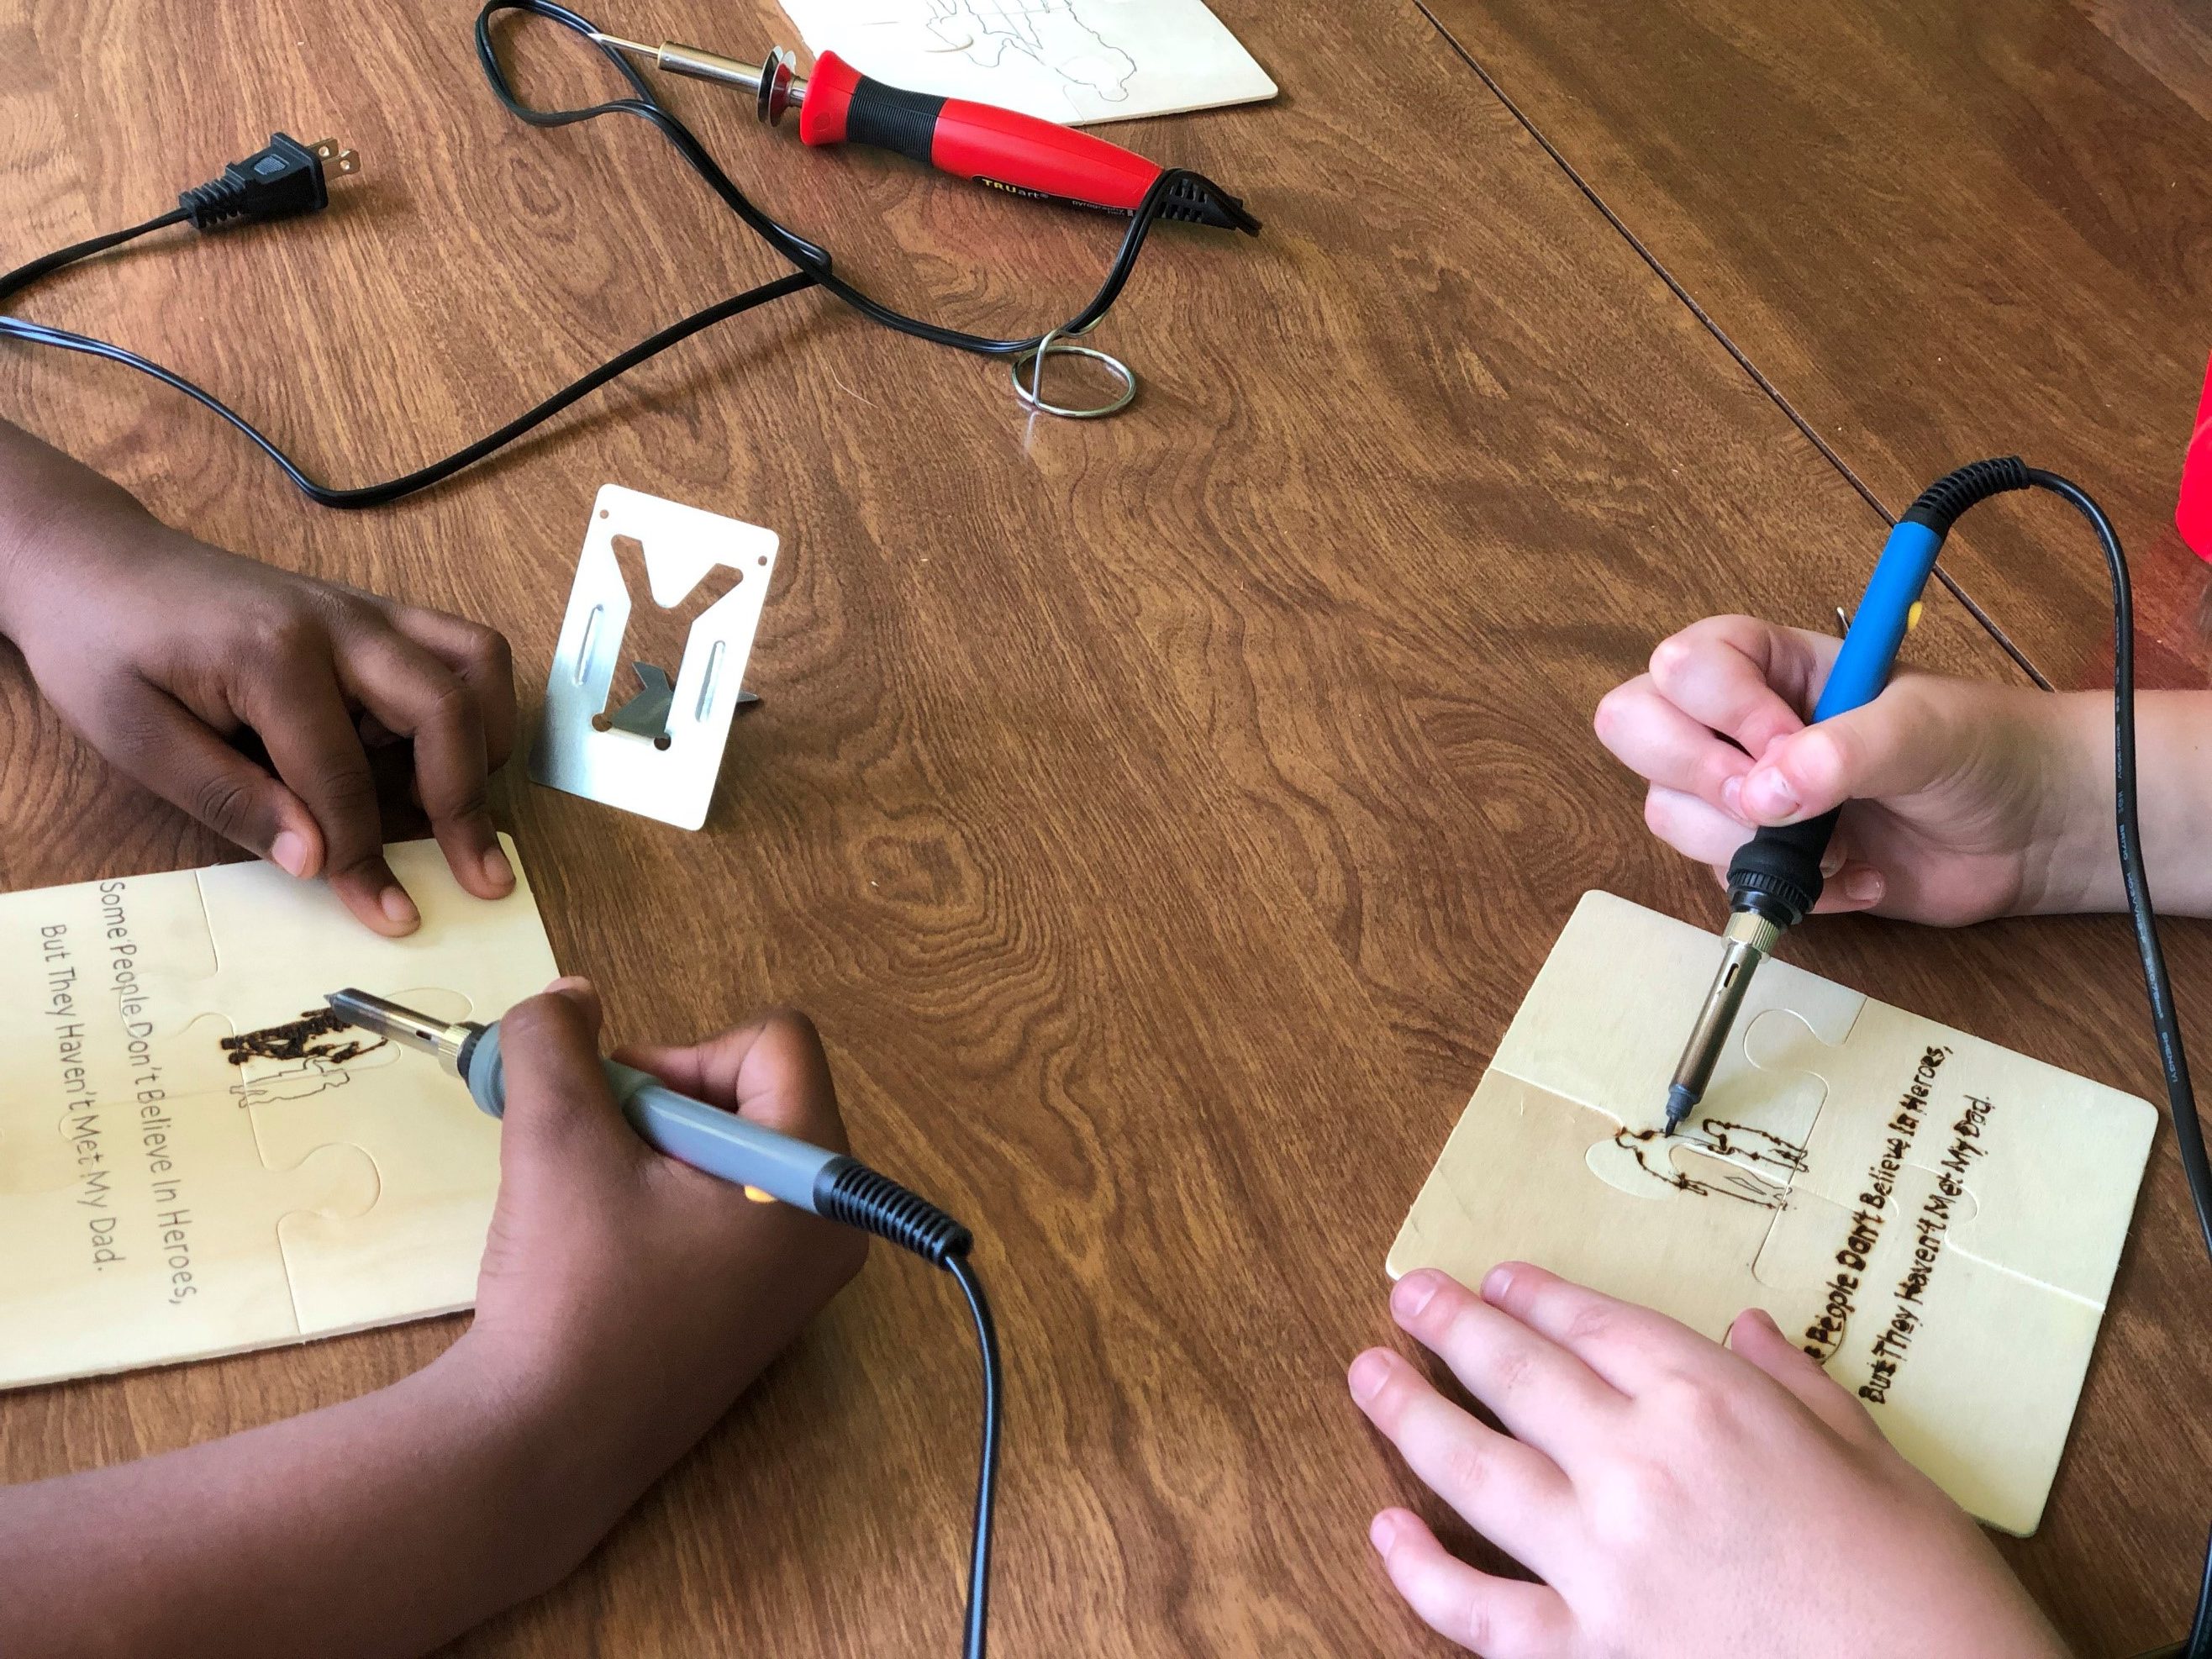
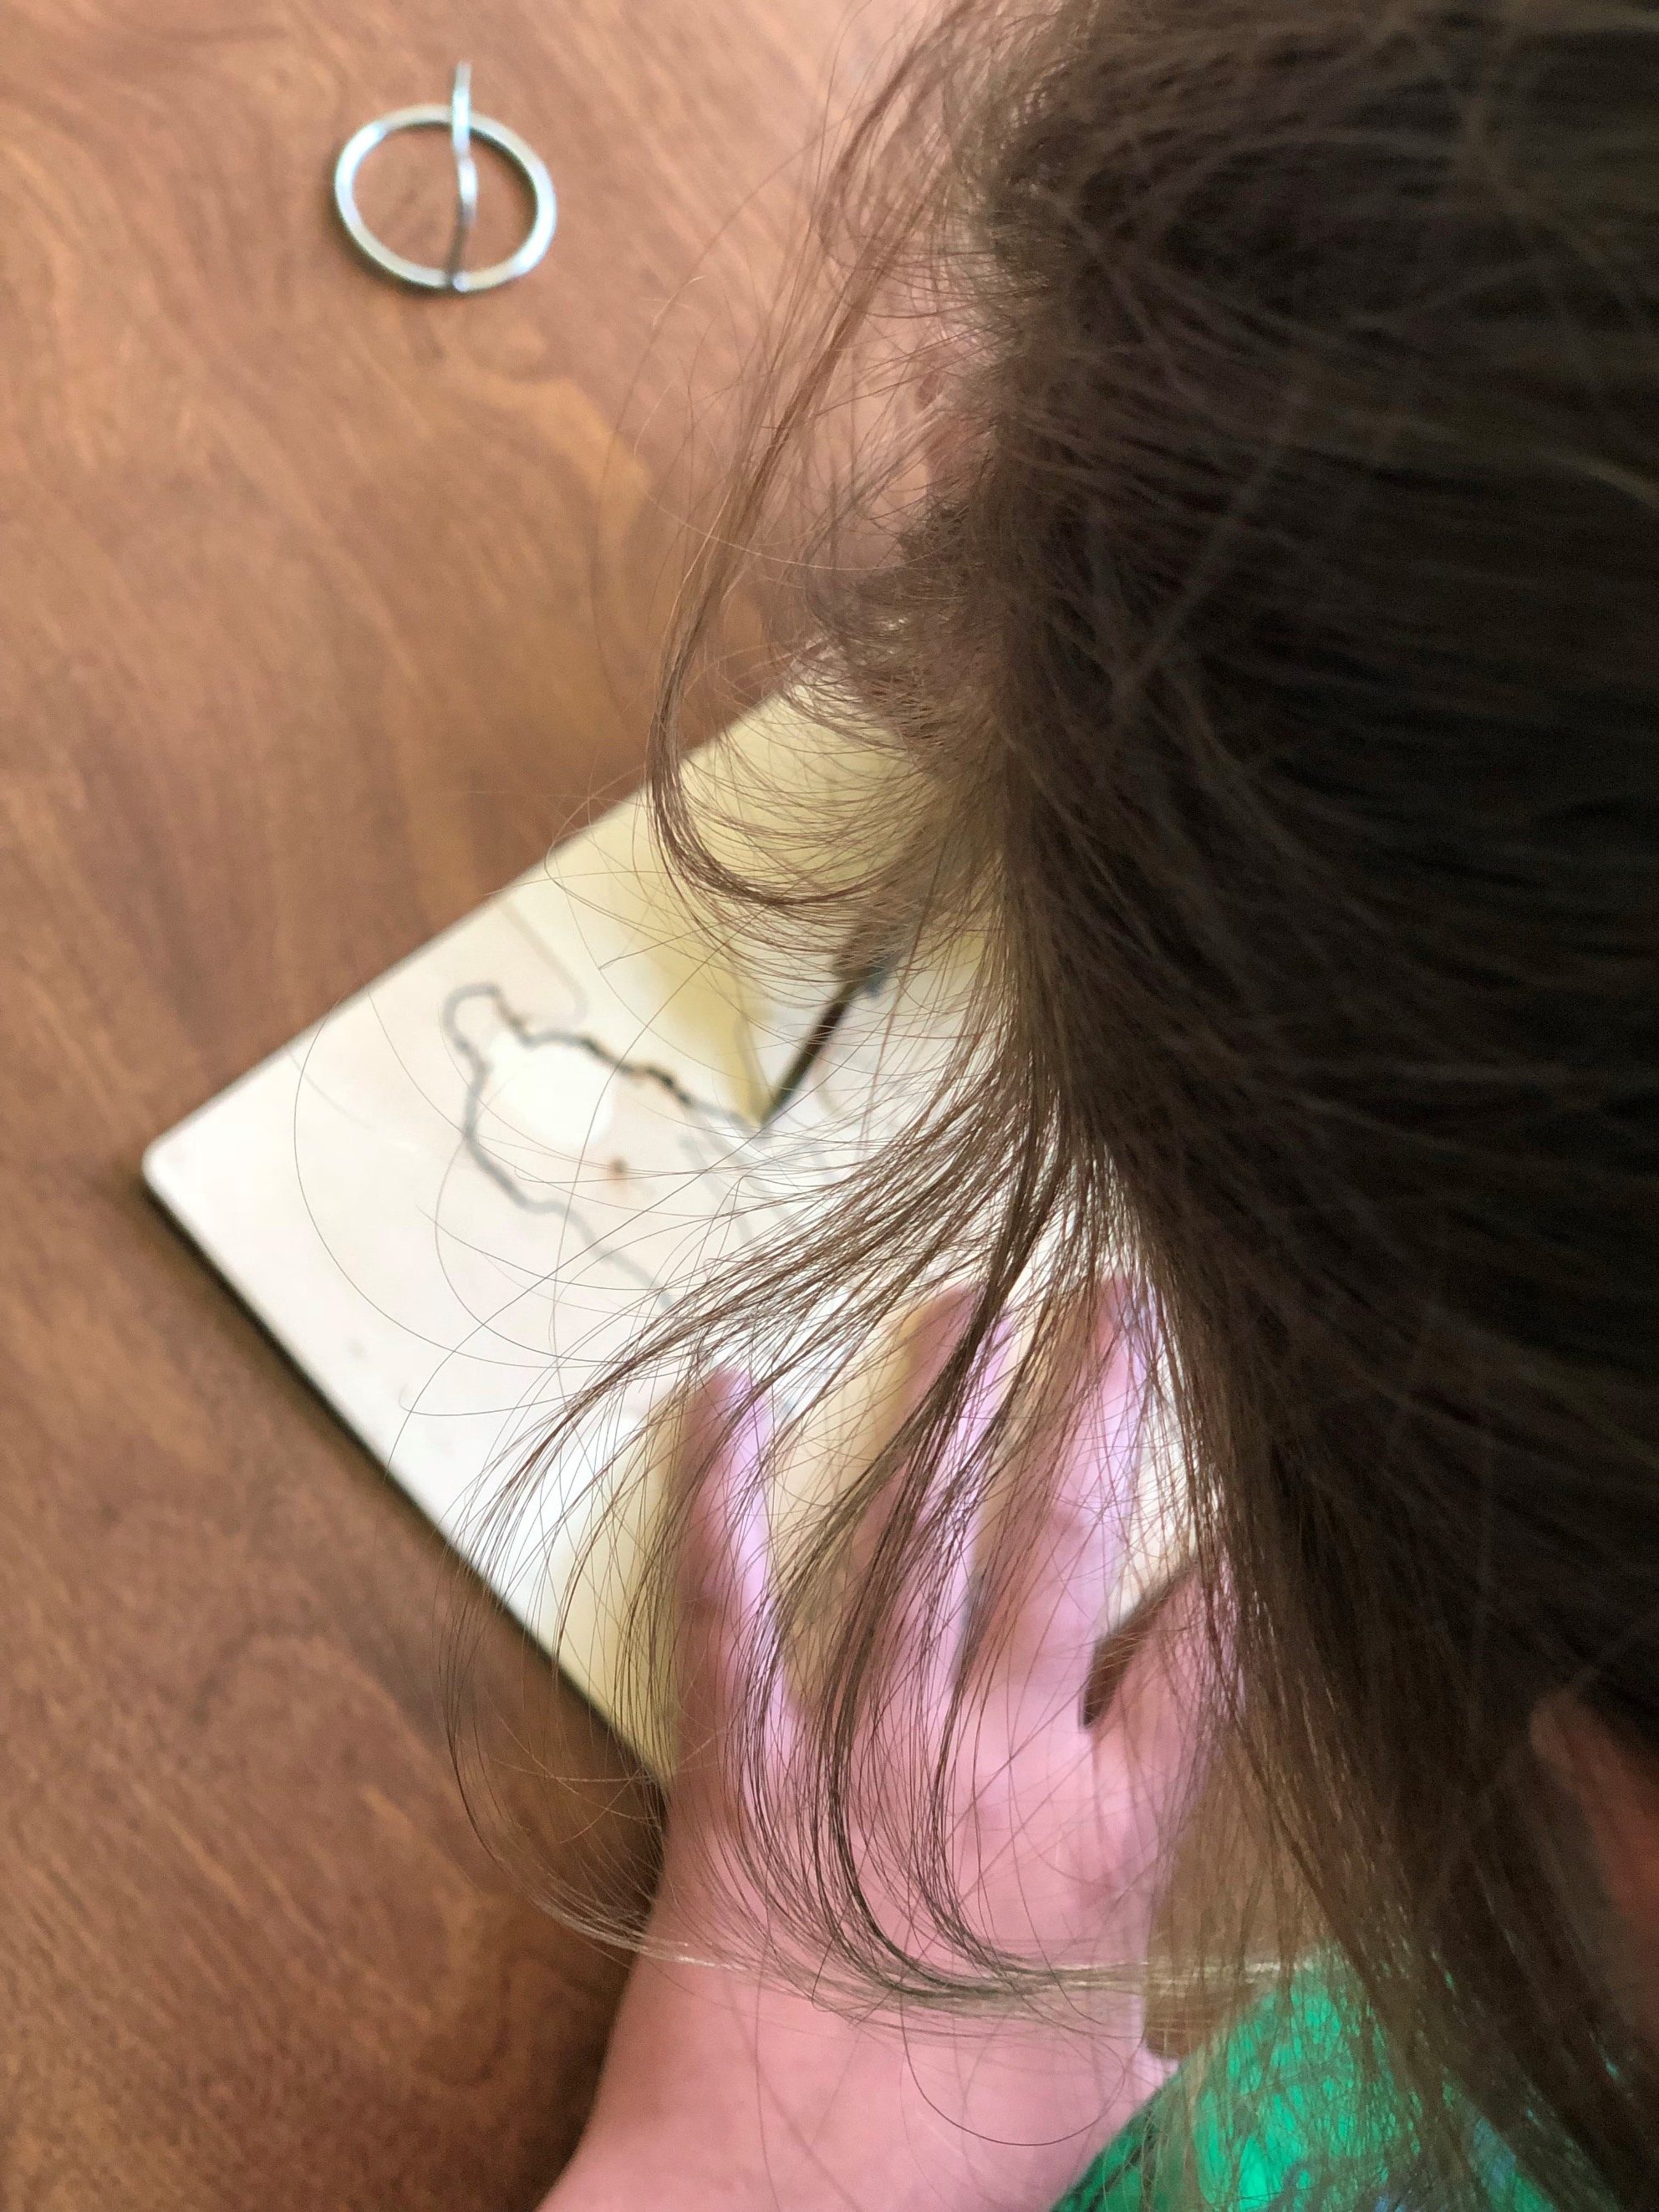
Sometimes, the grains in the wood may prevent a smooth burn for the young artist. The grains may cause some stray, crooked lines. It takes practice to learn the right pressure and heat to use while burning. Embrace the flaws. Remind the young artist to have patience. They are learning and it will get easier with time. Observe their excitement as they burn into the wood. After all, this is about having fun while learning a new art form. Occasionally, you may see some smoke come up when the pen touches the wood. This is normal. This usually happens if the pen is too hot or when it is pressed hard into the wood. Be sure that the child does not keep the pen pressed onto the wood for a length of time. With these pens, you are burning the wood so a hole can be burned through if you’re not careful.
 |
 |
As the adult, you may need to assist the child with holding the pen. It is thicker than regular pen and the child may be scared at first. That’s ok too. Safety is the main priority. Most children are nervous the first time they use a pyrography pen. Once they start burning, they usually become comfortable with the pen rather quickly and end up loving the process. Guide them, help them and supervise them. Allow them to have fun creating something unique and special.
When the burning is complete, you can give them a pen to write their name down or personalize a message.
Practice wood burning with your children often. You’ll be amazed at how quickly they adjust to using the pens. Be patient and know that mistakes will be made, it’s just part of the process. Always follow the safety tips and have fun.
Got any questions? Just leave them in the comments below and I’ll get to it as soon as possible.
Enjoy!
Andrea Pate
Pate’s Pyrography